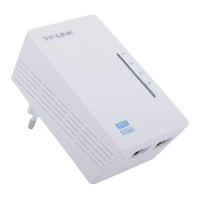
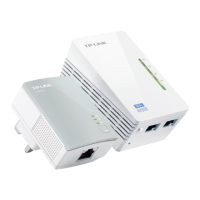
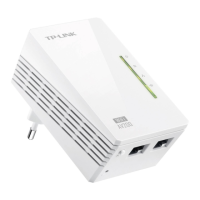
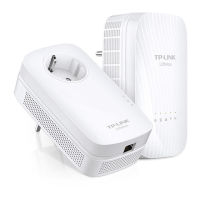
TL-WPA4230P AV500 Passthrough Powerline WiFi Extender
5
2.4 Hardware Connection
Please first make sure that your PC can successfully access the Internet via the router. Then connect
the powerline devices by following the instructions below.
Step 1: Connecting to the Internet
This section describes how to connect the powerline extender into your existing network. Follow the
procedures described below:
1. Connect one end of an Ethernet (RJ45) cable to the Ethernet port of the powerline extender or a
compatible powerline adapter like TL-PA4020P.
2. Connect the other end of the Ethernet (RJ45) cable to an available Ethernet port of your wireless
router.
3. Plug the powerline extender or powerline adapter into a wall socket.
4. Check and confirm the LEDs status. (The Power LED and Ethernet LED on the powerline device
should be ON.)
The hardware connection mechanism is shown below:
Note:
Do not connect the powerline extender or powerline adapter to an extension lead, power strip, extension
cord, or surge protector, as these may degrade the network performance.
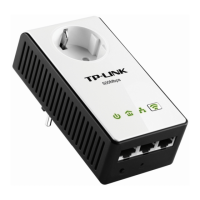
Step 2: Connecting the Computer
Following are the steps to properly connect the powerline extender to your computer:
1. Connect one end of the provided Ethernet (RJ45) cable to the powerline extender’s Ethernet port.
2. Connect the other end of the Ethernet (RJ45) cable to you computer’s LAN port.
3. Plug the powerline extender into a wall socket next to the computer.
4. Turn on your computer.
5. Check and confirm that the Power LED and Ethernet LED on the powerline extender are ON.
 Loading...