11
10
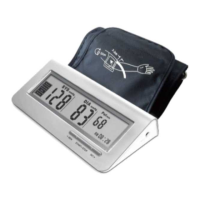
MEASUREMENT
MEASUREMENT
Resting For 5 minutes before
measuring.
Wait at least 3 minutes between
measurements. This allows your
blood circulation to recover.
For a meaningful comparison,
try to measure under similar
conditions. For example, take daily
measurements at approximately
the same time, position of upper
arm, or as directed by a physician.
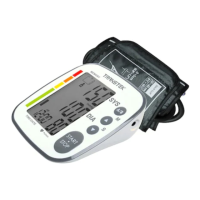
Tie the cuff
1.Tie the cuff on your upper arm,
the position the tube off-center
toward the inner side of arm in
line with the little finger.
2.The cuff should be sung but not
too tight. You should be able to
insert one finger between the
cuff and your arm.
3.Sit comfortably with your tested
arm resting on a flat surface.
2~3cm
.Patients with Hypertension:
The middle of the cuff should be
at the level of the right atrium of the heart;
Before starting measurement, please sit
comfortably with legs uncrossed,
feet flat on the floor, back and arm supported.
4
STA RT
ST O P
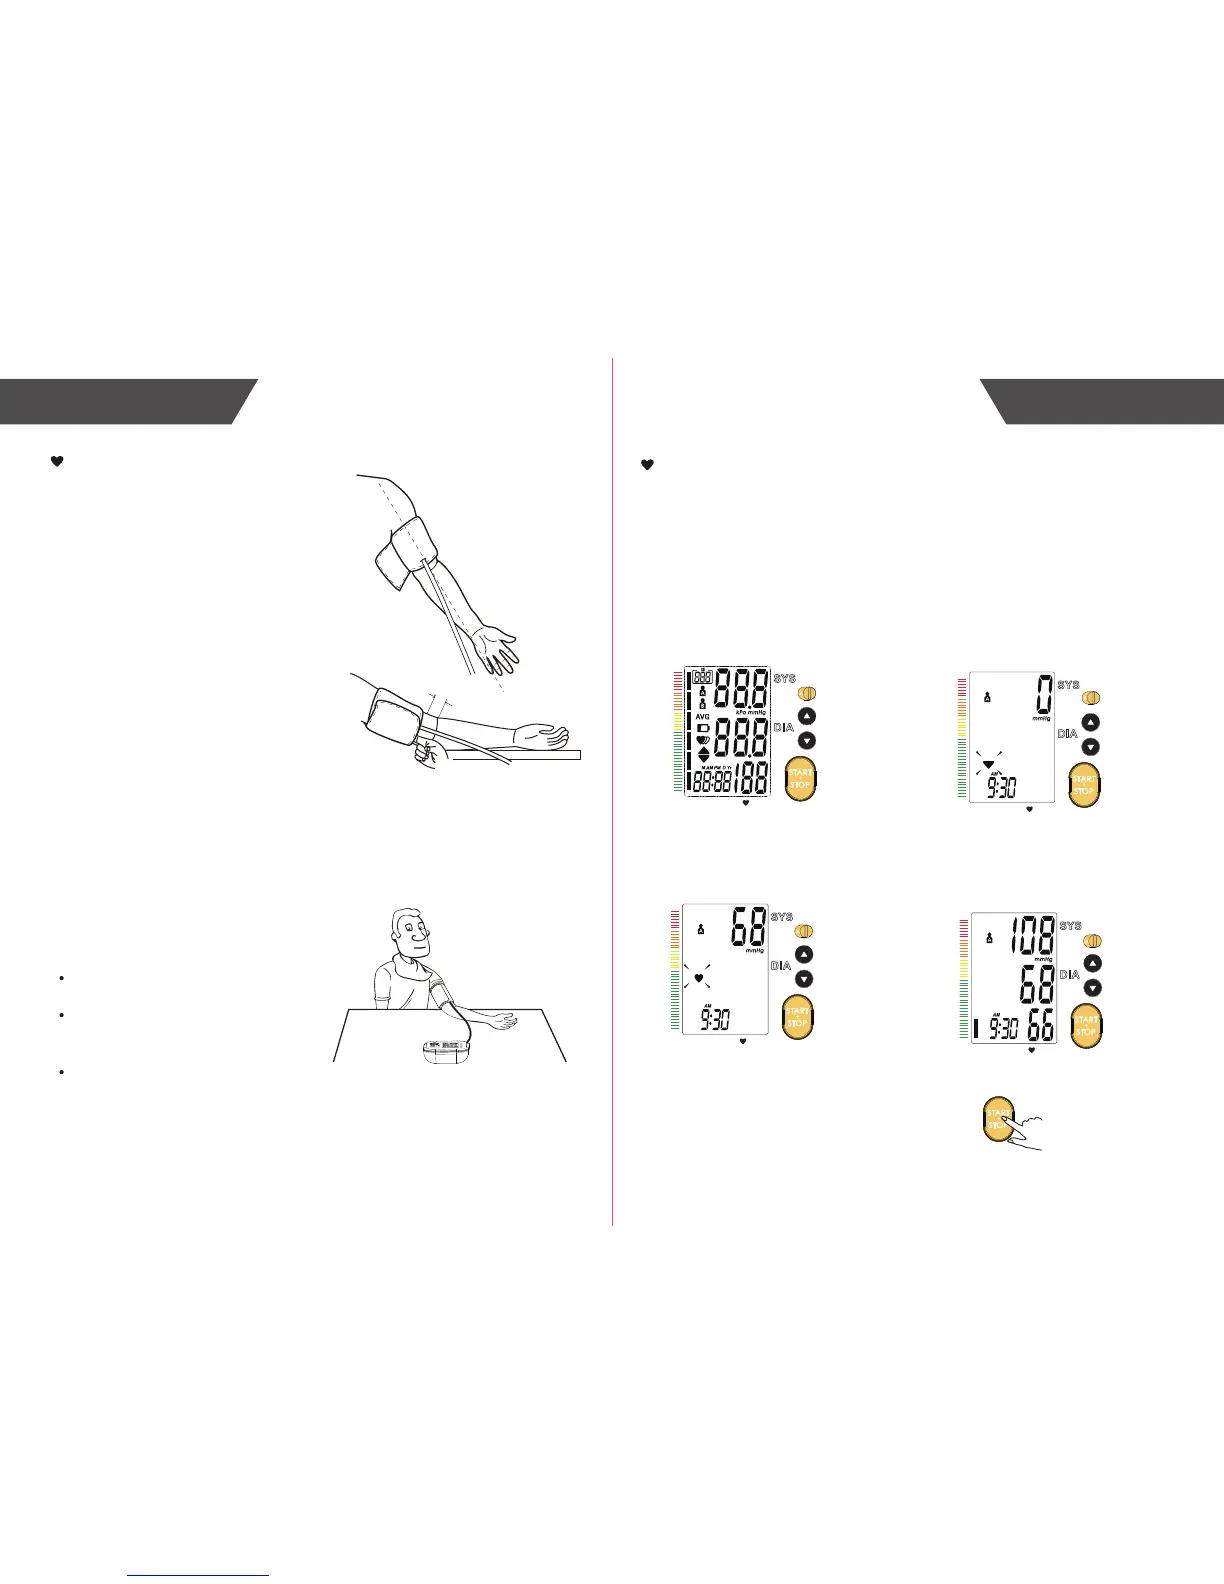
1.Before you start the measurement, switch the User button to select the user
between User A and User B. Switch to right to select User A, switch to left to
select User B. When the monitor is off,press the “START•STOP button to turn
on the monitor, and it will finish the whole measurement. And save the
measurement data for the desired user. (Take User A for example.)
Adjust the zero. LCD display
Inflating and measuring. Display and save the
measurement result.
Start the Measurement
2.Press the “START•STOP” to power
off, otherwise it will turn off
within 1 minute.
Pul/min
MEMORY
TIME /DATE
S
M
STA RT
ST O P
Pul/min
MEMORY
TIME /DATE
S
M
STA RT
ST O P
Pul/min
MEMORY
TIME /DATE
S
M
STA RT
ST O P
Pul/min
MEMORY
TIME /DATE
S
M
STA RT
ST O P
Tips: Maximum 250 records are both for User A and User B.
 Loading...