10 Installation (for qualified installers only)
© Travis Industries, Inc. 4050608 100-01203_000
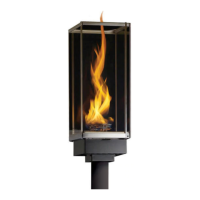
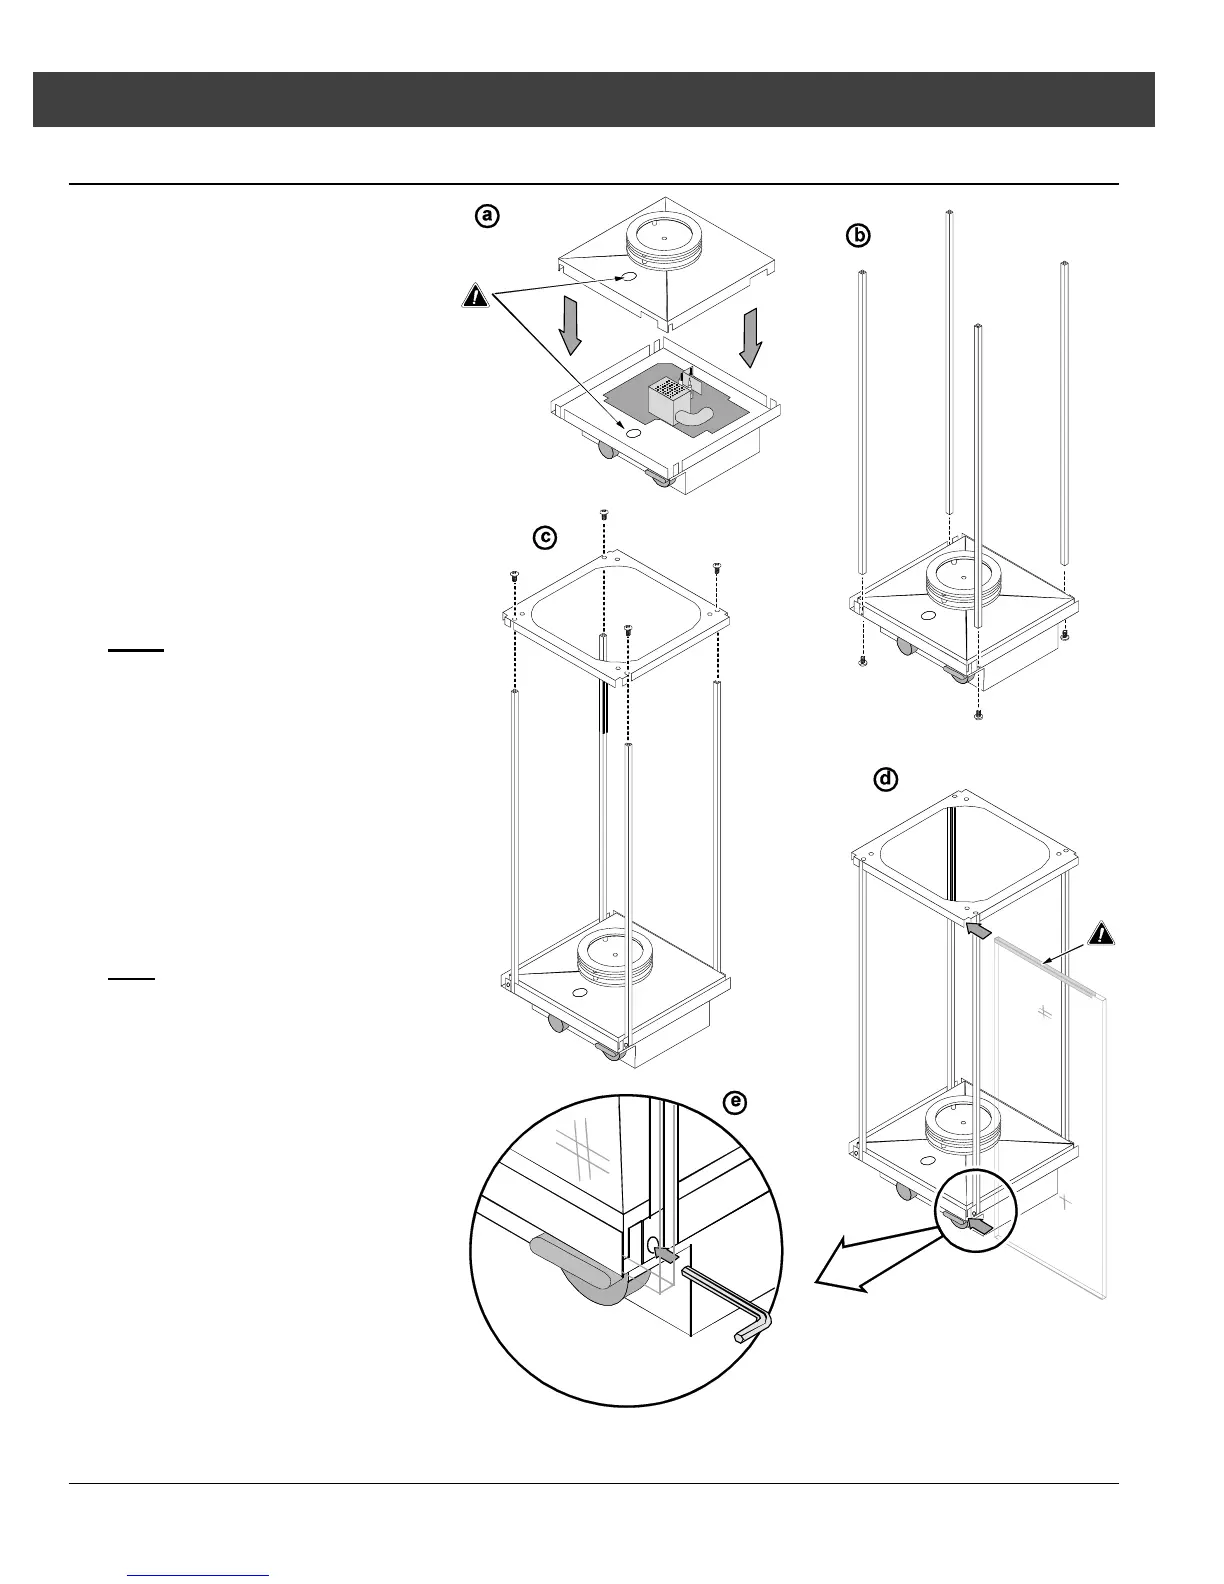
Torch Assembly
(a) Place the burner top over the
main assembly. Make sure the
burner top is fully seated.
! Make sure the wet weather
lighter openings line up.
(b) The support bars are shipped
with two screws pre-installed.
Remove the screws from the
support bars and attach the four
bars to the main assembly.
Make sure the bars are properly
aligned (square to the edge of
the main assembly).
(c) Attach the top plate.
NOTE
: If using the optional rain
cap, you may wish to install it
now before the glass is installed
(see page 13).
(d) Slide one piece of glass into
place until it contacts the support
bar.
! Make sure the teflon tape is at
the top of the glass with the
wrap-around edge facing
inwards.
HINT
: Make sure the glass is
clean before installing and
handle with soft gloves or other
non-marking material (e.g. paper
towel).
(e) Use a 5/32” hex wrench to
tighten the glass support bolt.
! Tighten the bolt only enough to
hold the glass in place – over-
tightening may break the
glass.
Repeat steps “d” and “e” for the
other three pieces of glass.