14 Operation
© Travis Industries, Inc. 4050608 100-01203_000
Before You Begin
! Read this entire manual before you use your new torch, especially the section "Safety
Precautions" on page 4. Failure to follow the instructions may result in property
damage, bodily injury, or even death.
! Remove any cover from the torch prior to operation (the optional stainless-steel rain cap
may be left in place.
! Inspect the torch to make sure it is free of debris or objects that may have fallen into the
torch prior to operation.
! Inspect the torch, burner, and supply lines for any damage prior to operation.
! It may be difficult to see the burner operating in direct sunlight.
Operating Instructions
WARNING: Do not continue to push in the valve control in if the torch does not light. By
pushing the valve control in, you are allowing gas to flow to the torch,
creating an explosion hazard. If the torch does not light, push the valve
control in and rotate the valve to the OFF position.
Lighting the Torch – DRY WEATHER
1. Push valve control in and turn counter-clockwise to
START/HIGH position, then release.
2. Turn the DRY WEATHER IGNITER clockwise to create
spark (continue turning while performing step #3).
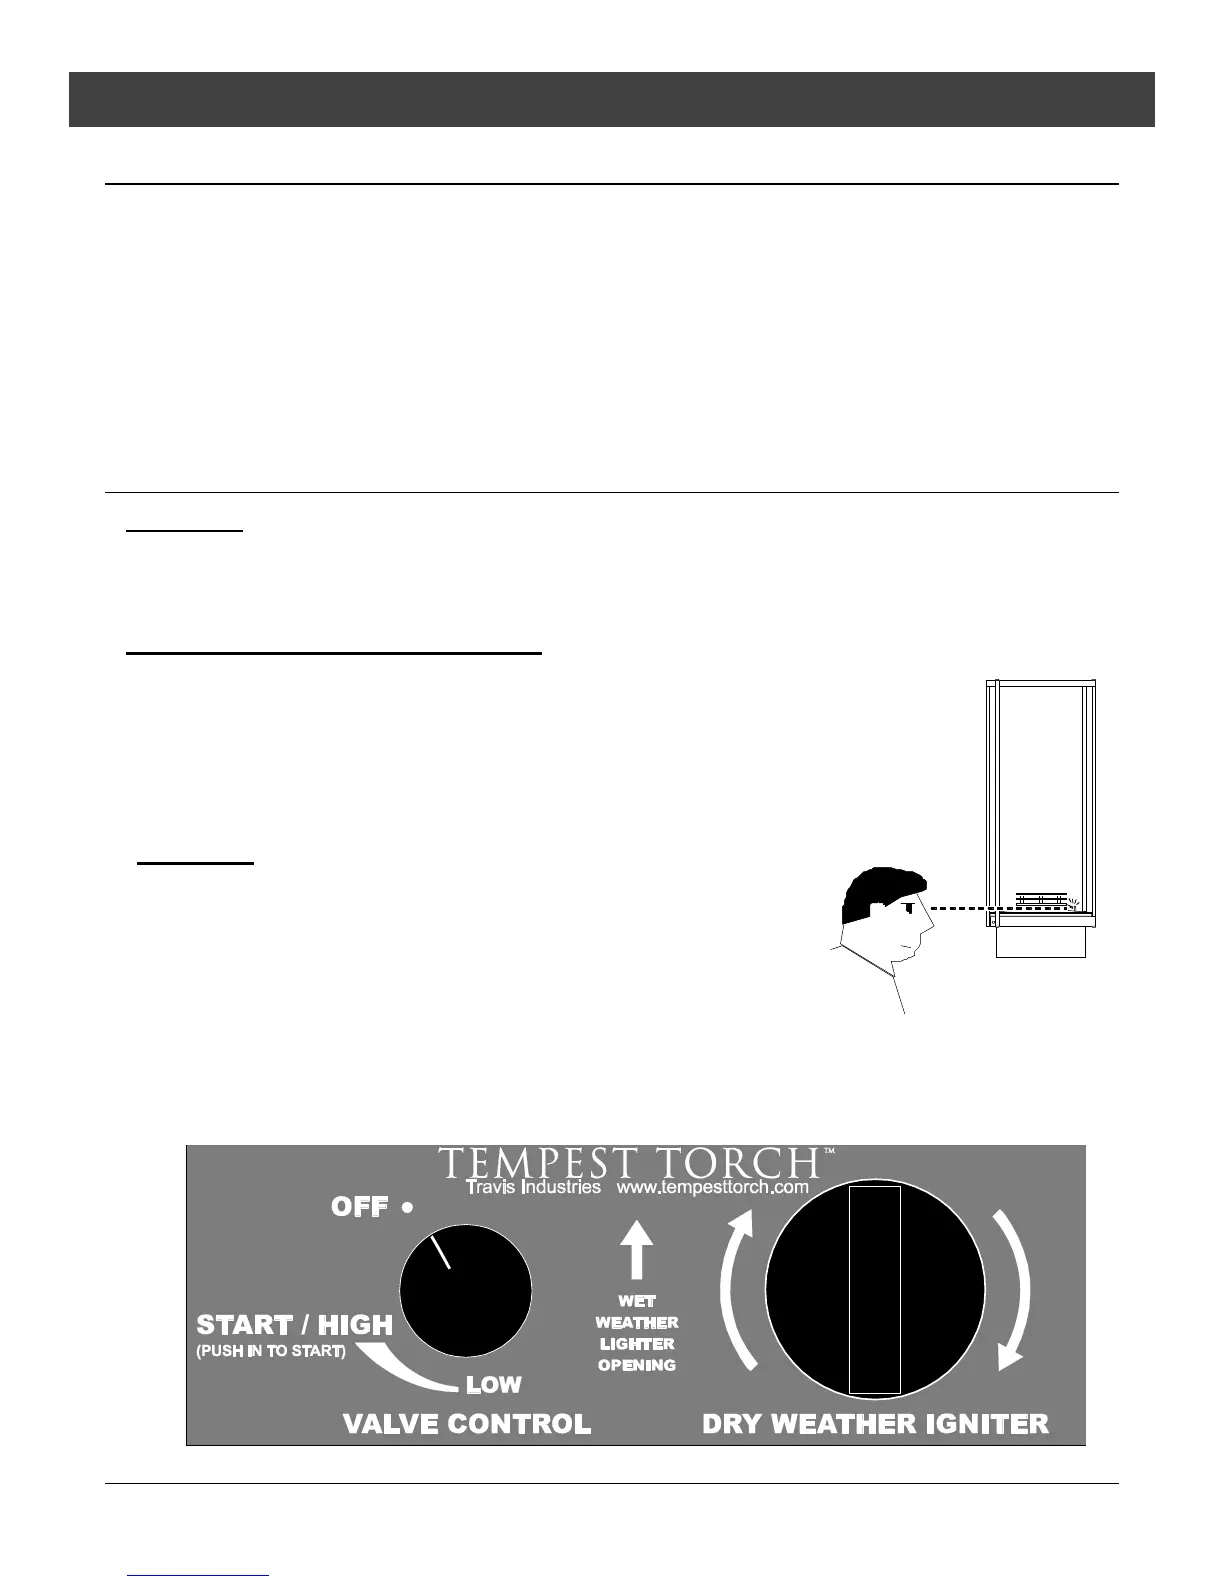
WARNING: Make sure the igniter is sparking before
continuing to step 3. The spark is best viewed
by adjusting your viewing angle so eye level is
level with the burner top (see the illustration to
the right). The spark typically jumps from the
spark electrode to the burner ring.
3. Push and hold valve control in. Torch must light within 5 seconds. After torch lights
continue to hold valve control in for 15 seconds. Note – if torch does not light use a
wand lighter in the wet weather lighter opening and perform step #3 to light.