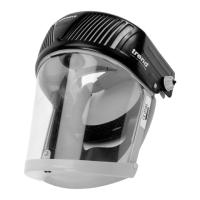
Ensure that the face seal around the chin and
sides is pulled away from the frame and visor
and not towards it.
Check the fit of the face seal in a mirror
and/or run a finger around the line of the face
seal to ensure contact.
At very high work rates, the pressure
within the AIR/PRO may momentarily
become negative at peak inhalation.
Vacate the contaminated area
immediately if the airflow is reduced
or stops, or the low battery warning
buzzer sounds.
If protective clothing is worn,
ensure the bottom of the visor is not
obstructed.
Removing Procedure
Vacate from the contaminated area
before removing the AIR/PRO.
Ear Defender Clips
Please refer to instructions supplied with
accessory ref. AIR/P/6 for fitting defender clips
and ear defenders to the AIR/PRO.
AIR/PRO - USA
-10-
Fitting Procedure
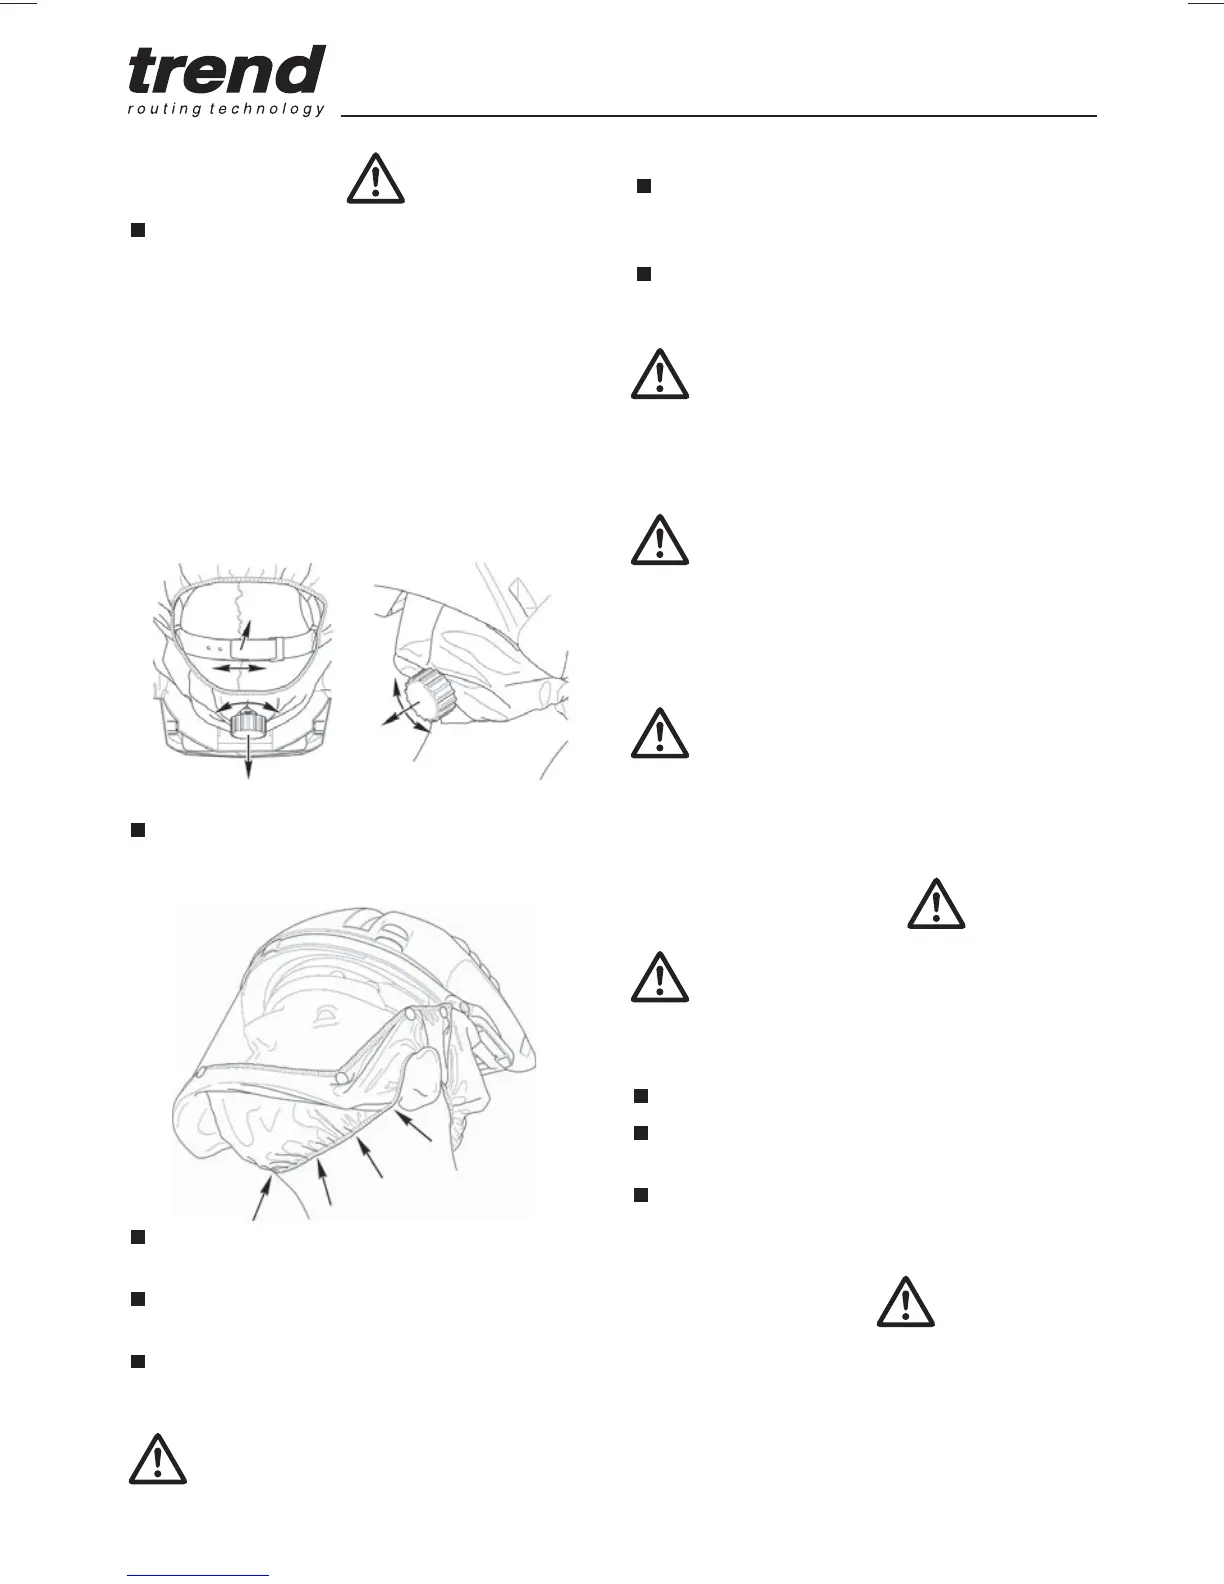
The crown strap has a soft pad that needs to
be removed before adjustment. Adjust the
crown strap length on the headband so that
the headband rests against brow.
Q Crown strap adjustment is made by pulling
the tab out of the strap and placing the pin
into the next suitable hole, once set replace
pad.
Q Adjust headband diameter by pulling out knob
and rotating for head size, push the knob in
to secure as shown.
Ensure face seal is above the ears. Check
that the face seal is taut so that there are no
gaps between mask and face as shown.
Switch on the fan/motor by operating the red
on/off switch.
Adjusting the height will affect the fit around
the chin.
Adjusting the face seal will affect the fit at the
sides.
Ensure face seal is above the ears.
Raise the visor and switch the fan motor off.
Pull out the knob to release headband and lift
the AIR/PRO from the head.
After finishing using the AIR/PRO follow the
maintenance procedure.