COMBI 651
-12-
Male Joint
Depending on accessibility lay female worktop
into position on units. Lay male worktop on top
and support other end. Using a pencil draw
round the female cut onto the male. If
inaccessible lay female onto male. Depending on
a right or left hand joint, the pencil line may need
to be transferred on to the other side. Due to the
difference between the cutter and the guide bush
diameters, the cutter path will be 8.5mm over
from the edge of the template, therefore either
measure 8.5mm or use a packing piece of this
size to offset the template by this amount to
ensure the cutter cuts along the pencil line.
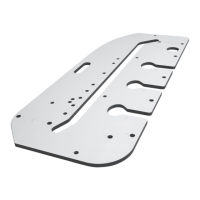
The postformed edge of the worktop must always
be in contact with the location bushes, this means
that to cut a male right hand joint, the worktop
must be inverted. Remembering to cut into the
postformed edge.
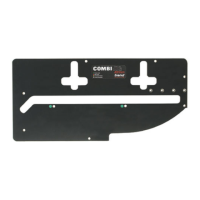
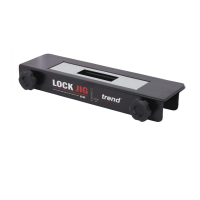
■ Insert two location bushes into holes marked
Red dot. Face marked Red dot must be
uppermost.
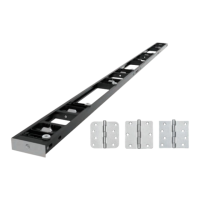
■ Remove the length stop from the female and fit
to the male side of template. Place template
across the width of the worktop and tighten the
knob. Now clamp securely to worktop.
■ Cut the male joint before finally cutting the
worktop to length. All cuts must be fed left
to right. At the end of each cut release plunge.
Out of square Joints (max. 3°)*
It may not be possible to position all joints at 90°,
in this case it is the male part of the joint that has
to be adjusted.
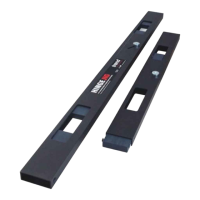
The length stop has a mitred end which is used to
set up for an out-of-square joint up to 3°.
To mark out an out-of square joint, first lay the
female worktop on the cupboard carcass in its
correct position. Next lay the male section of the
worktop on the carcass and on top of the female
section of the worktop. Support the other end of
the male worktop. Using a pencil and from
underneath the worktop mark around the female
joint onto the male section of the worktop, if
access is difficult lay the female worktop onto the
male worktop, support other end and mark with
pencil from above. This drawn line is the male
cut line.
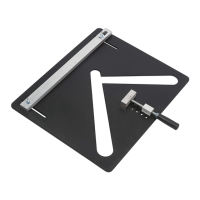
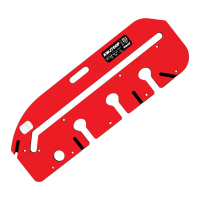
Routing the male part of the Joint
Test fit the joints together, abrasive
paper may be required to clean up the
chipboard core.
Quick action
clamp here
Direction of
router travel
Postform edge
Location bushes
(Red dot)
*Please Note:
Out-of-square joints are possible, but the
finished joint will not be as good as a 90° joint.