-24-
CRT/MK3
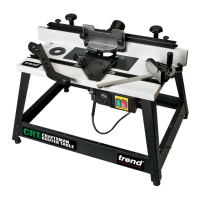
The router table fence features fully independent
fence cheeks which allow the fence to double as
a vertical planer for a 1.4mm or 2.4mm offset.
To set up for edge planing, remove the two
jointing rods which are stored in the top slot of
the fence, loosen the outfeed fence cheek and
place the rods into the shallow recesses behind
the outfeed fence.
Edge Planing
To position the fence at the 1.4mm setting, slide
the rods into the deeper recesses, as shown
below and tighten the fence cheeks locking
knobs.
1.4mm offset
2.4mm offset
The rods can be parked in the T-slots in the
top of the back fence. The rods are held by
tightening the knobs.
To position the fence at the 2.4mm setting, slide
the rods into the shallower recesses, as shown
below and tighten the fence cheeks locking
knobs.
After use of the table, keep assembled and
store properly.
-24-
CRT/MK3CRT/MK3
The router table fence features fully independent
fence cheeks which allow the fence to double as
a vertical planer for a 1.4mm or 2.4mm offset.
To set up for edge planing, remove the two
jointing rods which are stored in the top slot of
the fence, loosen the outfeed fence cheek and
place the rods into the shallow recesses behind
the outfeed fence.
Edge Planing
To position the fence at the 1.4mm setting, slide
the rods into the deeper recesses, as shown
below and tighten the fence cheeks locking
knobs.
1.4mm offset
2.4mm offset
The rods can be parked in the T-slots in the
top of the back fence. The rods are held by
tightening the knobs.
To position the fence at the 2.4mm setting, slide
the rods into the shallower recesses, as shown
below and tighten the fence cheeks locking
knobs.
After use of the table, keep assembled and
store properly.
 Loading...