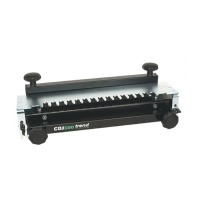
DJ300
TIMBER PREPARATION
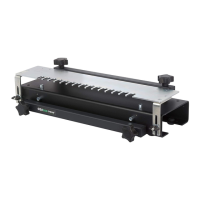
It is important to plan your work before starting
to save set-up time and avoid costly mistakes.
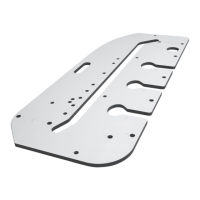
Both sides of the jig can be used to make the
dovetail joints. However, only clamp one pair
into the jig at any one time to ensure it is
clamped securely.
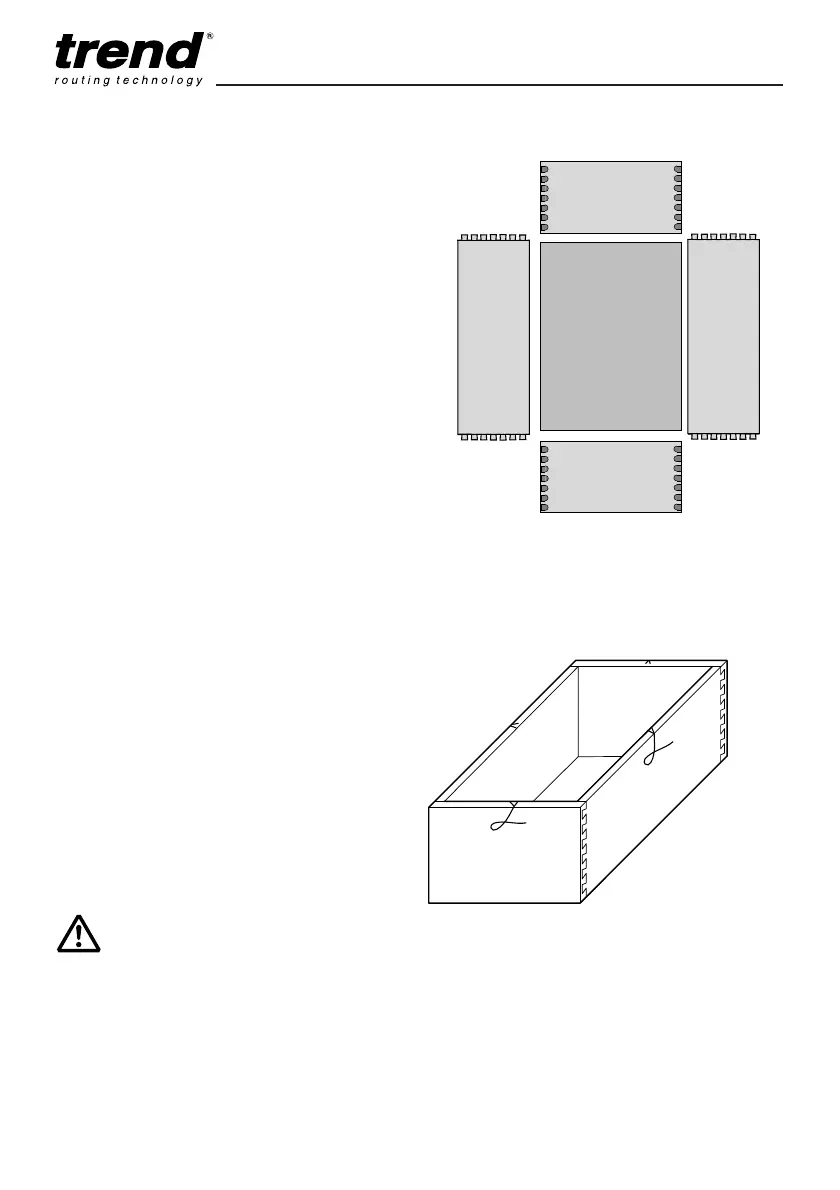
When joining multiple pieces for a drawer or
series of drawers, label the pieces as front, back,
sides and which face will be inside or outside.
Label the pieces so it is clear which end mates
with each other (see diagram).
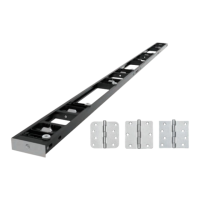
The ‘A’ parts will be clamped under the front
clamping bar and the ‘B’ under the top clamping
bar. Even numbers will be placed against the
left-hand edge guide and the odd numbers
against the right-hand edge guide.
A typical
1
/
2” (12.7mm) dovetail drawer has a
3
/
4”
(19mm ) thick front with sides made of
1
/2”
material. The dovetail jig’s design requires that
you use the same stock thickness for the back
as you do for the front, if you are cutting joints
simultaneously. Your drawer fronts and backs
must be at least
5
/8” (16mm) thick to fully
accommodate the length of the dovetails without
compromising strength.
Before joining the actual timber components,
make a trial cut on scrap timber. This will
familiarise you with the jig and check all
dimensions used.
After all the pieces have been cut to size and
checked to ensure squareness, set them on a
bench in the order and they will be fitted
together. Lay each piece down so the inside
faces up and label each piece on the inside as
shown.
-10-
IMPORTANT!
The dimensions shown in these
instructions are subject to
acceptable tolerances in the
manufacture of the guide bush,
template and cutter. Therefore
use the setting dimensions as
guidance only and make a trial
cut in scrap timber before
starting every project.
 Loading...