1
/
2
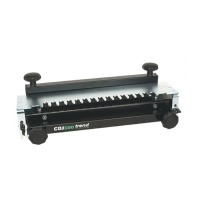
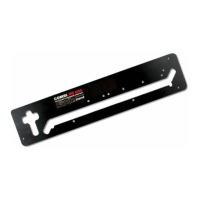
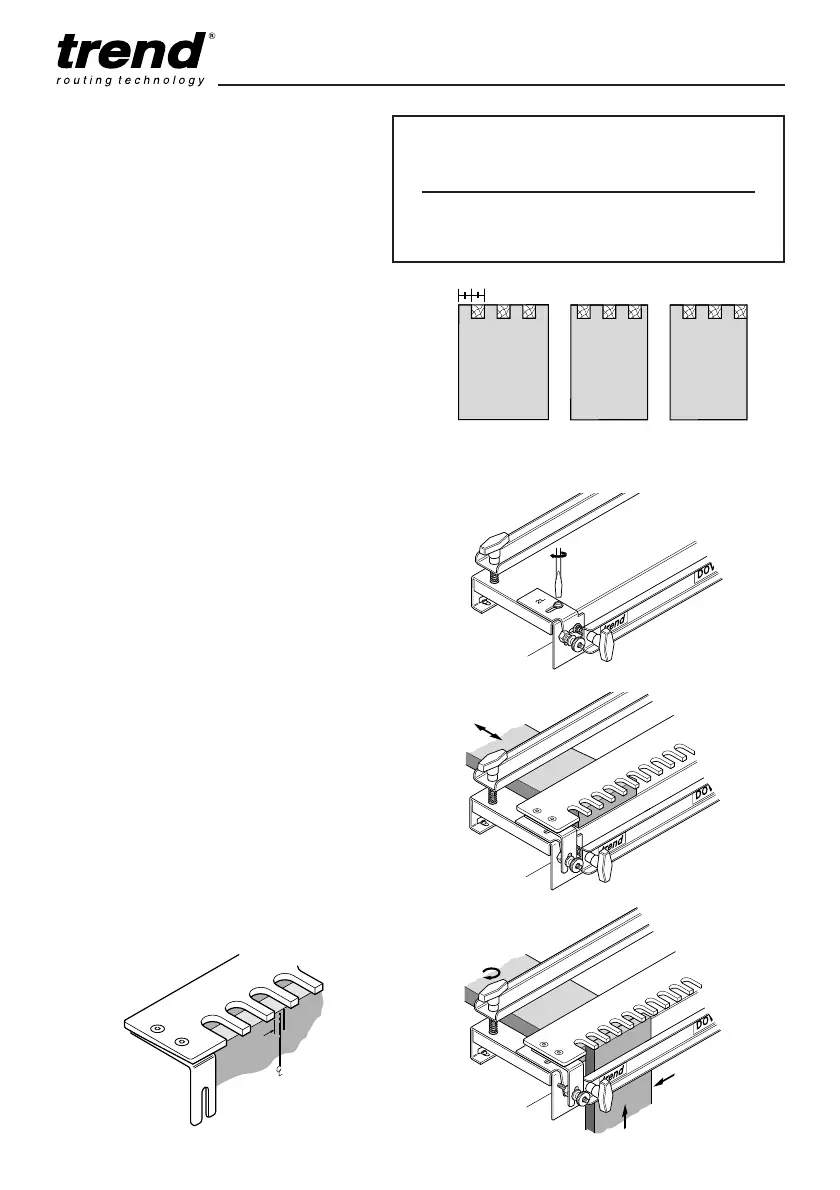
” (12.7mm) Comb Template
(25.4mm pitch with Symmetrical Sockets)
No. of Sockets
1 2 3 4 5 6 7 8 9...
38.1 63.5 88.9 114.3 139.7 165.1 190.5 215.9 241.3
Optimum width of timber in mm
ie (Pitch x No. of Sockets) + 12.7mm = Width.
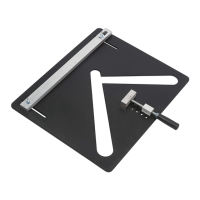
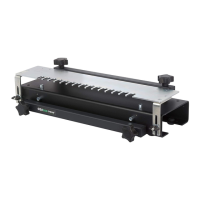
DJ300
Setting up the Jig
■ Fit the edge guides marked No. 2 and leave
slightly loose.
■ Fit the comb template to the jig.
Slide a packing piece which is at least
1
/4”
(6.35mm) thicker than the timber for the joint,
under the top clamp, flush with the front of the
jig and well away from the edge guide.
Clamp it in position.
■ To set the left-hand edge guide, slide the first
box side (1) under the front clamp, keeping the
top edge flush underneath the template. Align
the left-hand offset line with the edge of a
finger (2).
Clamp the piece in this position (3).
-19-
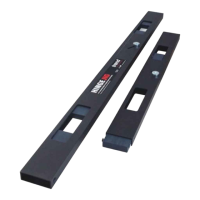
Timber Widths
■ Any width of timber up to 300mm wide
can be comb jointed, however to
obtain an even looking symmetrical
comb joint where there is an extra
pin/socket, the timber must be
machined to a width shown in the
chart.
■ For timber that is not machined to the
recommended width, either the end
pin/sockets will need to be narrow or
an un-symmetrical comb will have to
be machined.
 Loading...