DJ300
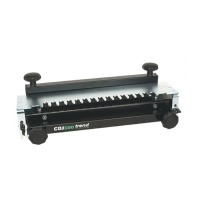
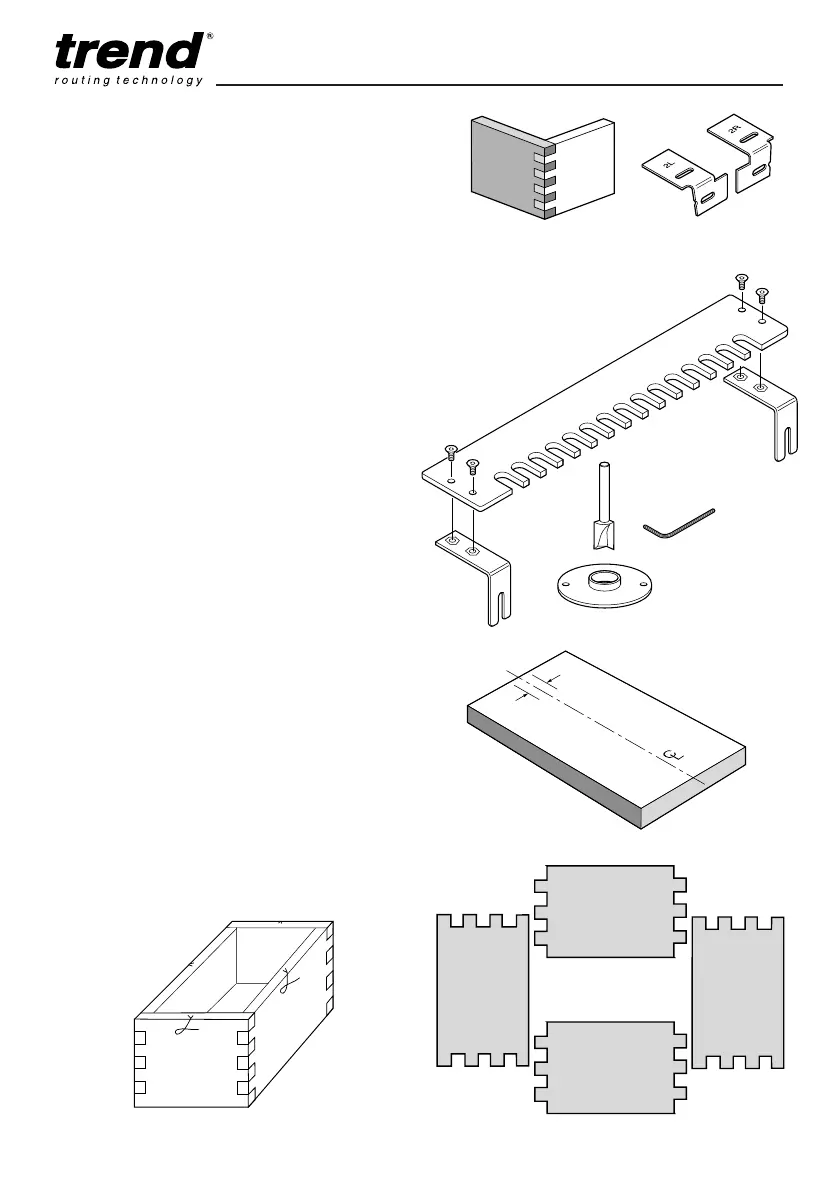
Comb Jointing with the Optional Comb
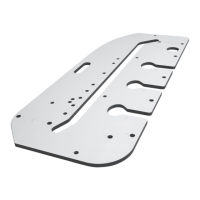
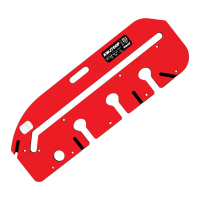
Template
The comb template is secured to the jig in the
same manner as the dovetail templates.
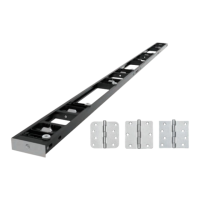
The GB157 guide bush as supplied with the
standard jig should be used together with a
12.55mm dia. straight two flute cutter ref.
3/76 or C021A.
■ Assemble the template to the template
brackets using the machine screws supplied.
■ Fit the guide bush and cutter to the router.
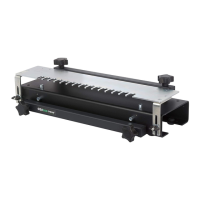
■ The comb joint is best routed in two or three
passes at increased depths. Therefore the 3
step turret stop fitted to most routers is ideal
for this purpose.
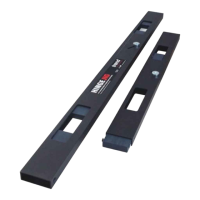
The technique for setting and routing comb joints
requires each piece to be clamped in the front
clamp and routed separately. A wider piece of
scrap is clamped under the top clamp to stop
tear-out and provide support for the router. The
scrap must be at least
1
/4” (6.35mm) thicker to
ensure you do not rout into the body of jig.
When using timber over 16mm thick the nylon
spacers on the clamp knob will need to be
removed.
Timber Preparation
■ Cut all four pieces for the box to the exact
dimensions of the final unit. Make sure that
all ends are perfectly square and exact
widths.
■ Mark the centre line on both pieces of
material and mark a 1.6mm (1/16”) offset to
the left and to the right of the centre line.
■ Label the piece as shown in the diagram.
-18-
 Loading...