16
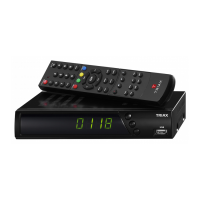
The receiver is connected to your satellite dish via pre-installed satellite cable.
It is recommended that the satellite cable is installed by a qualified
competent person.
Do not connect the receiver to the mains power supply until you have connected it
properly to all devices and to the dish. Otherwise the receiver may be damaged.
The braiding and the inner conductor of the coaxial cable carry electrical current
during operation.
Connecting the Digital Satellite Receiver
35
System Setup Symbol: Receiver
Submenu Description
Audio Language
First audio Pre-selection of audio language (if offered by
station)
Second audio Pre-selection of audio language (if offered by
station)
TV System
Display mode Selection of transmission system
Standard selection: Auto
Aspect mode Selection of image format
Standard selection: Auto
Video Output Only the video signal CVBS is offered
Dolby Digital Only if the receiver is connected to a digital
amplifier via the co-axial digital audio output
will you activate this function.
RF System PAL I, fully agile CH 21– CH68
Channel Setup Start-up channel Switch on and off, determination of the desired
TV or radio switch-on programme.
Time & Timer setting Time Possibility of time and time zone
input. (see example: Receiver
to Summer Time.
Timer See following table
OSD setting Subtitle display Activating subtitle
OSD timeout Menu fade-in time during switchover
in seconds (OSD time lock)
OSD
transparency
Menu transparency
Setting up RF output Channel
Select the RF output channel number with V+ or V- keys. Fully agile C21 to C69.
The default RF output channel is CH38 (PAL BG) UK uses Select PAL I,
System / TV System, RF System - PAL BG press V+ or V- keys to change to PAL I
Back to Exit