You can install up to 16 input modules in the headend.
Each input module is identified through the use of a specifically
coloured label. The label also indicates the module type’s name and
associated item number. The remainder of the label is used for noting
post-installation module information.
Another label containing a barcode and serial number is located on the
underside of the input module.
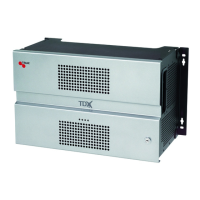
DVB-T and DVB-T2 input module
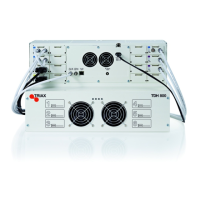
DVB-S and DVB-S2 input module
1. Remove the protective cover away from an
available input slot.
2. Retain the protective cover.
Note:
Any available input slot can be used.
1. Push the input module into the input slot
until the input module is locked in position.
2. Note details for the input module on the
label (optional).
3. Continue inserting all additional input
modules.
Input modules
10
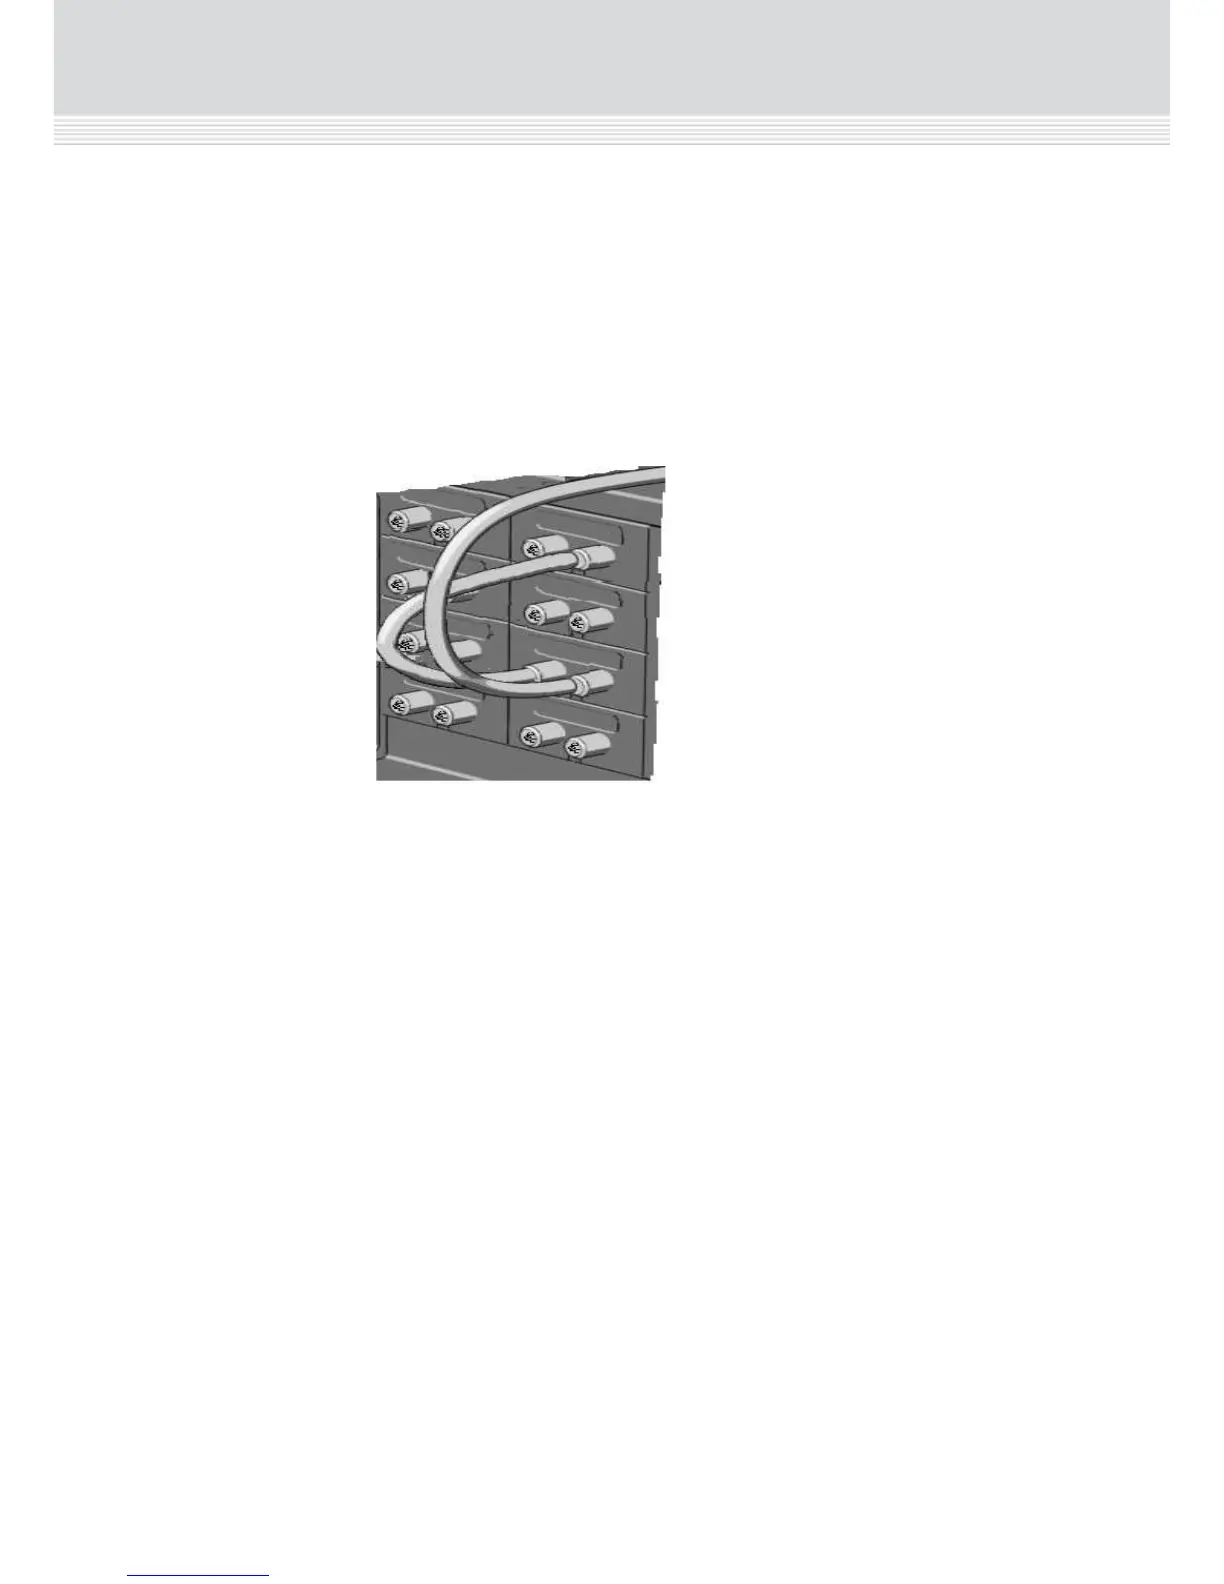
Attaching cables
1. Attach the signal cables to the ‘IN’ connector on the input module.
Note:
Ensure that enough cable is available for relocating input modules to
alternate input slots at a later date.
Looping cables
Signals can be looped between DVB-S/S2 input modules:
1. Attach the signal cable to the IN port on one DVB-S/S2 input
module.
2. Attach a loop cable to the OUT port on the same input module.
3. Attach the other end of the loop cable to the IN port on another
DVB-S/S2 input module.
Removing input
modules
1. Remove the signal cable from the module.
2. Remove the module from the headend with a flathead screwdriver.
3. Pull the module out of the headend.
Moving input
modules
1. Remove the module from the headend with a flathead screwdriver.
2. Pull the module out of the headend.
3. Insert the module into a new input slot.
 Loading...