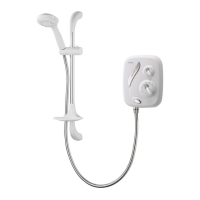
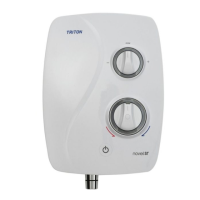
Aquasensation AS2000X
19
CLEANING THE FILTERS
Note: Turn off the electricity and both hot
and cold water supplies to the unit before
proceeding further.
To remove the cover, first pull off the flow knob
cover trim (fig.6) to reveal the retaining screw.
Undo the screw and pull off the temperature
control. Now remove the outer flow control
assembly comprising of the flow control,
maximum temperature stop and temperature
disc.
Remove the two cover fixing screws – top
and bottom (fig.8). Carefully lift the cover
away from the backplate. To release the
PCB connector, squeeze the connection block
arms and pull apart.
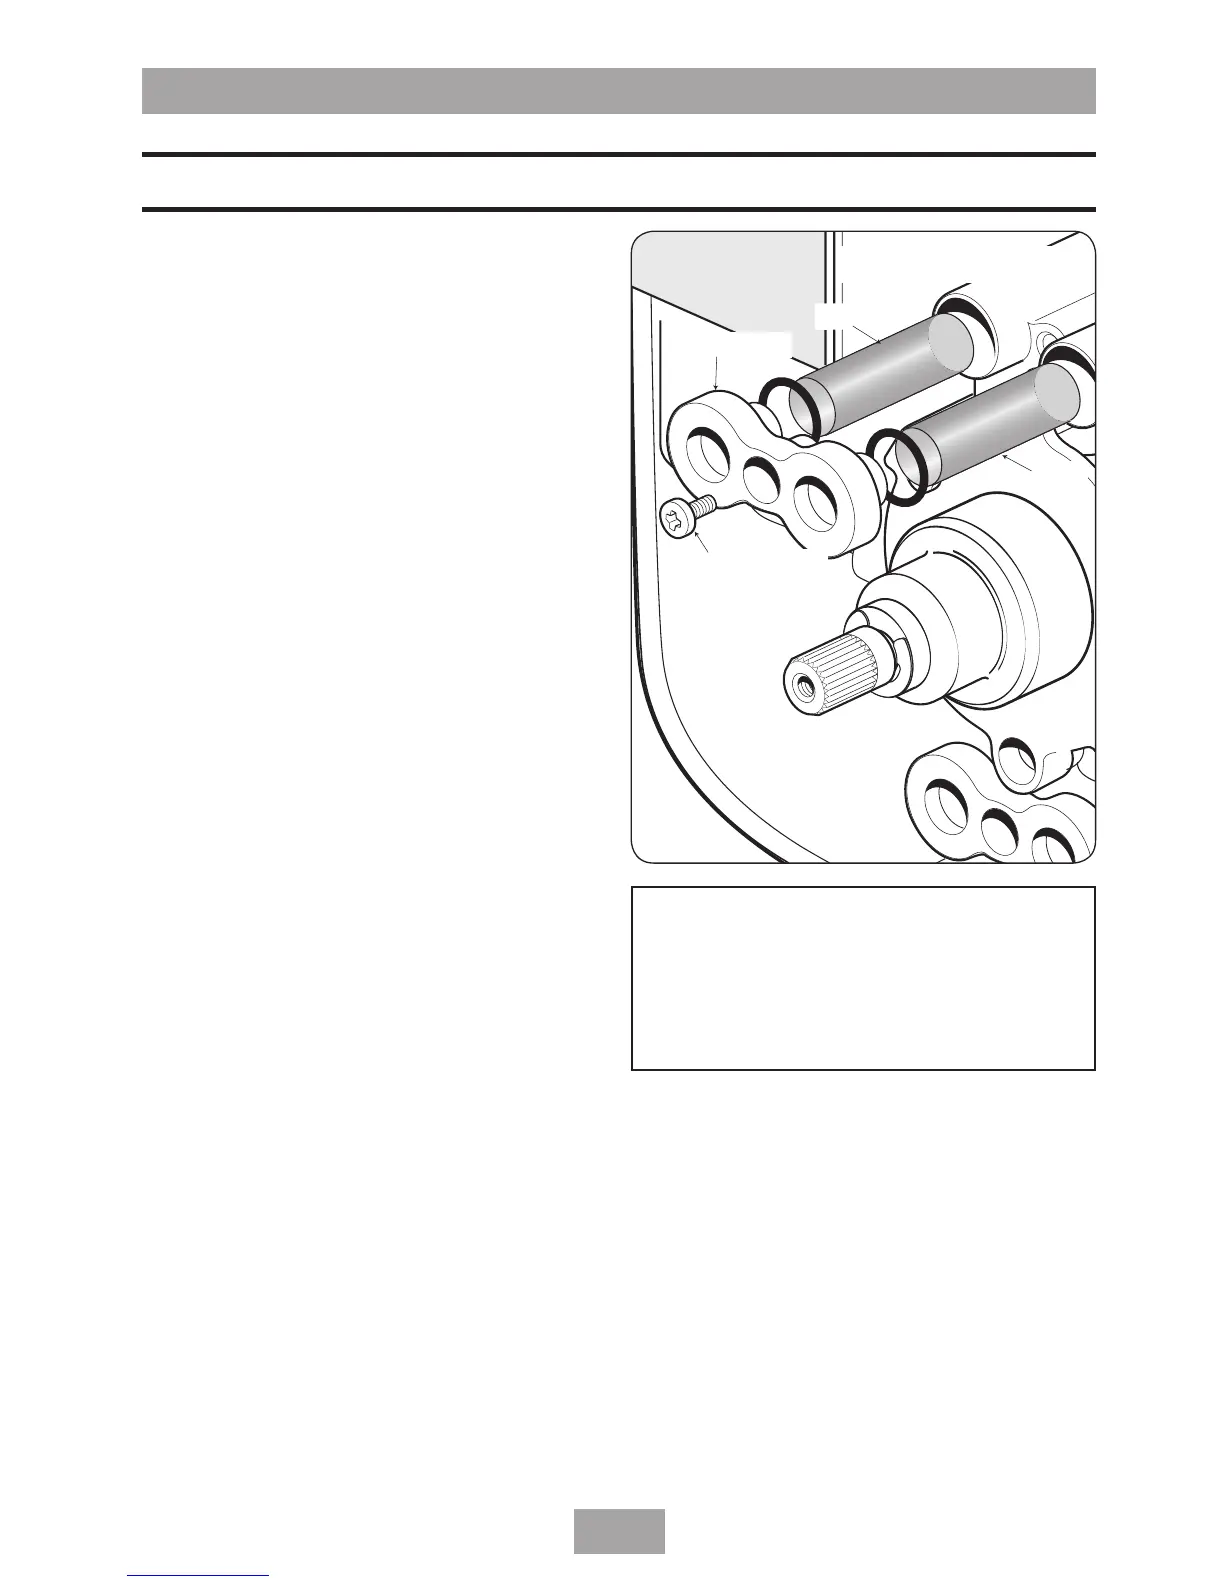
Remove the single retaining screw from either
the upper or lower filter cover (fig.46),
depending upon whether top/rear entry or
bottom entry is used. Pull off the filter cover.
Carefully hook out the filters together with ‘O’
rings. Thoroughly clean and replace making sure
the ‘O’ rings are in position.
Refit the filter cover and secure with the
retaining screw.
Make sure the potentiometer control is rotated
fully anti-clockwise (fig.25).
With your fingers, rotate the valve spindle fully
anti-clockwise (fig.26) to the fully hot position.
Fit the cover, making sure the PCB connector is
fitted and the wires are clear of obstructions. Secure
with the top and bottom fixing screws (fig.8).
Replace the flow control so that it aligns with
the ‘min’ position.
Fit the temperature disc (it will only fit one way)
and maximum temperature stop (fig.27).
Replace the temperature control onto the valve
spindle. Make sure the pointer aligns with
setting ‘9’ on the temperature disc (fig.28).
Secure with the retaining screw and fit the cover
trim.
Switch on the electricity supply to the unit and
then turn on both water supplies.
INSTRUCTIONS FOR INSTALLERS AND SERVICE ENGINEERS ONLY
 Loading...