10
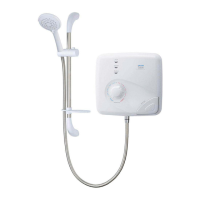
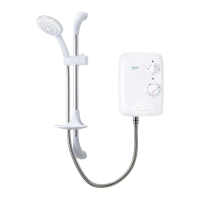
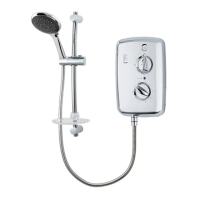
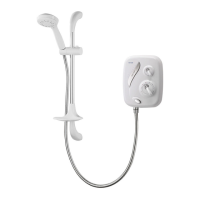
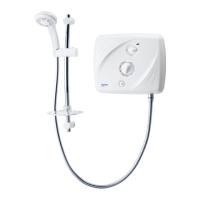
T90xr pumped electric shower
After choosing the site for the shower, use the
backplate as a template (fig.11) and mark the
four fixing holes 1, 3, 4 and 5.
Note: If fixing to an installation with a top water
entry point, mark the four fixing holes 2, 3, 4
and 5.
Drill and plug to suit the fixing screws supplied.
(The wall plugs provided are suitable for most brick
walls – use an appropriate masonry drill, but if the
wall is plasterboard or a soft building block, use
suitable wall plugs and an appropriate drill bit.)
Screw the two upper fixing screws into position
leaving the base of the screw heads protruding
6 mm out from the wall.
Hook the backplate over the top screws and fit
the lower fixing screw into position.
DO NOT fully tighten the screws at this stage,
as the fixing holes are elongated to allow for
out of square adjustment after the plumbing
connections have been completed.
Note: A temporary factory fitted locking screw is
fitted to the power selector spindle
(fig.16). This
is to make sure the spindle is held in Cold while
the commissioning procedure is carried out.
DO NOT remove the locking screw before this
procedure is completed.
 Loading...