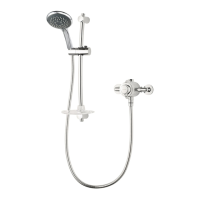
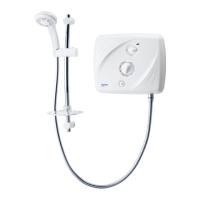
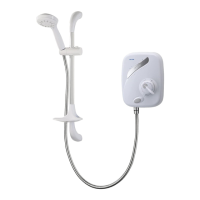
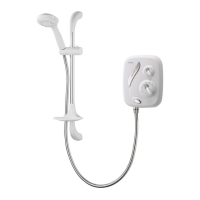
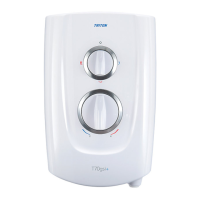
Vertical bar mixer shower
10
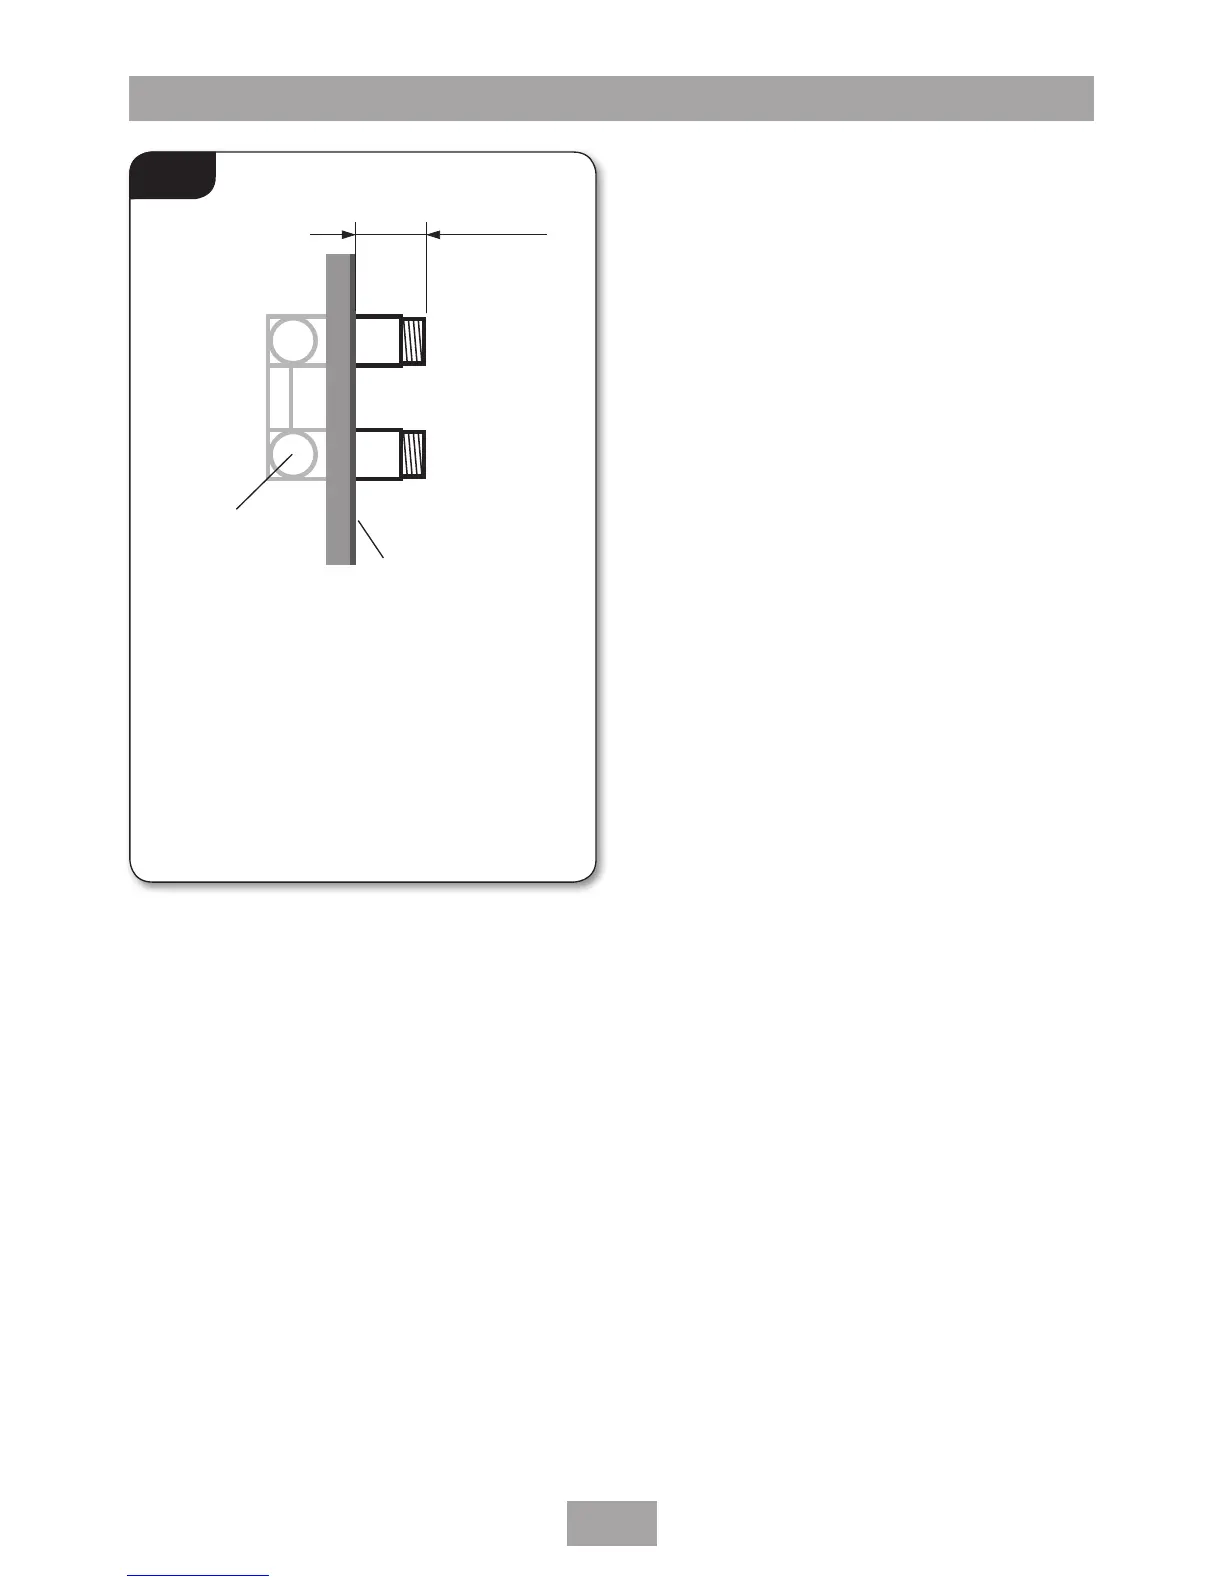
Bracket
Final tiled
surface
32mm
minimum
Note: it is advised that there is
at least 32mm from the face
of the mixer threads to the final
tiled surface of the wall.
FITTING THE MIXER
Note: The mixer bracket requires secure fixing
- (fig.9) gives an example of the fixing required.
The mixer bracket MUST be supported by a
baton or noggin.
The mixer MUST be fitted vertically with the
HOT water going to the inlet, marked HOT, ‘H’
or with a red/orange label and connect the cold
water supply to the inlet marked
COLD, ‘C’ or blue label.
• Once the height and position of the mixer
shower and the shower kit has been
established, the mixer bracket will need to be
installed (fig.10).
IMPORTANT:
Make sure that all supply pipework has
been flushed through before fitting the
mixer.
Fitting the mixer
Note: It is advisable to leak test the incoming
pipework before making good the wall.
• Fitthemixertothebracketandtightenthe
fittings.
Make sure that the mixers flow control is in
the ‘OFF’ position - see (fig.13).
• Turnonbothofthewaterinletsuppliestothe
mixer.
• Onceithasbeenestablishedthatthereareno
leaks, isolate the water supplies and remove
the mixer from the bracket.
• Make good the wall and fit the mixer face plate.
•
Fit the mixer to the bracket and tighten the fittings.
Fig.10