12
13
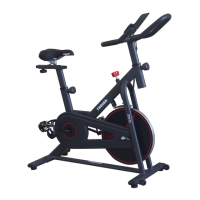
ASSEMBLY STEPS
ASSEMBLY STEPS
STEP 3:
Connect the Extension Upper Wire (104) located on
the Console (4) and the Extension Lower Wire (105)
located on the Right Upright (3).
Fasten the Console (4) to the Right Upright Tube (3)
using 3 Allen Socket Screws (M10 x 15 mm) (67) and
3 Lock Washers (Ø10 x 1.2 mm) (91).
Fasten the Console (4) to the Left Upright Tube (3)
using 3 Allen Socket Screws (M10 x 15 mm) (67) and
3 Lock Washers (Ø10 x 1.2 mm) (91).
Fasten the bottom of the Right Upright Tube (3)
to the Bottom Frame (1) using 1 Allen Socket
Screw (M10 x 15 mm) (67) and 1 Lock Washer
(Ø10 x 1.2 mm) (91).
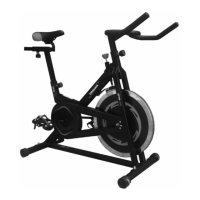
STEP 5:
Connect the Left protective base cover (36L) to the Bottom Frame (1) using 1 Cross Tapping Screw (ST4 x 16)
(88).
Connect the Right protective base cover (36R) to the Bottom Frame (1) using 1 Cross Tapping Screw (ST4 x 16)
(88).
Insert the A side of the Outside Upright Cover (34) and the Inside Upright Cover (35) to the B side of the
Console (4) as shown below. Do this on both the left and right side of the Console (4). Fasten the Outside
Upright Cover (34) and the Inside Upright Cover (35) to the Left and Right Upright Tubes (3) using 8 Cross
Tapping Screws (ST4 x 12 mm) (88).
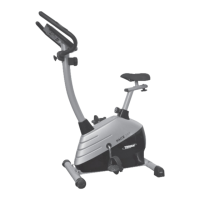
STEP 4:
Connect the B Side of the Right Handlebar (8) to the
C hole located on the Right Upright (3).
Insert the A side of the Right Handlebar (8) into the
hole located underneath the Right Console Handle
(43R), align the holes, and fasten using 1 Allen
Socket Screw (M10 x 15 mm) (67) and 1 Lock Washer
(Ø10 x 1.2 mm) (91).
Connect the B Side of the Left Handlebar (8) to the
C hole located on the Left Upright (3).
Insert the A side of the Left Handlebar (8) into the
hole located underneath the Left Console Handle
(43L), align the holes, and fasten using 1 Allen Socket
Screw (M10 x 15 mm) (67) and 1 Lock Washer (Ø10 x
1.2 mm) (91).
Adjust the angle of the Console (4) to make sure
the Left and Right Handlebars (8) and Left and Right
Upright Tubes (3) are in the correct positions, then
lock the screws tightly.
STEP 3 STEP 5
STEP 4
#22M05T011 Pro Series Treadmill - User Manual.indd 12-13 2022/06/14 14:41

 Loading...