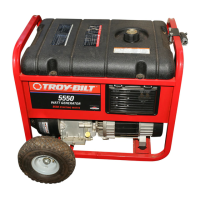
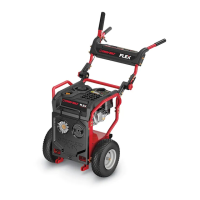
Section 3: Assembly
BEFORE STARTmNG THE
ENGmNE
Add Engine Oil
° Place genera[or on a level surface.
[
• Refer to engine manuaIfor oil fill information.
• Damage to equipment resuking from failure to follow this
instruction will void warranty.
° Refer to engine owner's manuaHand follow oiH
recommendations and instructions.
[NOTE: Check oil often during engine break-in. Refer to
engine owner's manual for recommendations.
[NOTE: The generator assembly rotates on a prehbricated
and sealed ball bearing that requires no additional
lubrication for the life of the bearing.
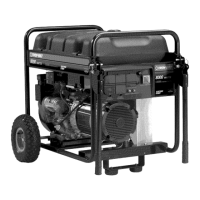
Add Fuel
NOTE:This gasoline engine is certified to operate on
gasoline.Exhaust Emission Control System:EH (Engine
Hodifications).
_WARNING
WHEN ADDING FUEL
Turn generator OFF and let it cool at Ieast 2 minutes before
removing fuel cap_Loosen cap s!owly to relieve p_ssure in _nk.
Fill fuel tank outdoors,
DO NOT overfill tank.Allow space for fuel expansion_
Keep fuel away from sparks, open flames, pilot lights, heat, and
other ignition sources
DO NOT light a cigarette or smoke,
I. Use clean, fresh, regular UNLEADED fuel with a
minimum of 85 octane. DO NOT use fuel which
contains Hethanol. DO NOT mix oil with fuel.
2. Clean area around fuel fill cap, remove cap.
3. Slowly add regular unleaded gasoline to fuel tank. Be
careful not to overfill.Allow about 2.25" of tank space
for fuel expansion (Figure 2).
Fuel
Replace"1.5" with "2.25" fuel fill levelgiven in enginemanual
Failure to follow this instruction may cause fuel to overexpand
and spill from tank.
Install fuel cap and wipe up any spilled fuel.
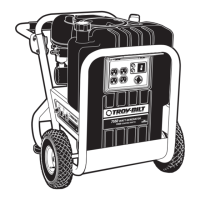
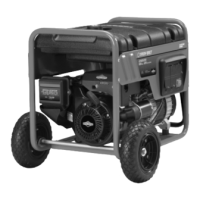
Remove Cover on Start Switch
A protective plastic cover is placed over the start switch to
prevent the generator from being started.
* Open cap on battery float charger.
° Remove and discard plastic cover over the start switch
(Figure 3).
° Replace cap on battery float charger.
O