4
USING THE CRUISE CONTROL
1.
Oncetheenginehasbeenstartedandwarmedup,squeeze
thetriggertoacceleratetheunitasneeded(Fig.1).
2. Forlongerperiodsofoperationandtoeliminatepossible
ngerfatigue,movethecruisecontroltowardthe
FAST positiontoincrementallyincreaseormaintaintheunit’s
enginespeed(Fig.1).Whenthecruisecontrolispressed,the
triggerwillrecedeintothehandle.
3. Todecreaseenginespeed,movethecruisecontroltothe
SLOW positionandthetriggerwillreturntotheidleposition
(Fig.1).
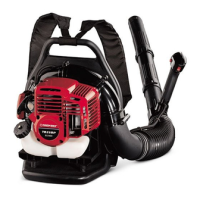
PUTTING ON THE UNIT
1. Placetheshouldersupportsovertheshoulderssothatthe
enginerestsontheoperator’sback.
2. Pulltheshouldersupportstrapsdowntotightentheshoulder
supports(Fig.2).
NOTE:Theunitmustbestartedpriortoputtingiton.See
Starting/StoppingInstructions.
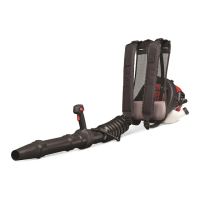
TAKING OFF THE UNIT
1. Pulluponthebottomtabsoftheshouldersupportbucklesto
loosentheshouldersupports(Fig.3).
2. Removetheunit.
HOLDING THE BLOWER
Beforeoperatingtheunit,standintheoperatingpositionand
checkforthefollowing(Fig.4):
• Theoperatoriswearingeyeprotectionandproperclothing.
• Iftheconditionsaredusty,theoperatoriswearingadust
mask.
• Theunitissecureandcomfortableontheoperator’sback.
• Therightarmisslightlybentandtherighthandisgrippingthe
throttlecontrol.
OPERATING TIPS
• Neverdirecttheunitatanyonewhiletheunitisinoperation.
• Alwaysholdtheunitsecurelywhenoperating.
• Toreducetheriskofhearinglossassociatedwithsound
level(s),hearingprotectionisrequired.
• Operatepowerequipmentonlyatreasonablehours.Comply
withtimeslistedinlocalordinances.Usualrecommendations
are9:00amto5:00pm,MondaythroughSaturday.
• Toreducenoiselevels,operatepowerblowersatthelowest
possiblespeedtodothejobandlimitthetotalnumberof
piecesofpowerequipmentusedatanyonetime.
• Checkunitbeforeoperating,especiallymufer,airintakesand
airlters,fordebrisandpossibleblockages.
• Userakesandbroomstoloosendebrisbeforeblowing.
• Industyconditions,slightlydampensurfaces.
• Conservewaterbyusingpowerblowersinsteadofhosesformanylawnandgardenapplications,
includingcleaningdebrifromareassuchasscreens,patios,grills,porches,andgardens.
• Watchoutforchildren,pets,openwindowsorfreshlywashedcars,andblowdebrissafelyaway.
• Usethefullblowernozzleextensionsotheairstreamcanworkclosertotheground.
• Cleanupafterusingblowersandotherequipment.Disposeofdebrisappropriately.
• Usethecruisecontroltomakecontinuousoperationeasier.
APPLICATIONS
• Usetheblowerfortrees,shrubs,owerbedsandhard-to-cleanareas.
• Usetheunitaroundbuildingsandforothernormalcleaningprocedures.
• Usethebloweraroundwalls,overhangs,fencesandscreens.
MAINTENANCE SCHEDULE
Performtheserequiredmaintenanceproceduresatthefrequencystatedinthetable.These
proceduresshouldalsobeapartofanyseasonaltune-up.
NOTE:Somemaintenanceproceduresmayrequirespecialtoolsorskills.Forthesetypesofrepairs
call1-800-828-5500formoreinformation.
NOTE:PleasereadtheCalifornia/EPAstatementthatcamewiththeunitforacompletelistingof
termsandcoveragefortheemissionscontroldevices,suchasthesparkarrestor,mufer,
carburetor,etc
AIR FILTER MAINTENANCE
Failuretomaintaintheairlterproperlycanresultinpoorperformanceorcausepermanentdamageto
theengine.
1. Opentheairltercoverandremovetheairlter(Fig.5).
2. Washthelterindetergentandwater.Rinsethoroughlyand
allowtodry.
3. ApplycleanSAE30motoroiltolter.
4. Squeezeltertospreadandremoveexcessoil.
5. Replaceairlter(Fig.6).
NOTE:OperatingunitwithoutairlterWILLVOIDwarranty.
6. Reinstalltheairltercoverandpressdownuntilitsnapsinto
place(Fig.5).
ADJUST IDLE SPEED SCREW
Theidlespeedoftheengineisadjustable.Anidleadjustment
screwisbetweentheairltercoverandtheenginecover(Fig.7).
NOTE:Carelessadjustmentscanseriouslydamageyourunit.An
authorizedservicedealershouldmakecarburetoradjustments.
If,aftercheckingthefuelandcleaningtheairlter,theenginestill
willnotidle,adjusttheidlespeedscrewasfollows:
1. Starttheengineandletitrunatahighidleforaminuteto
warmup.RefertoStarting/StoppingInstructions.
2. MovethecruisecontroltotheSLOWpositionandlet
theengineidle.Iftheenginestops,insertasmallPhillips
screwdriverinbetweentheairltercoverandtheengine
cover(Fig.7).Turntheidlespeedscrewin,clockwise,1/8ofa
turnatatime(asneeded)untiltheengineidlessmoothly.
Checkingthefuelmixture,cleaningtheairlter,andadjustingthe
idlespeedshouldsolvemostengineproblems.Ifnotandallofthe
followingaretrue:
• enginewillnotidle
• enginehesitatesorstallsonacceleration
• thereisalossofenginepower
taketheunittoaqualiedservicedealer.
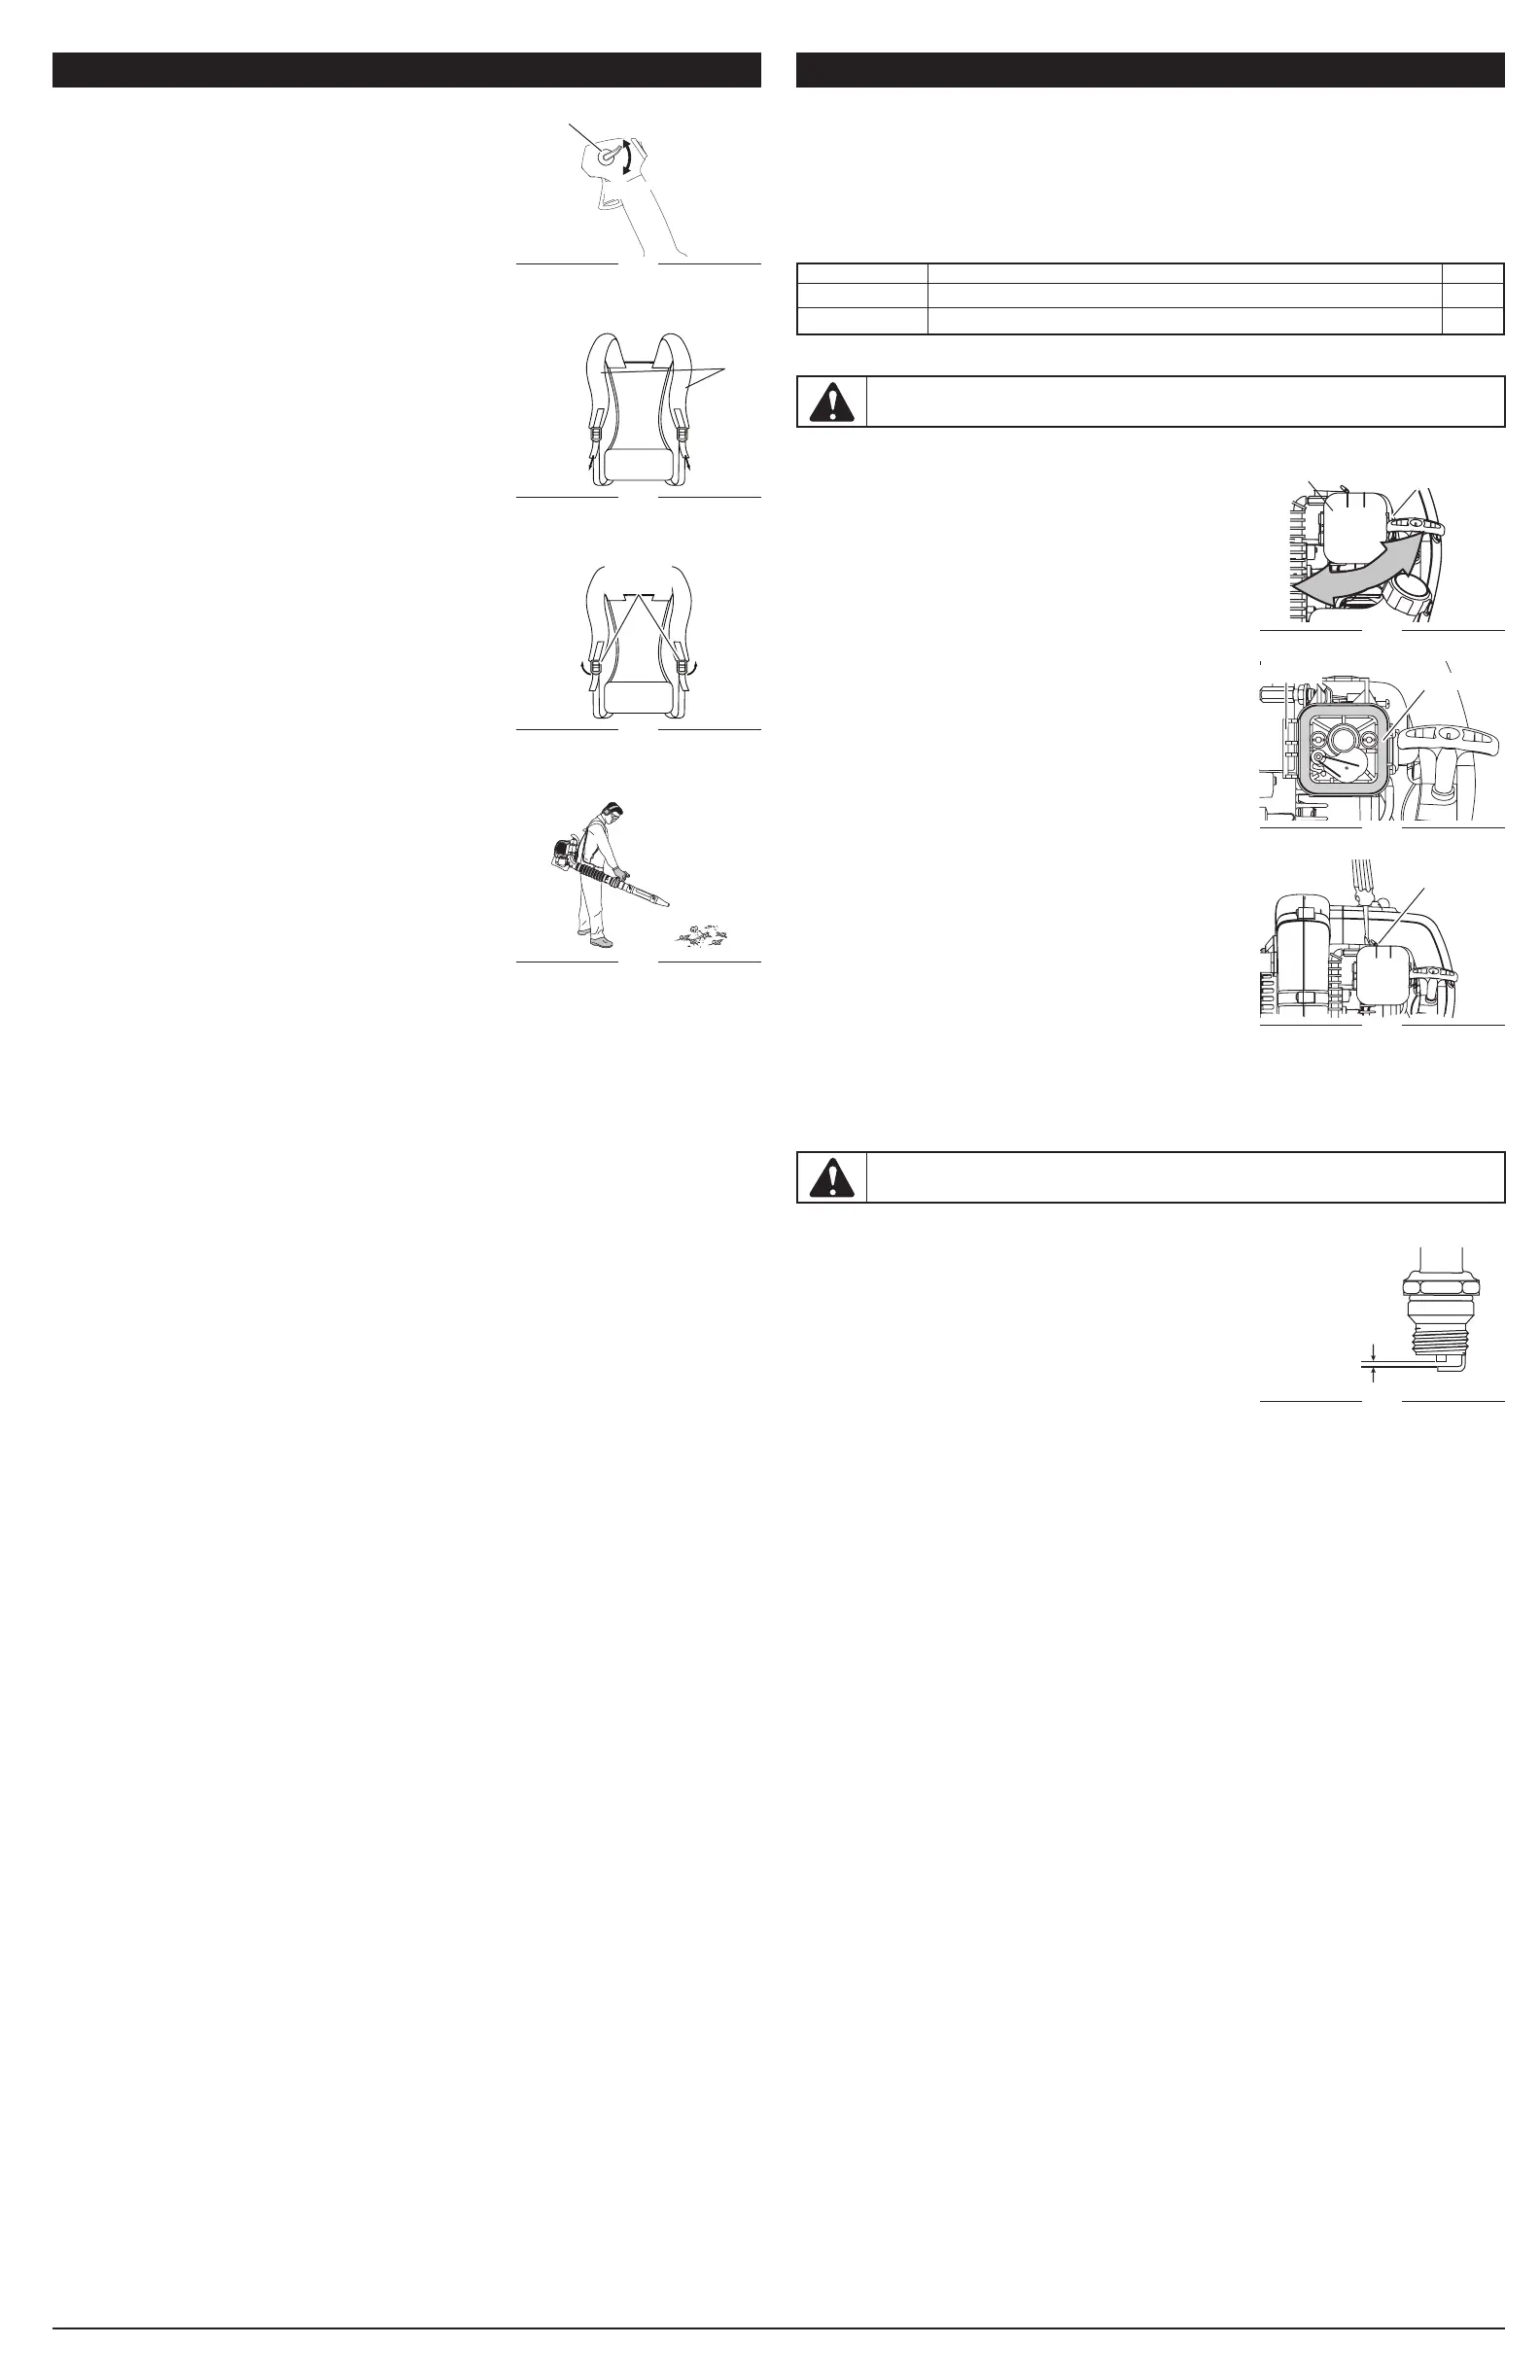
REPLACING THE SPARK PLUG
Useareplacementpartnumber753-06193 orChampion spark plug #RDJ7J.Thecorrectsparkgap
is0.025in.(0.635mm).
1. Stoptheengineandallowittocool.
2. Graspplugwirermlyandpull.
3. Cleanaroundsparkplugandremoveusinga5/8-inchsocket
counterclockwise.
4.
Settheairgap,accordingtospecications,usingafeeler
gauge(Fig.8).
5. Installsparkplugturningclockwiseandtorquingasstated:
• Torqueto:110-120 in.•lb. (12.3-13.5 N•m)Do not over
tighten.
6.
Reconnectthesparkplugwire.
MAINTENANCE
FREQUENCY MAINTENANCE REQUIRED SEE
Every10hours Cleanairlter p.4
Every25hours Checkthesparkplugconditionandgap p.4
WARNING:Toavoidseriouspersonalinjury,alwaysturntheunitoffandallowittocool
beforecleaningormaintainingit.
Fig. 4
Fig. 5
Air Filter
Cover
Tab
Fig. 7
Idle Adjustment
Screw
Fig. 8
0.025 in.
(0.635 mm)
WARNING:Donotsandblast,scrapeorcleansparkplugelectrodes.Gritintheengine
coulddamagethecylinder.
Fig. 6
Air Filter
Lock Tabs
Fig. 2
Shoulder
Supports
Fig. 3
Shoulder
Buckles
OPERATION
Fig. 1
Cruise
Control
FAST
SLOW
 Loading...