Do you have a question about the True TMC-49-HC and is the answer not in the manual?
Basic safety precautions for using electrical appliances.
Guidance on unit disposal, electrical connection, and adapter plug usage.
Covers ownership, uncrating, and connecting electricity.
Chart for selecting wire gauges based on load and distance.
Steps and considerations for properly locating the unit.
Instructions for leveling the unit for optimal operation and condensate removal.
Details the standard accessories included with the unit.
Initial steps for powering up and allowing the unit to reach operating temperature.
Guidance on when to adjust mechanical temperature controls, typically for high altitude.
Step-by-step instructions for adjusting mechanical temperature controls.
Explains the general sequence of operation for LAE electronic controls.
Guides on distinguishing between LAE and Danfoss electronic control displays.
Instructions on operating the LAE electronic control interface.
Steps to lock or unlock the LAE controller settings.
Procedure to turn off the LAE electronic control system.
Instructions for controlling interior lights via the controller or switch.
Steps to adjust the product or cabinet temperature set point.
Method for initiating a manual defrost cycle on the unit.
Guide to modifying the time between automatic defrost cycles.
Steps to switch the display readout between Fahrenheit and Celsius.
Instructions to view readings from internal temperature probes (T1, T2, T3).
Step-by-step guide for cleaning the condenser coil for optimal performance.
Warranty details concerning condenser cleaning and product loss.
Guidelines for proper care and cleaning of stainless steel surfaces.
Procedures for general maintenance and interior cleaning of the unit.
Details the three-year warranty coverage for parts and labor.
Outlines the additional two-year warranty for the compressor.
Specific warranty conditions for hydrocarbon and other refrigerant compressors.
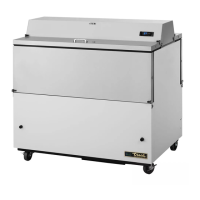
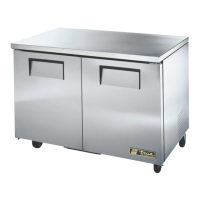
This document outlines the installation, operation, and maintenance of a True Manufacturing milk cooler, designed for commercial refrigeration. The manual emphasizes proper setup and care to ensure long-lasting, trouble-free operation and to maintain warranty validity.
The True Manufacturing milk cooler is a commercial refrigeration unit engineered to maintain an approximate internal temperature of 35°F (1.6°C), suitable for storing milk and other perishable products. Its primary function is to provide reliable cooling, ensuring product freshness and safety in commercial environments. The unit utilizes a compressor and evaporator fans to circulate refrigerated air, with temperature controls managing the cooling cycles. Some models feature a reversing condenser fan motor, which periodically reverses its rotation to blow dirt off the condensing coil, enhancing efficiency. The cooler is designed for continuous operation and is equipped with various safety features to prevent electrical hazards and ensure proper grounding.
The milk cooler is designed for straightforward operation, with several features aimed at user convenience and product preservation.
Regular maintenance is crucial for the longevity and efficient operation of the milk cooler, and to ensure warranty coverage.
The manual strongly recommends professional installation by a trained refrigeration mechanic and electrician to ensure proper setup and to avoid voiding the warranty. It also emphasizes that loss or spoilage of products due to improper installation or maintenance is not covered by warranty.
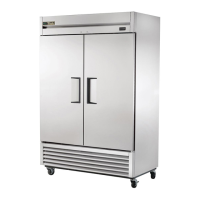
| Temperature Range | 33°F to 38°F |
|---|---|
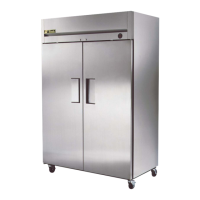
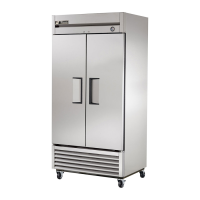
| Number of Doors | 2 |
| Horsepower | 1/2 HP |
| Color | Stainless Steel |
| Door Reversible | No |
| Freezer Compartment | No |
| Type | Refrigerator |
| Exterior Dimensions (W x D x H) | 54 x 29.5 x 78 inches |
| Voltage | 115V |