EasyManua.ls Logo

TurboChef High h Batch

TurboChef High h Batch
4 pages
To Next Page IconTo Next Page
Loading...
Bracket
Flat Washer
Split Lock Washer
Nut
Bolt
Flat Washer
Stacking
Bracket
Outer Holes = Tornado
Inner Holes = C3
Split Lock
Washer
Flat Washer
Bolt
High h Batch (Figure 2)
Tornado or C3 (Figure 1)
DOC-1032/Revision C/
August 2008
TurboChef Global Operations
4240 International Pkwy, Suite 105
Carrollton, Texas 75007 USA
US: 800.90TURBO (800.908.8726)
International: +1 214.379.6000
Fax: +1 214.379.6073
turbochef.com
Securing Tornado, C3, and High h Batch Ovens to
an Oven Cart
FOR ALL OVENS:
1. Unplug the oven.
2. Lock the wheels of the oven cart.
NOTE: For additional skid prevention of C3 and Tornado ovens, place a TurboChef
sorbothane stacking mat (part number NGC-1342-1) on the cart, aligning the edges of
the mat with the edges of the cart.
3. Place the oven on the oven cart.
WARNING: Do not attempt to lift the oven with fewer than 2 people.
WARNING: When lifting, position at least one person on each side.
WARNING: Do not lift the oven from the front and back.
WARNING: Do not lift the oven by the door handle.
FOR TORNADO & C3 ONLY: FIGURE 1
4. If the oven is a C3 or Tornado, remove the legs. There will be holes in the oven where
the legs used to be.
5. Align the oven holes with the oven cart holes. (Dierent sets of holes are provided
on cart to accommodate either the Tornado or C3 - see Figure 1.)
6. Install bolts with washers by running them up through the cart surface and into the
holes in the oven (where the legs were).
FOR HIGH H BATCH: FIGURE 2
4. Attach one oven cart bracket to each leg (part number HHB-8206 includes four
brackets).
5. Secure each leg by aligning the bracket with the holes on the oven cart and
attaching the parts listed in Figure 2.
NOTE: Ensure the nut is securely tightened.
Question and Answer IconNeed help?

Do you have a question about the TurboChef High h Batch and is the answer not in the manual?

TurboChef High h Batch Specifications

General IconGeneral
Frequency60 Hz
Construction MaterialStainless steel
Warranty1 year parts and labor
Voltage208-240 VAC
PhaseSingle
Cooking TechnologyConvection and Air Impingement
Temperature Range200°F - 500°F (93°C - 260°C)
Control InterfaceTouchscreen
Venting RequirementsVentless
Airflow Systemimpingement

Summary

Securing Ovens to an Oven Cart

General Oven Cart Securing Steps

Unplug oven, lock cart wheels, and place oven onto the cart.

Securing Tornado & C3 Ovens to Cart

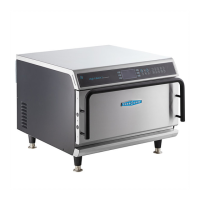
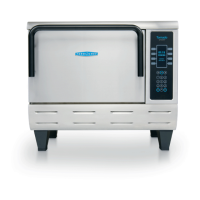
Instructions for removing legs and attaching Tornado/C3 ovens to cart.

Securing High h Batch Ovens to Cart

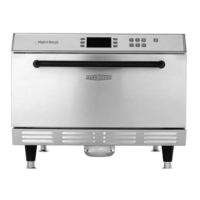
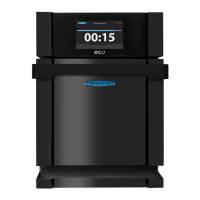
Instructions for attaching High h Batch ovens to cart using brackets.

Stacking Tornado, C3, and High h Batch Ovens

Stacking Bracket Attachment

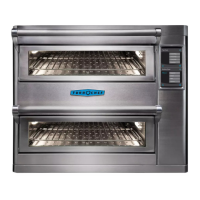
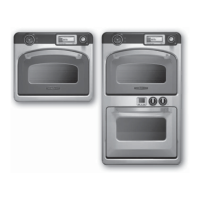
Instructions for attaching stacking brackets to the bottom oven.

Preparing Top Oven for Stacking

Steps to remove legs from top oven (if applicable) and screws.

Placing and Securing Top Oven

How to place the top oven and align it with the stacking bracket.

Stacking Safety and Combination Warnings

Important warnings regarding stacking height and combinations.

Stacking HhC 2020 Ovens

HhC 2020 Oven Stacking Preparation

Includes removing legs, unplugging, and general warnings.

Attaching Stacking Brackets for HhC 2020

Aligning and securing brackets to bottom and top HhC 2020 ovens.

Stacking i5 Ovens

i5 Oven Stacking Setup

Includes unplugging, positioning oven stand, and locking cart wheels.

Placing i5 Ovens on Stand and Cart

Steps for placing lower and top ovens, and positioning the cart.

Related product manuals