17
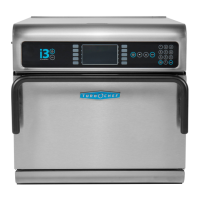
INFO MODE
Info Mode: Service Screen
Only qualified service technicians should access
the service options, unless otherwise instructed by
TurboChef.
Info Mode: Manufacturing (MFG)
Only qualified service technicians should access
the MFG options, unless otherwise instructed by
TurboChef.
CAUTION: Changing the oven model will
result in the oven not cooking properly and
a non-warranty service call.
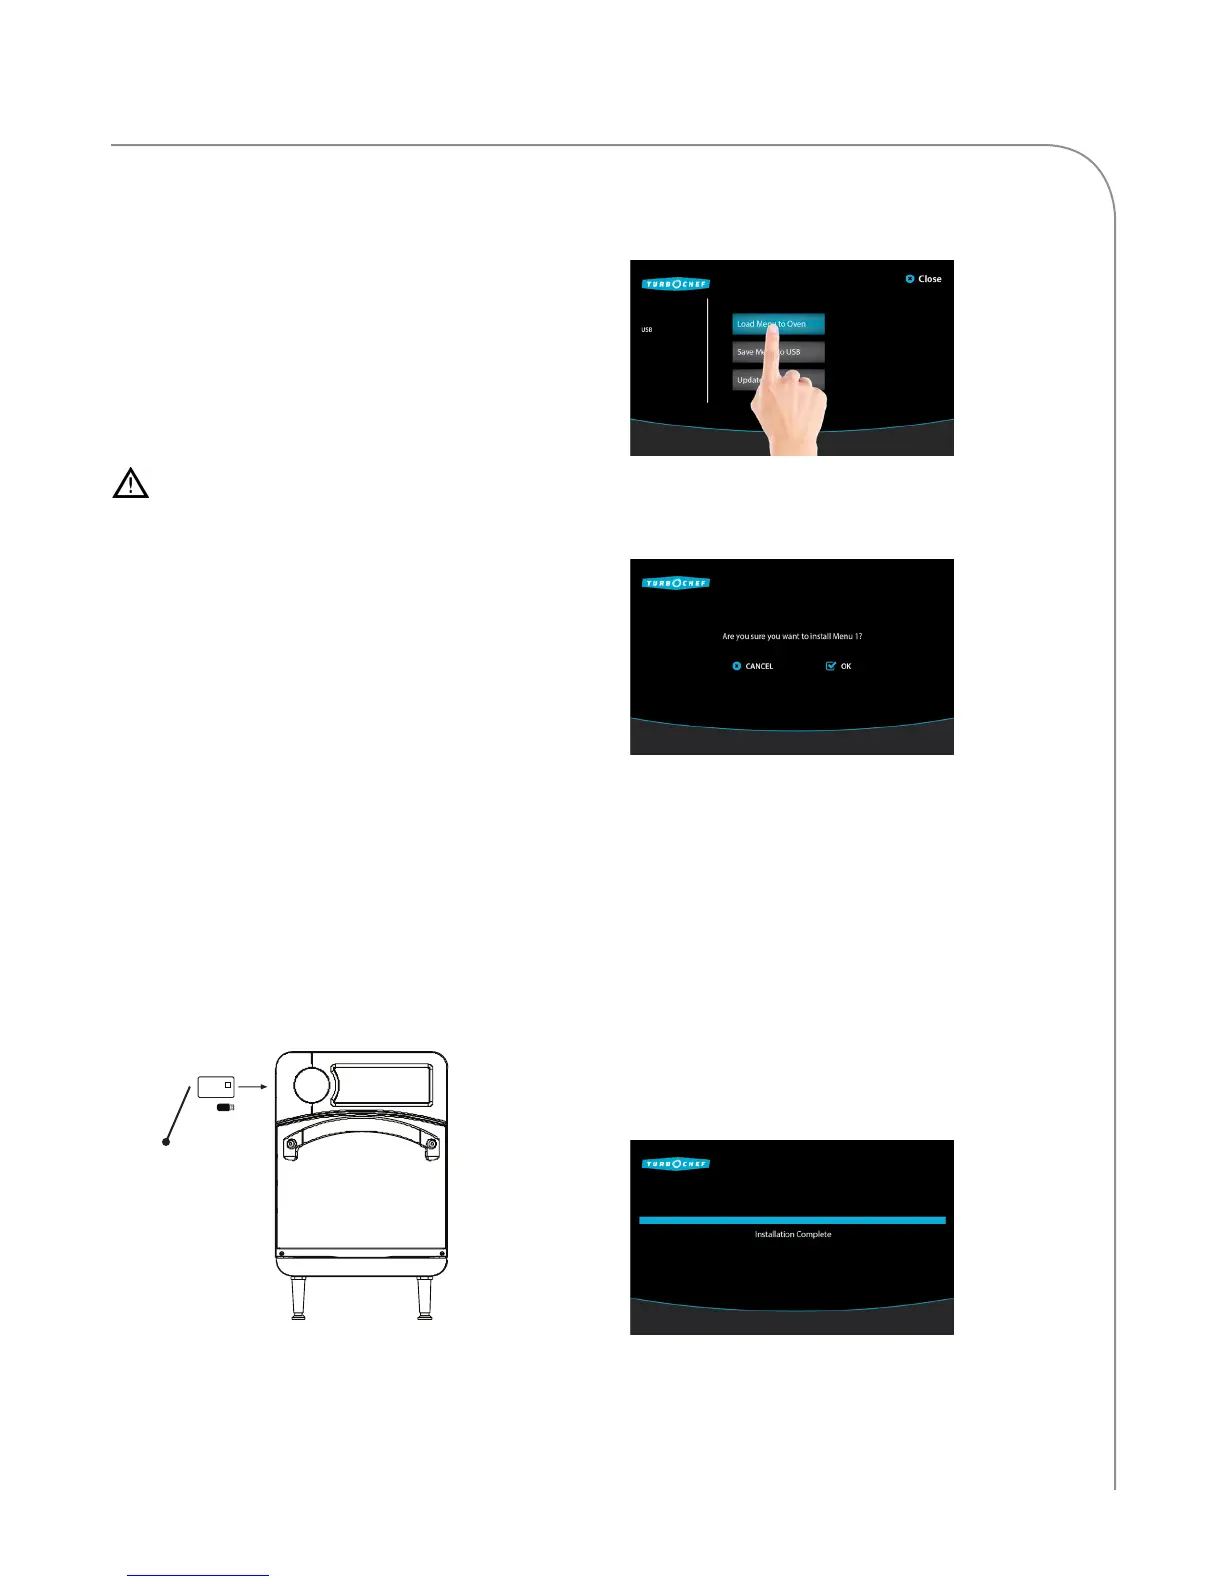
Load Menu from USB or Smart Card
NOTE: To update a menu, you may need to verify
that access to the Load Menu screen is turned on.
See page 13 for details.
USB setup: When loading from USB, the menu can
be in XTM (ChefComm) or BIN (binary) format.
The files must be loaded on the root of the USB.
The oven will also detect menus if they are stored in
a folder named TC_Menus.
To load a menu to the oven,
1. When the oven is off or cooling down, insert
the USB or smart card (see below). The oven
will automatically detect the device. Touch
“OK” to proceed.
2. Load the menu:
a. Touch “Load Menu to Oven.”
b. Touch “OK” to confirm the selection and
begin the installation.
NOTE: When loading a menu from a USB,
a copy of the current menu will be saved
to the USB.
c. Touch the menu to load.
NOTE: If multiple menus are on the USB,
the oven will display the menu names.
Otherwise this step will be bypassed.
3. Once installation is complete, the oven
will display “Installation Complete.”
NOTE: Gold chip must
face towards you.
 Loading...