2020-05-XX
SENSE COMBI ELITE Quick-Start Tip Sheet
This page to be used in conjuction with Tylo Full Manual included
CONNECTION/WIRING DIAGRAM
Humidity Sensor Installation Tip
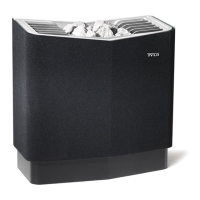
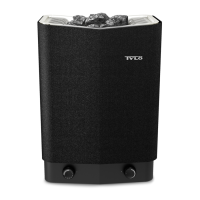
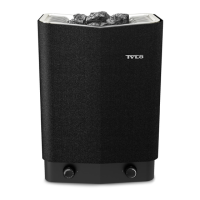
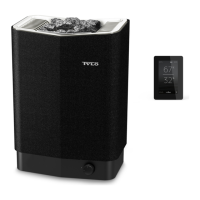
Combi Elite
humidity- and temperature sensor
R=Red, G=Green, W=White, B=Black
Use List Below to Identify Components in Figure 19:
Wiring Diagram (Above)
1. N/A
2. External Switch (Optional) (jack # 2)
3. Door jumper pre-installed (jack # 3)
4. N/A
5. N/A
6. Sensor (combination humidity and temperature,
jack # 6)
7. N/A
8. N/A
9. Elite Control
10. Heater
11. Terminal for connection of electrical cable
12. Control panel (jack # 9)
13. Sensor - Combi Elite (jack # 6)
14. Light/terminal for connection of light
15. Door Switch is not required for N. America
16. External On/O Switch (option)
Combi Elite Sensor
A
B
11
12
max 75 feet - Combi Elite
5.3-8.3 kW
208/240 V~
Connect Control cable (at) to
jack 9 on circuit board.
Connect Sensor cable (round) to
jack 6 on circuit board.
2900 5264
14 AWG
Max. 6 Amp.
In order for
control to
operate light,
a separate
120V supply
must be
provided and
connected to
heater
x3
Figure 19: Wiring Diagram
208 V 1 Phase 240 V 1 Phase
Model Amperage
Amps
Output
kW
Wire Size
AWG
Amps/
Output
kW
Wire Size
AWG
Sense Combi-U 7 26 5.3 10
30/40
7.0 8
Sense Combi-U 8 30 6.3 8
35/50
8.3 8
Note: Heating elements do not change for voltage changes. The heater output will change
based on the voltage applied to heater. Most North American homes are 240v.
Breaker
12 11
A
B
Black
White
Red
Green
Confirm
three copper
conectors
installed