1111
1313
1212
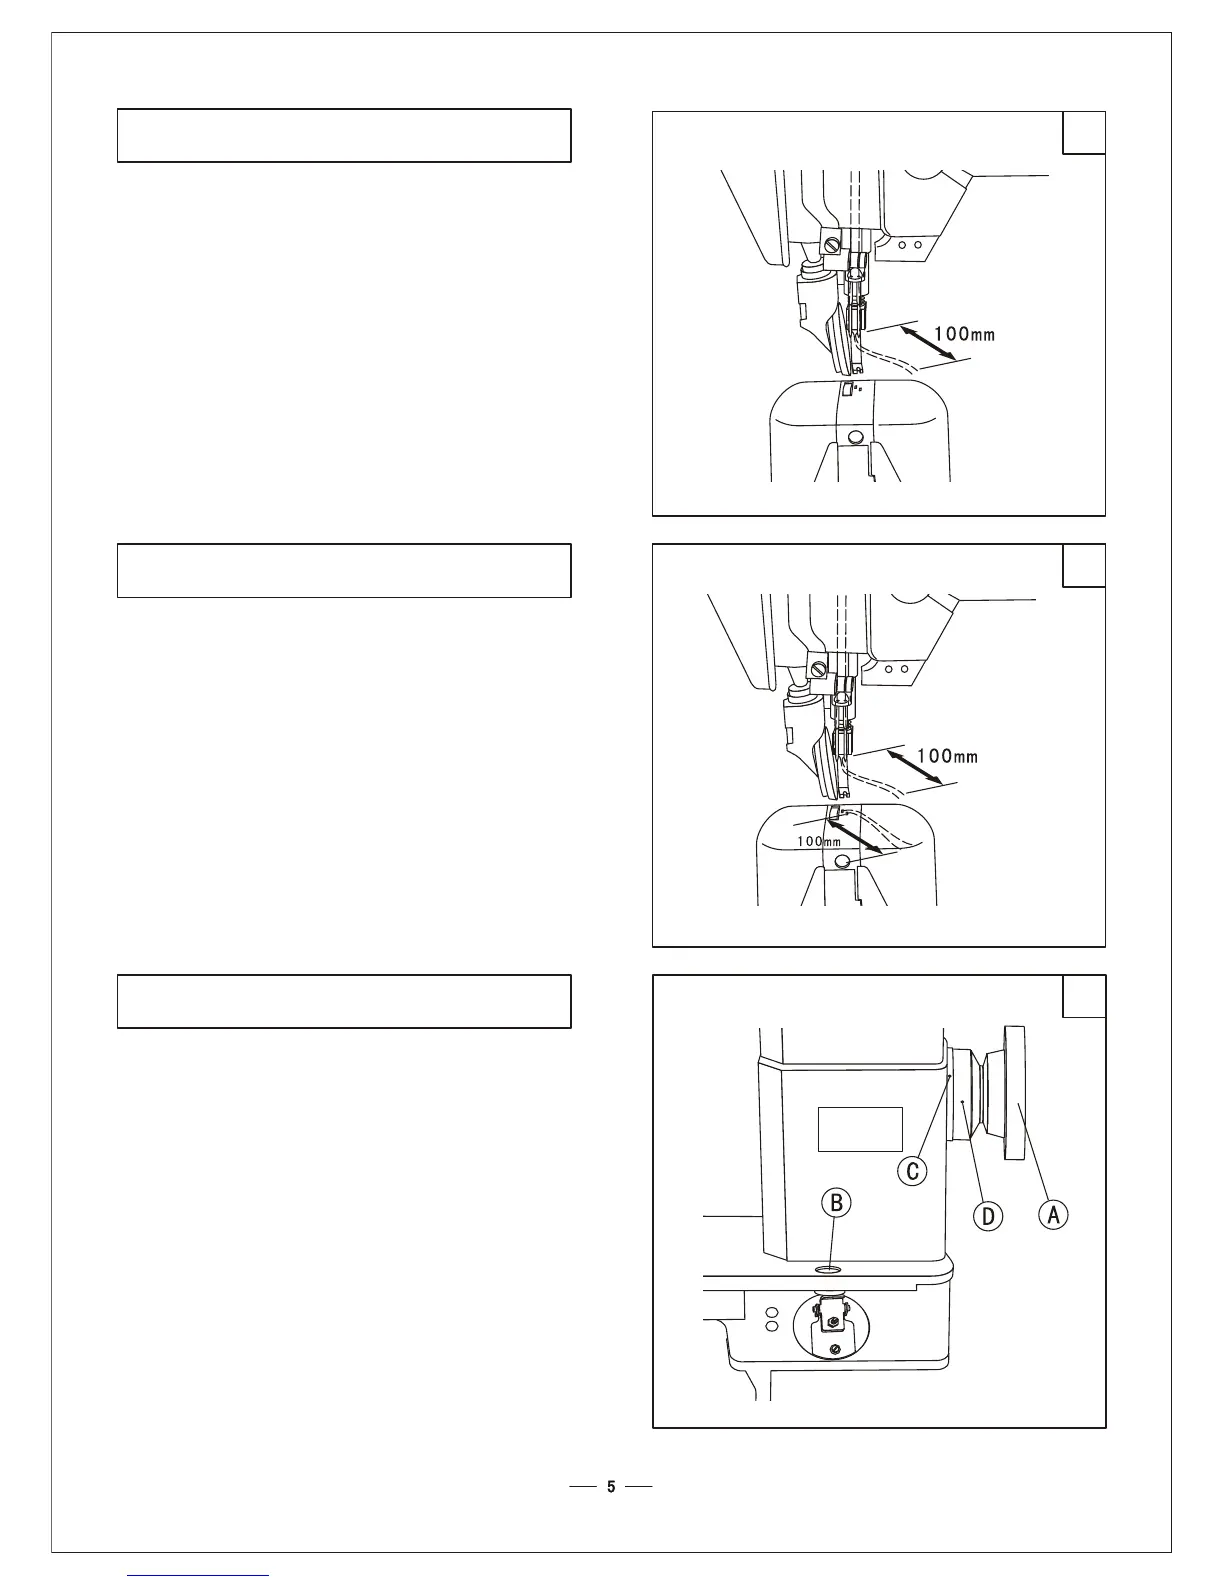
1. Push down the stitch length adjusting button B by
left forefinger.
2. Turn the balance wheel by right hand.
3. The stitch length could be adjusted when the
adjusting button is depressed.
4. The figure is marked on the balance wheel, and the
figure indicates the stitch length. Please release the
adjusting button when you align the figure with the
mark C.
14. First sewing (Fig.11)14. First sewing (Fig.11)
1. Lift the presser foot lift lever.
2. Close the roller foot.
3. Lay down the materials.
4. Turn the balance wheel to make the needle pick
through the materials.
5. Put down the presser foot lift lever.
6. The thread should be drawn out about 100mm for the
first sewing.
1. Lift the presser foot lift lever.
2. Close the roller foot.
3. Lay down the materials.
4. Turn the balance wheel to make the needle pick
through the materials.
5. Put down the presser foot lift lever.
6. The thread should be drawn out about 100mm for the
first sewing.
15. End of sewing (Fig.12)15. End of sewing (Fig.12)
1. Lift the thread take-up lever to its highest position.
2. Lift the presser foot lift lever.
3. Draw out the sewing material slant ways.
4. Cut off the needle thread and bobbin thread. Leave
about 100mm needle thread and bobbin thread when
drawing out the material for next sewing.
1. Lift the thread take-up lever to its highest position.
2. Lift the presser foot lift lever.
3. Draw out the sewing material slant ways.
4. Cut off the needle thread and bobbin thread. Leave
about 100mm needle thread and bobbin thread when
drawing out the material for next sewing.
16. Adjusting the stitch length (Fig.13)16. Adjusting the stitch length (Fig.13)