VLS Service Manual - REV2015.04
Table of Contents
Component Removal and Replacement
Page | 44
Component Removal and Replacement
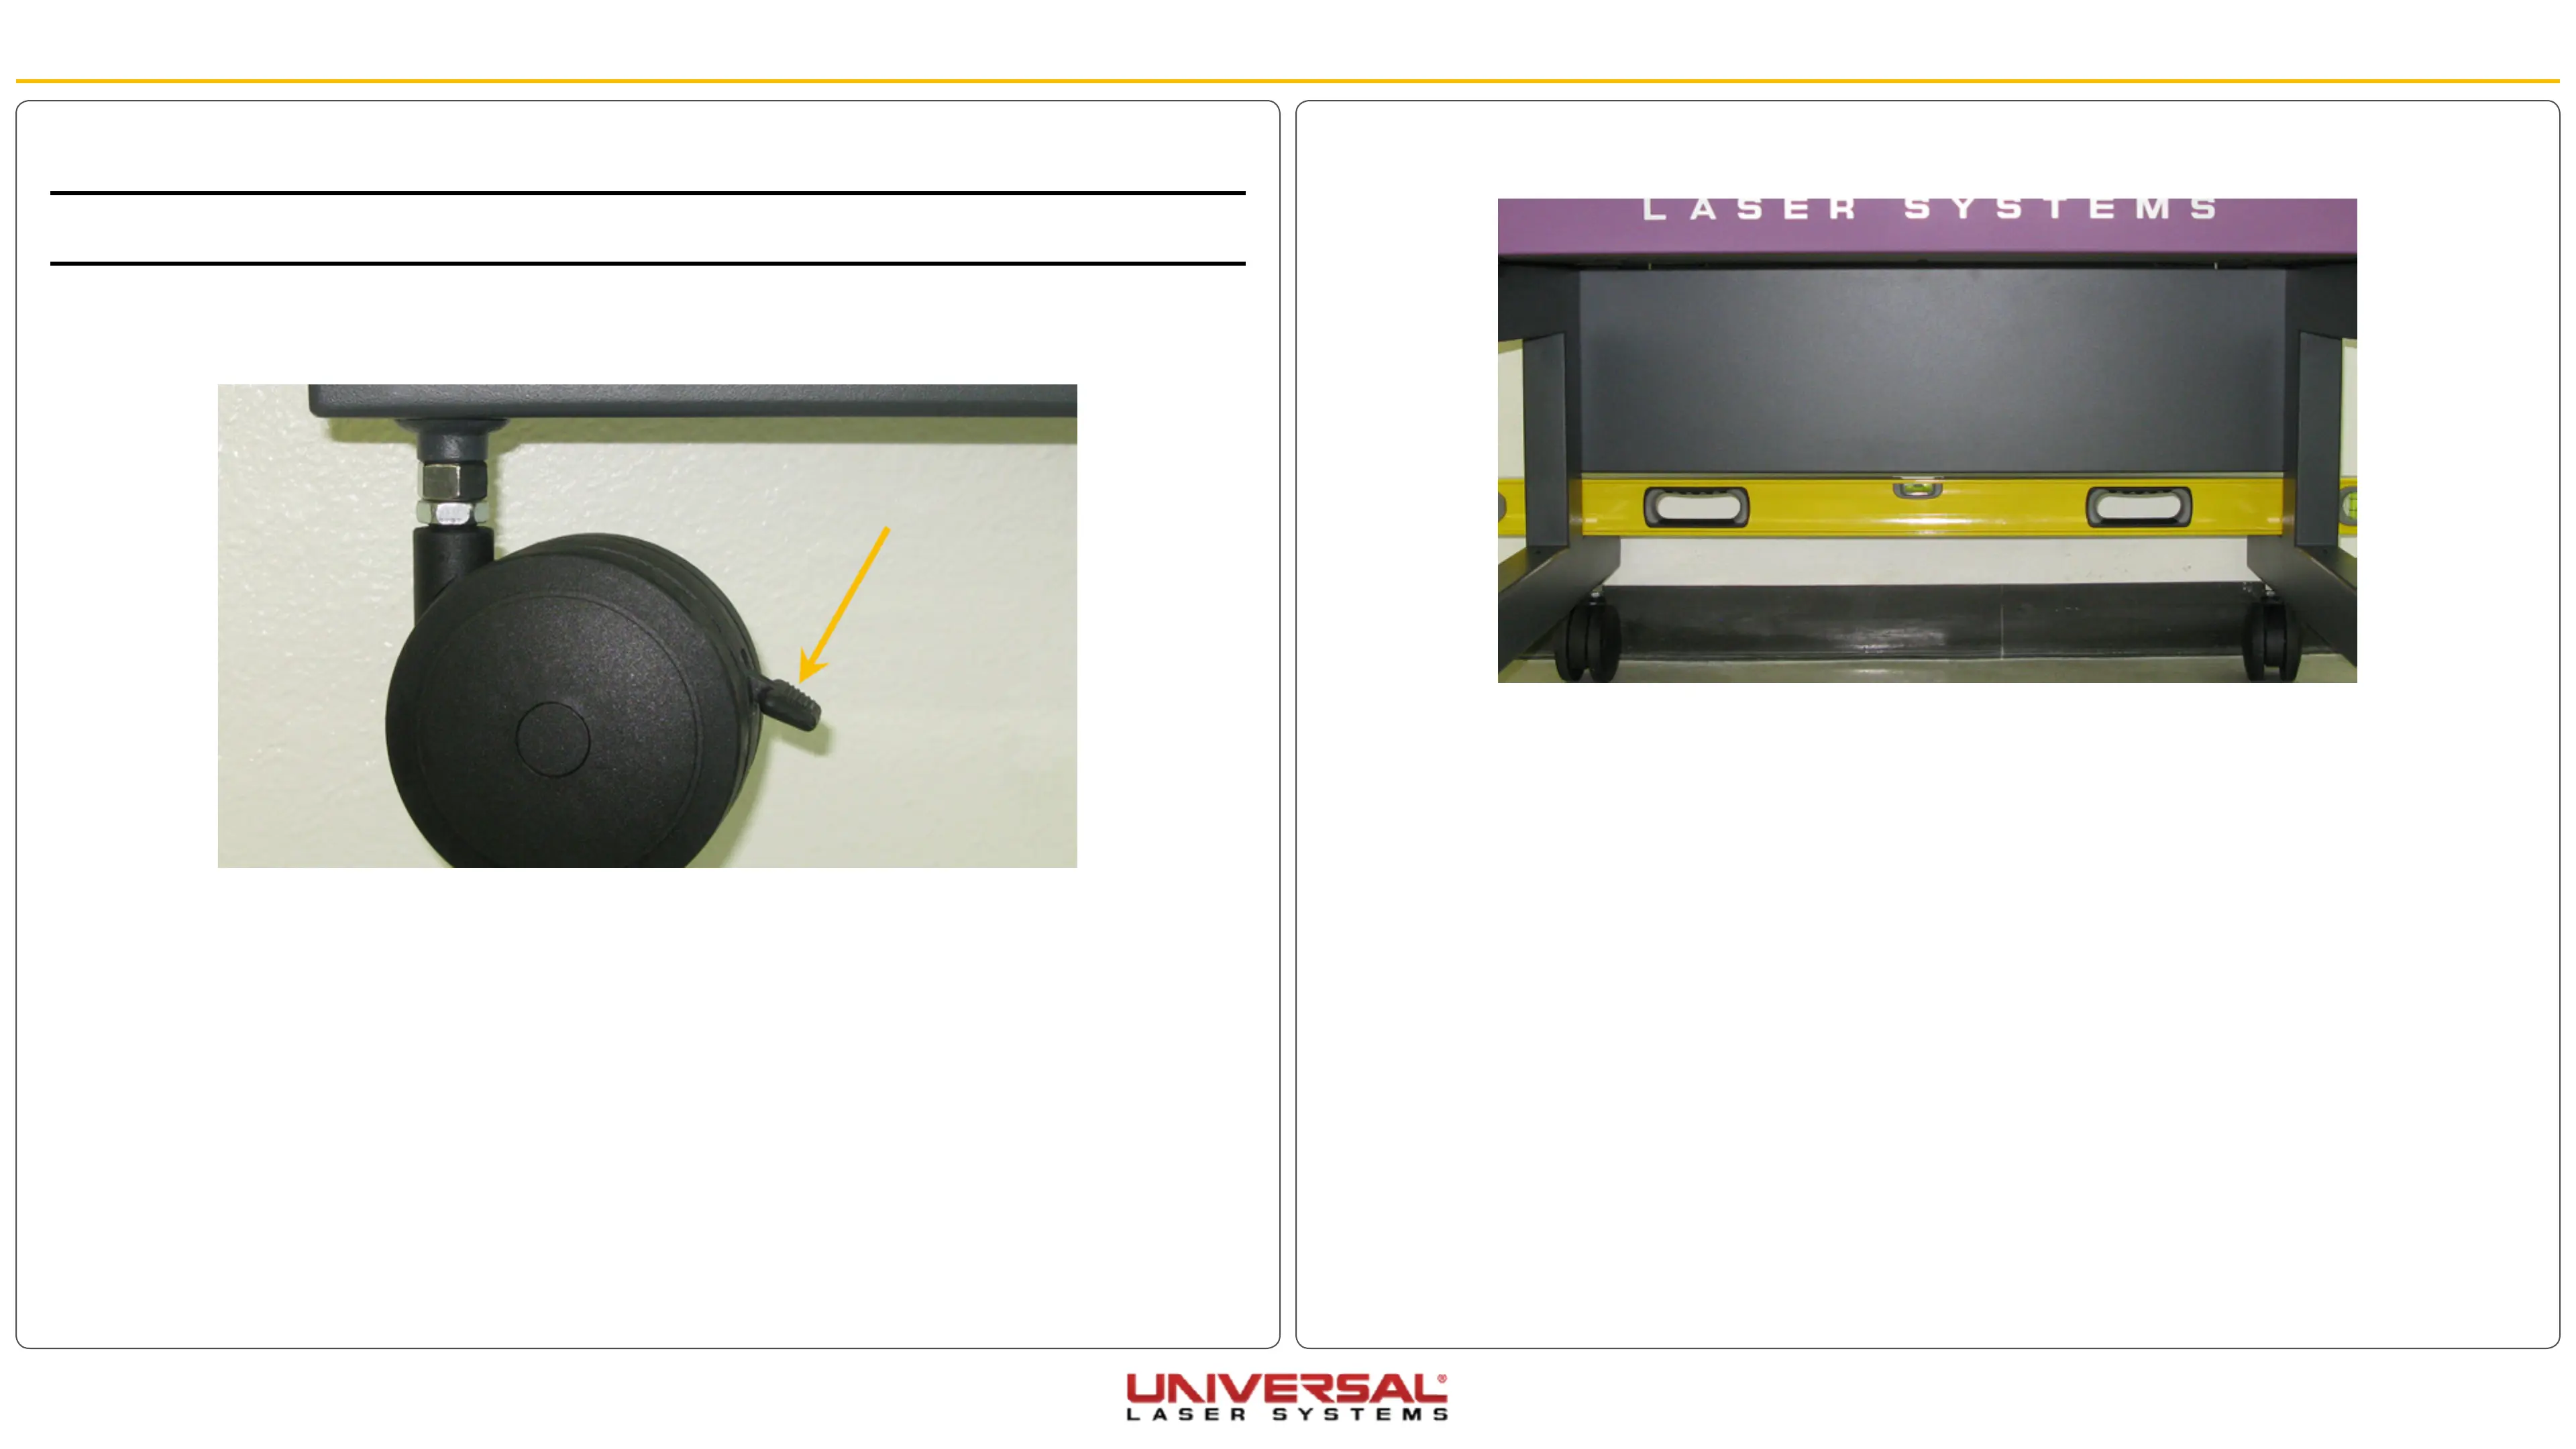
8. Check if the system is level by placing a bubble level on the frame of the cart across the two front
casters then the two rear casters. Adjust the level if necessary by turning the adjustment nut.
9. Once the system is level tighten the appropriate locknuts.
Cart Casters
CAUTION: It is recommended that you obtain the assistance of another person when replacing a caster on this
system.
1. Turn OFF and unplug the VLS.
2. Place each caster in its locked position.
3. Slightly lift the corner of the cart where the caster will be removed.
4. Place a block large enough to provide working clearance slightly behind or in front of the caster being
removed.
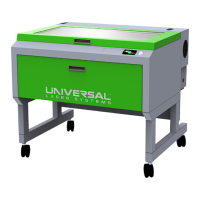
5. Using a wrench loosen the locknut and remove the caster by turning the adjustment nut in a counter-
clockwise direction.
6. Installation is opposite of removal.
7. When installing a new caster ensure the locknut is screwed all the way down on the caster.