VLS Service Manual - REV2015.04
Table of Contents
X-Axis
Page | 50
X-Axis
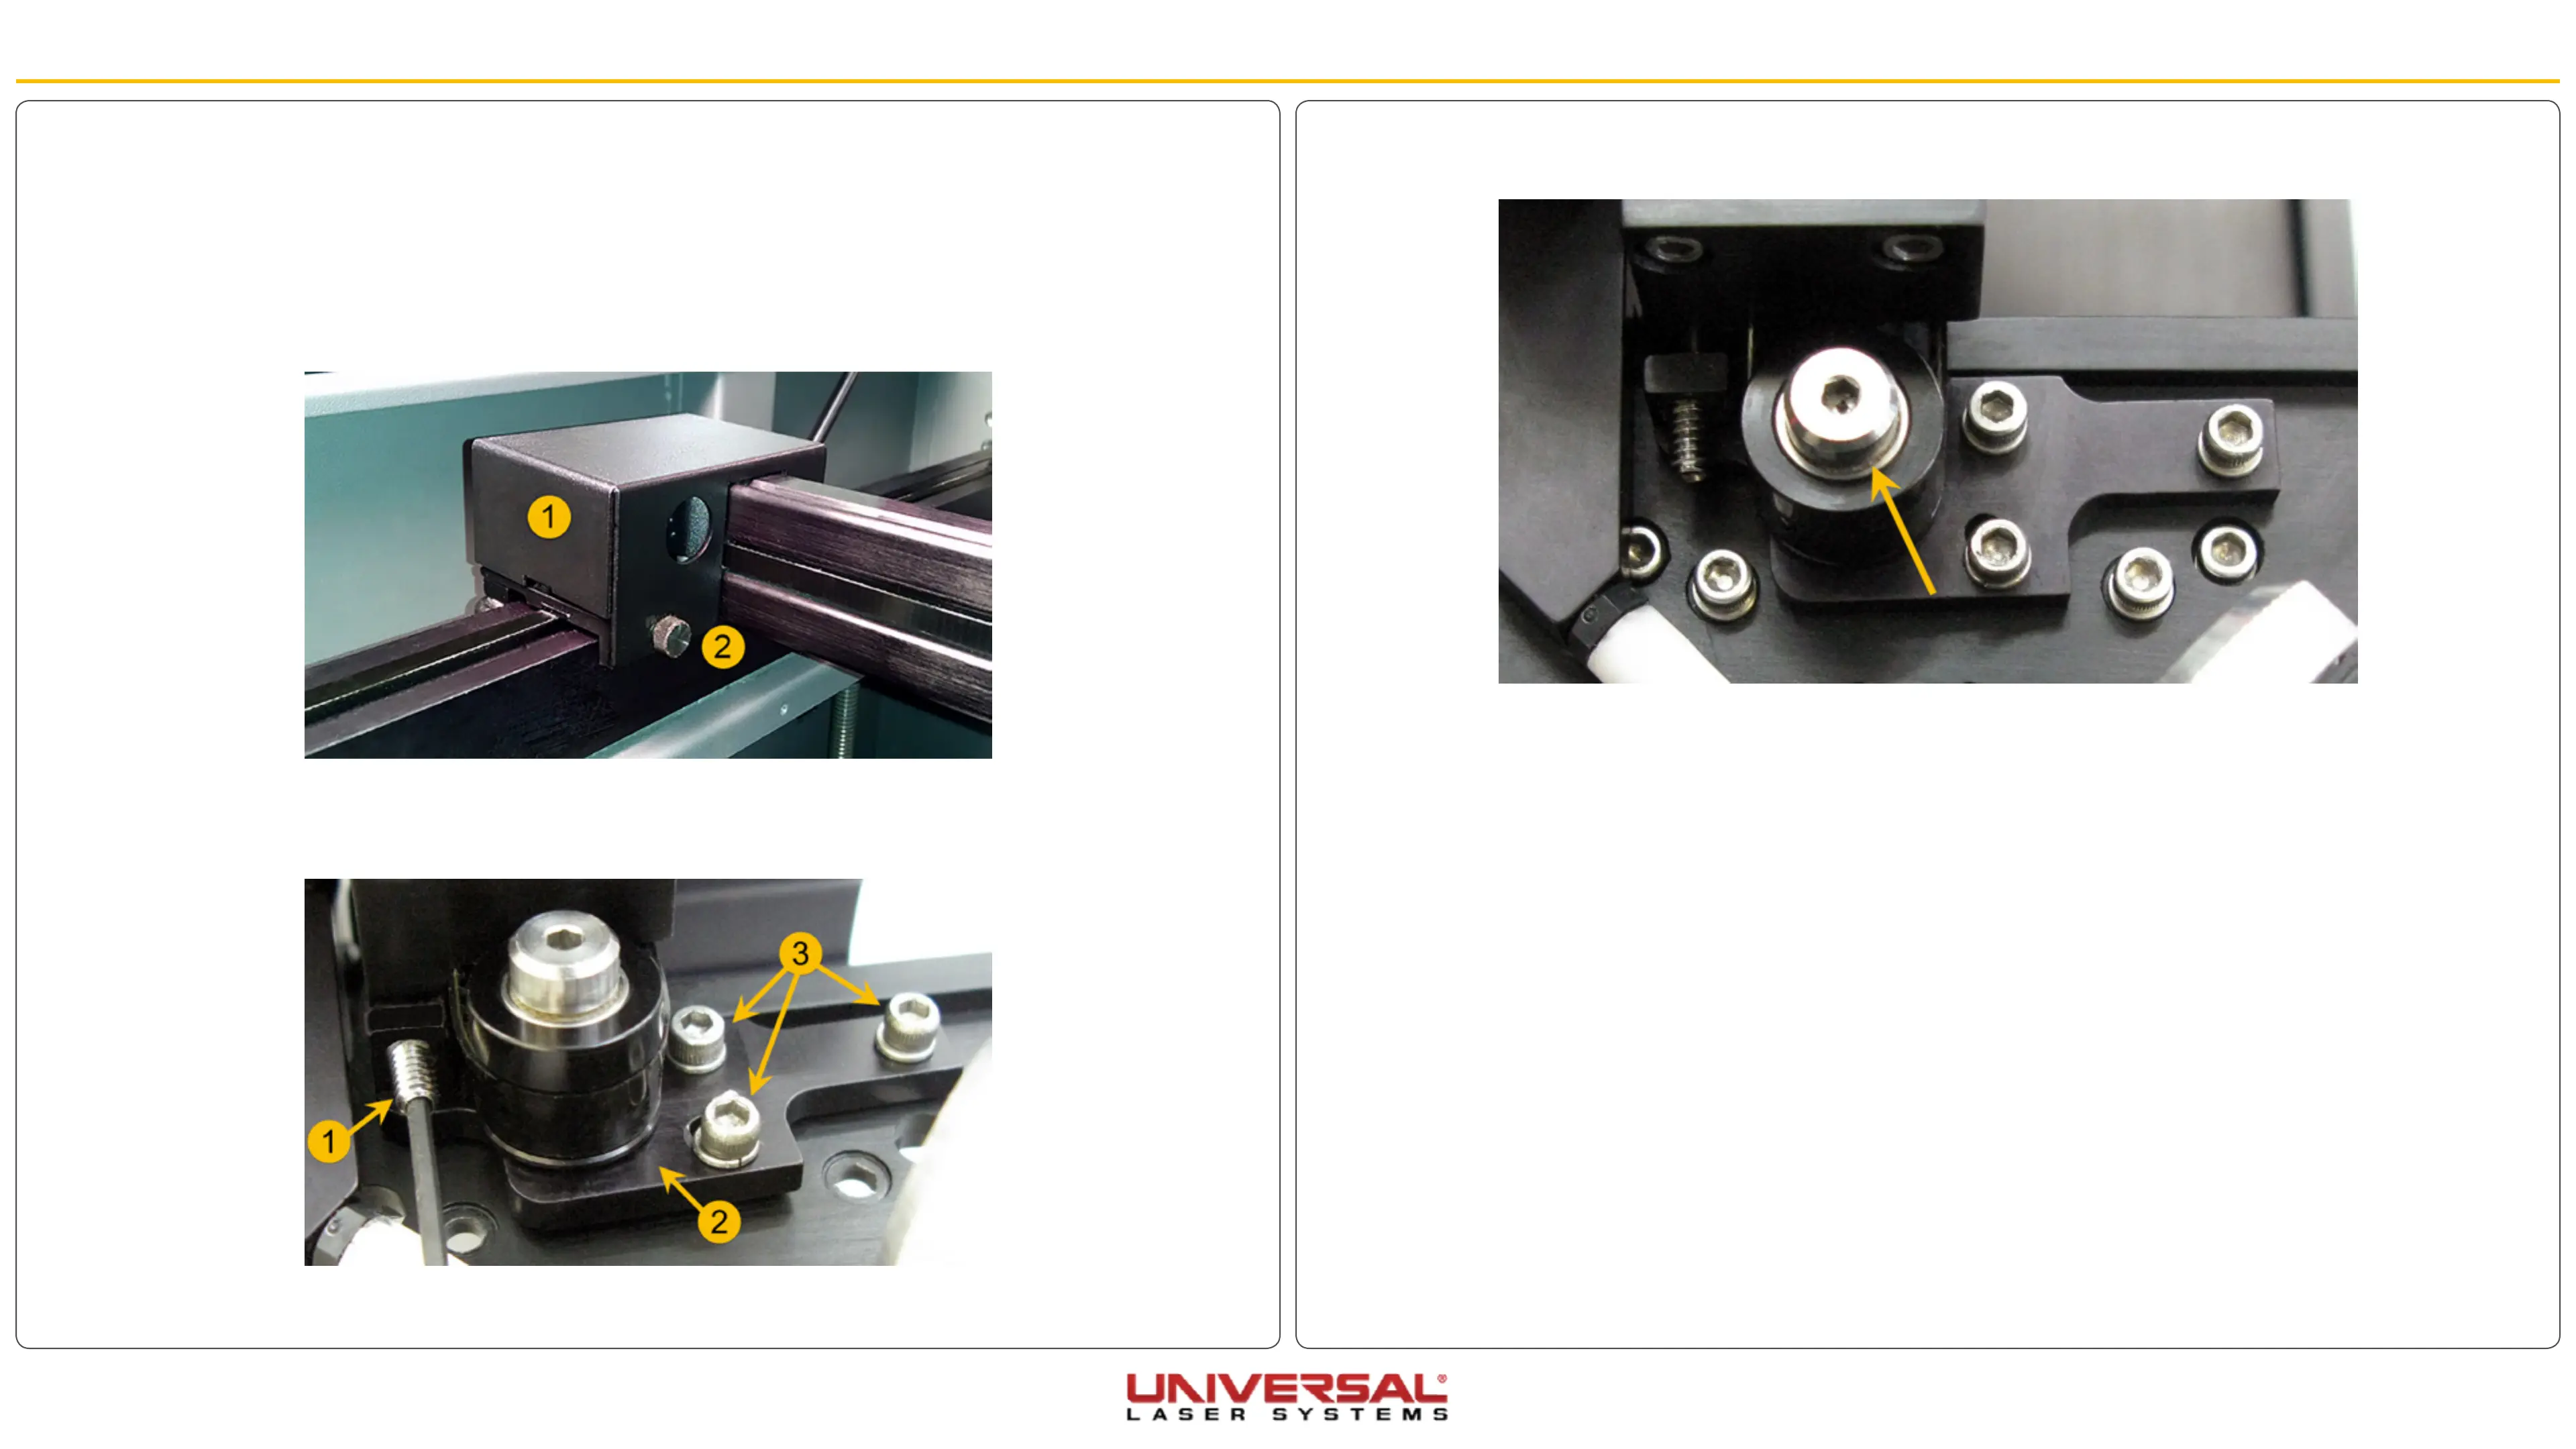
5. Once the tension has been released remove the screw on the Idler Pulley. Remove the pulley, paying
attention to the orientation of it, and replace it with a new one.
6. When reinstalling the new Idler Pulley insert the pulley at an angle for easier access.
7. Re-tension the X-axis Belt as done in X-Axis Belt Replacement.
8. Replace the #2 Mirror Cover and screws.
X-Axis Idler Pulley
1. Power OFF and unplug the VLS.
2. Open the Top Door and bring the X-axis Arm forward.
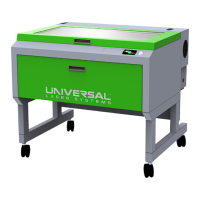
3. Remove the #2 mirror cover (1) by removing the thumbscrew (2), sliding the cover to the right and then
off the rail.
4. Loosen the three screws (3) (1/2 turn) that mount the tensioning bracket (2). Also, back off the setscrew
(1) until the tip does not make contact with the side of the arm (this will partially release the tension on
the belt) but do not remove the screw completely.