14 GB/IE/NI/CY/MT
charge current, before the actual
charging at the time programmed
in the car. In this case the digital
charging display
3
already
indicates that the car is being
charged:
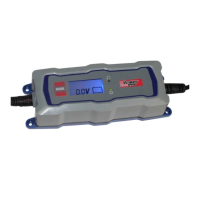
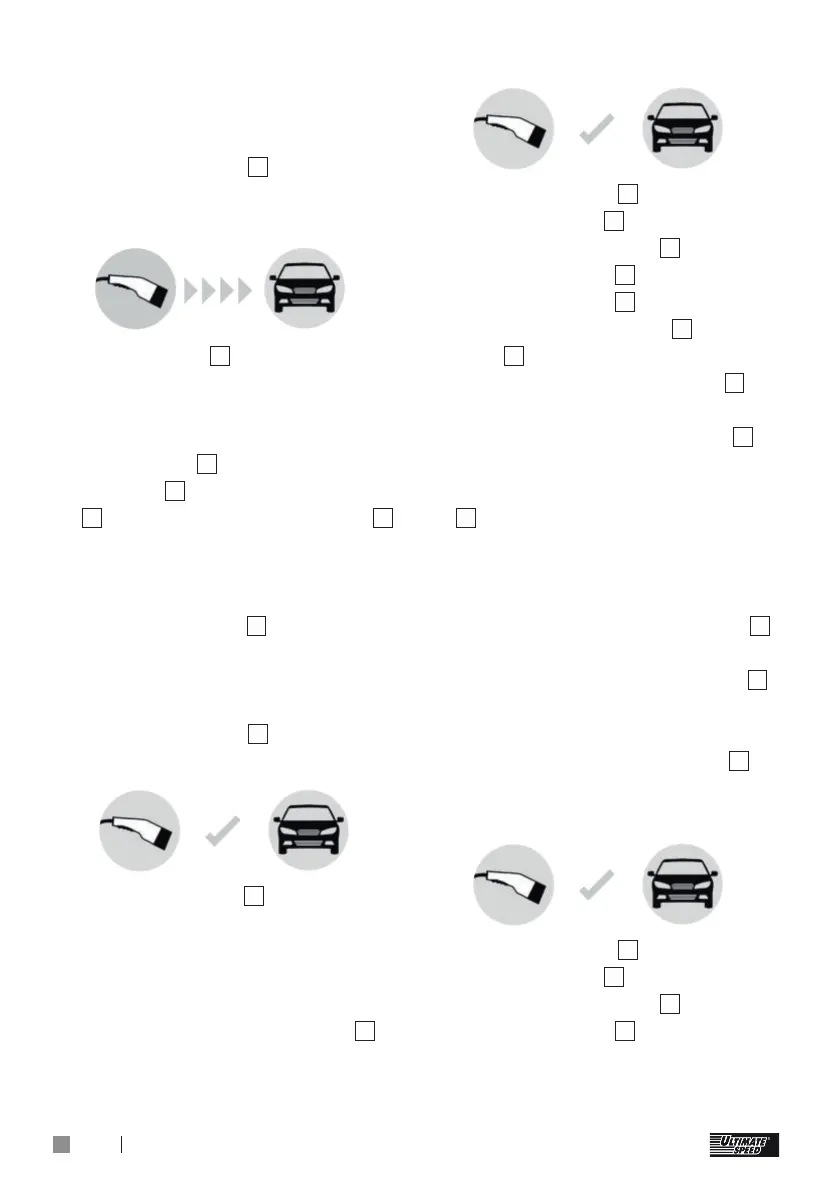
The LED strip
2
continually lights
up from left to right and this
indicates that current is flowing
into the car.
The display
3
shows the charg-
ing time
12
, the energy supplied
13
, and the charging capacity
15
.
Finish the charging process
and disconnect the mobile
charging station
1
:
The charging process will stop
automatically at the time pro-
grammed in the car. The digital
charging display
3
indicates that
the charging process is complete:
The full LED strip
2
lights up.
If the charging timer in the car
is deactivated, then finish the
charging process in the car.
The charging process will stop.
The digital charging display
3
indicates that the charging
process is complete:
The full LED strip
2
lights up.
On the display
3
you can read
off the charging time
12
and the
energy supplied
13
.
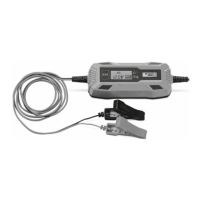
Unplug the plug
9
from the car
and put the cover cap
8
on the
plug
9
.
Then unplug the mains plug
7
from the 230 V socket.
Wind up the charging cable
6
without kinks.
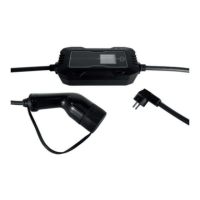
Store the mobile charging station
1
in its packaging and keep it in
the car in an orderly way.
Finish the charging process at
the mobile charging station
1
:
If, during charging, the button
4
is pressed for approx. 5 seconds,
the charging process will stop.
The digital charging display
3
indicates that the charging
process is complete:
The full LED strip
2
lights up.
On the display
3
you can read
off the charging time
12
and the
energy supplied
13
. By pressing
it again for approx. 5 seconds,
a new charging process can be
 Loading...