5
Operation
Various operations are available from this unit, select your preferred operation as follows:
1. Push buttons.
2. Display mode menu.
3. Keyboard.
4. IR remote control.
5. RS-232 control.
1. Parts and push buttons
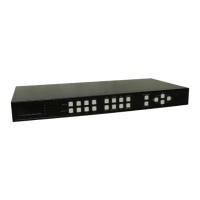
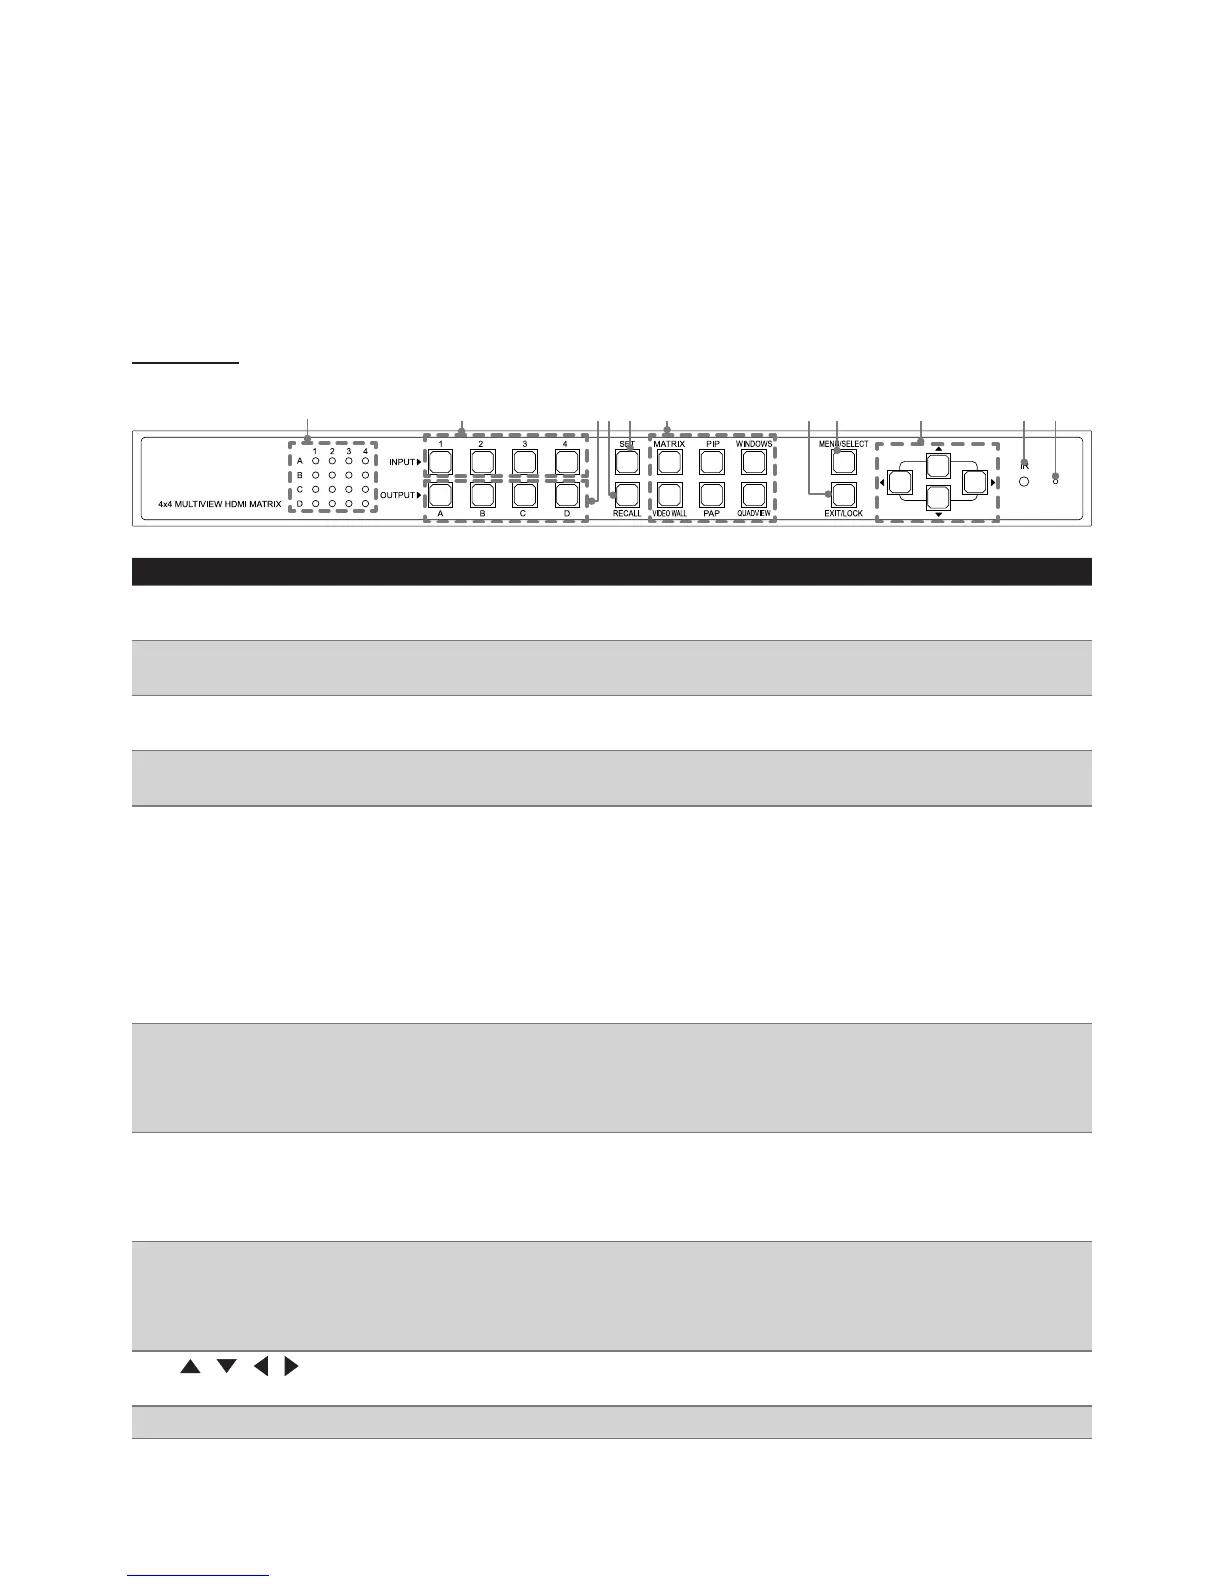
Front panel
1 2 34 5 6 7 8 9 10 11
No. Item Description
1 LED indicators Indicate the status of display. For example, if the LEDs are illuminated with 3
and C, it means the monitor C is playing back the source from No.3 input.
2 INPUT Choose the desired source from 1~4, and then press the corresponding button.
For more details, refer to the chapter of Mode descriptions.
3 OUTPUT Choose the desired display from A~D, and then press the corresponding button.
For more details, refer to the chapter of Mode descriptions.
4 Recall Recall the customized setting configured from SET button. Press to light up the
buttons (1~4 and A~D), and then select the desired setting to recall.
5 SET* Save the customized input and output up to 8 settings.
1. Select a desired mode by pressing MATRIX/PIP/WINDOWS/VIDEO WALL/
PAP/QUADVIEW button.
2. Set a preferred input source(1~4 ) and output display(A~D).
3. Press SET button, then all the buttons of input(1~4) and output(A~D) will be
flashed.
4. Press a preferred button(1~4 and A~D) to save the setting to the memory of
unit.
6 MATRIX/PIP/
WINDOWS/
VIDEO WALL/PAP/
QUADVIEW
Select the desired mode you wish to display, and the pressed button will be
illuminated.
7 Exit/
Lock
■
Press to exit the OSD menu.
■
Press to lock all the buttons on the unit, or press it again to unlock.
■
Press and hold this button, then turn on the power of switch to restore the
default resolution (1024x768).
8 Menu/
Select
■
Press to bring up the OSD menu.
■
Select a desired option on the menu.
■
Press and hold this button, then turn on the power of switch to restore the
system to factory default settings.
9
(Cursor buttons)
Press to navigate the OSD menu.
10 IR receiver Receive the signals from bundled remote control.
11 Reset pin hole Use a paperclip to reset this unit if necessary.