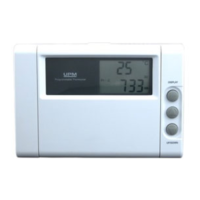
11
REPLACING OLD THERMOSTAT
Note: Do not operate the cooling system when outside temperature is below 10°C (50°F) to avoid
damaging the compressor.
l Test the system to make sure that your heating and cooling are working properly before installation. If either
does not work, contact your local heating/air-conditioning dealer to fix the problem before installation.
l TURN OFF POWER to system at the furnace, or at the fuse/circuit breaker panel.
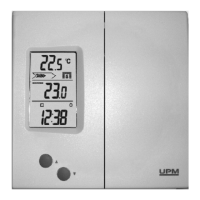
l Carefully unpack your new thermostat and mounting plate; save package of screws,
instructions and receipt.
l Remove cover from old thermostat. If it does not snap off when pulled firmly from the bottom, check
for a screw used to secure the cover.
l Loosen screws holding thermostat to the wall and lift away the thermostat.
l Disconnect wires from old thermostat or sub-base. As you disconnect each wire, use masking tape to label
it with the old terminal designation. If there are only two wires, they don't need to be labeled.
l If there is an extra wire that is not connected to your old thermostat, then you won't need to connect
it to the new thermostat.
l Take care not to let the wires fall back into the wall or let the ends of the wires touch one another.
l The wires are usually designated 'W', 'Y', 'G', 'RH', 'RC', 'O', 'B', 'H1', 'H2'.