ENGLISH
- 53 -
20.5 – CLOSING COMMAND
Therelayisactivatedwhenthemotoriscontrolledwhenclosing:
inthiswayitispossibletoactivatesecondarymotorsorsend
synchronizedsignalswiththemovementofthemainmotor.
20.6 - SAFETY DEVICE TESTS
Therelayisactivatedsimultaneouslywiththerelaydedicatedto
thetestofphotocells:inthiswayitispossibletoperformthe
functiontestondevicesthatDONOTusethe24Vacpower
supplyonterminalE5,forexampledevicespoweredto12Vdc.
20.7 - CUSTOM
Thisfeatureisintendedprimarilyforconnectingwarninglight
devices.
Programmingthisparameterallowsyoutodenethestateofthe
relayoptionsselectedinthese5situations:
ATTES
: closedgate,unitwaitingforcommand
OPEN
: openinggate
CLOSE
: closinggate
PAUSE
: gateopenandrunningcountoftheautomatic
closingtime
ARRES
: gateopenwithoutcountingtheautomatic
closingtime
Toprogramproceedasfollows:
1. Selectthevalue
CUST
andpressOK:thedisplayshows
ATTES NO
2. Usingthebuttonshandiselectthestatusoftherelayinthis
situation:
NO
:relaycontactopen
SI
:relaycontactclosed
3. PresstheOKbuttontoscrollthroughtheavailable5situations
andselectthestatusoftherelaythroughthebuttonshandi
20.8 - INDICATION OF MOVEMENT
Therelayisactivatedwhenthemotorisoperated.
Therelaycanoperatewithnormallyopenornormallyclosed
contact,selectthedesiredoptionbysettingtheparameter
REL3
:
• Selectthevalue
MO.NO
fornormallyopencontact
• Selectthevalue
MO.NC
fornormallyclosedcontact
21 - ADI INTERFACE
TheADI(AdditionalDevicesInterface)interfaceofthecontrol
unitallowstheconnectiontoV2optionalmodules.
RefertoV2catalogueortothetechnicalsheetstoseewhich
optionalmoduleswithADIinterfaceareavailableforthiscontrol
unit.
m WARNING: Please read the instructions of each single
module to install the optional modules.
Forsomedevices,itispossibletocongurethemodefor
interfacingwiththecontrolunit;inaddition,itisnecessaryto
enabletheinterfacesothatthecontrolunitcanprocessthe
signalsarrivingfromtheADIdevice.
Pleaserefertothe
I.ADI
programmingmenutoenabletheADI
interfaceandaccessthedevicecongurationmenu.
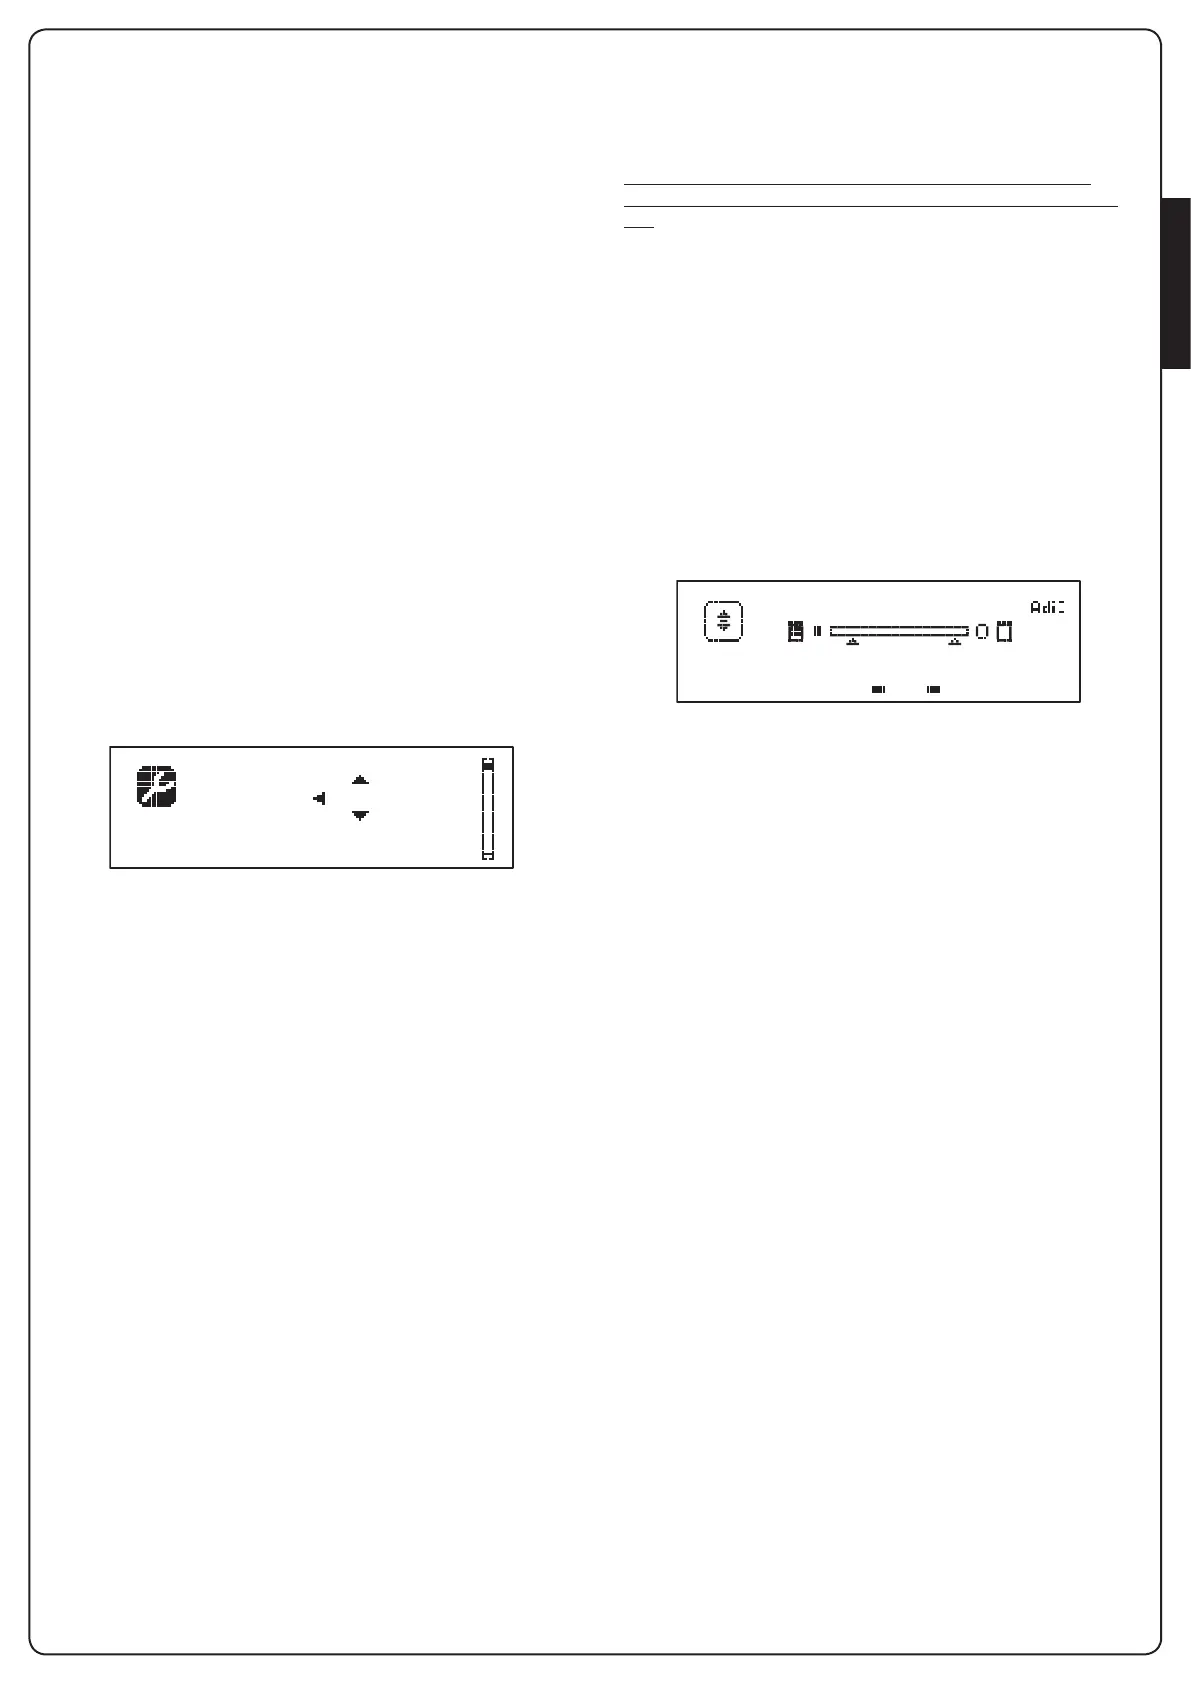
Whenthedeviceisenabled,thedisplayshowsthewordAdiat
thetopright:
I1
o
I2
o
I3
o
F1
ATTESA
F2 C1
o
C2
o
ADIdevicesusethedisplayofthecontrolunittoissuealarmsor
displaythecongurationofthecontrolunit:
• PHOTOCELLALARM-thesegmentatthetopturnson:the
gatestops,whenthealarmceasesthegaterestartinopening.
• RIBBONALARM-Thebottomsegmentturnson:thegate
reversesfor3seconds.
• STOPALARM-Thelowestsegmentturnson:thegatestops
andcannotrestartuntilthealarmisdisabled.
• SLAVE-WhenyouuseaSYNCHROmoduleinsteadof
thewordAdi,
SLV
turnsontoindicatewhentheunitis
conguredasSLAVE
WAITING