Vacon Page 9 (1 5 )
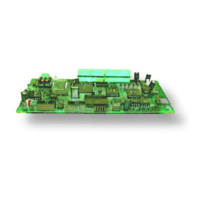
I/ O-expander board installation (Vacon CXS-range)
Vacon Plc Tel: +3 5 8 -2 0 1 21 21 Fax: +3 5 8 -2 0 1 2 1 2 2 0 5
Service: +3 5 8 -4 0 -8 37 1 1 50 E-mail: vacon@vacon.com
http:/ / w ww.vacon.com
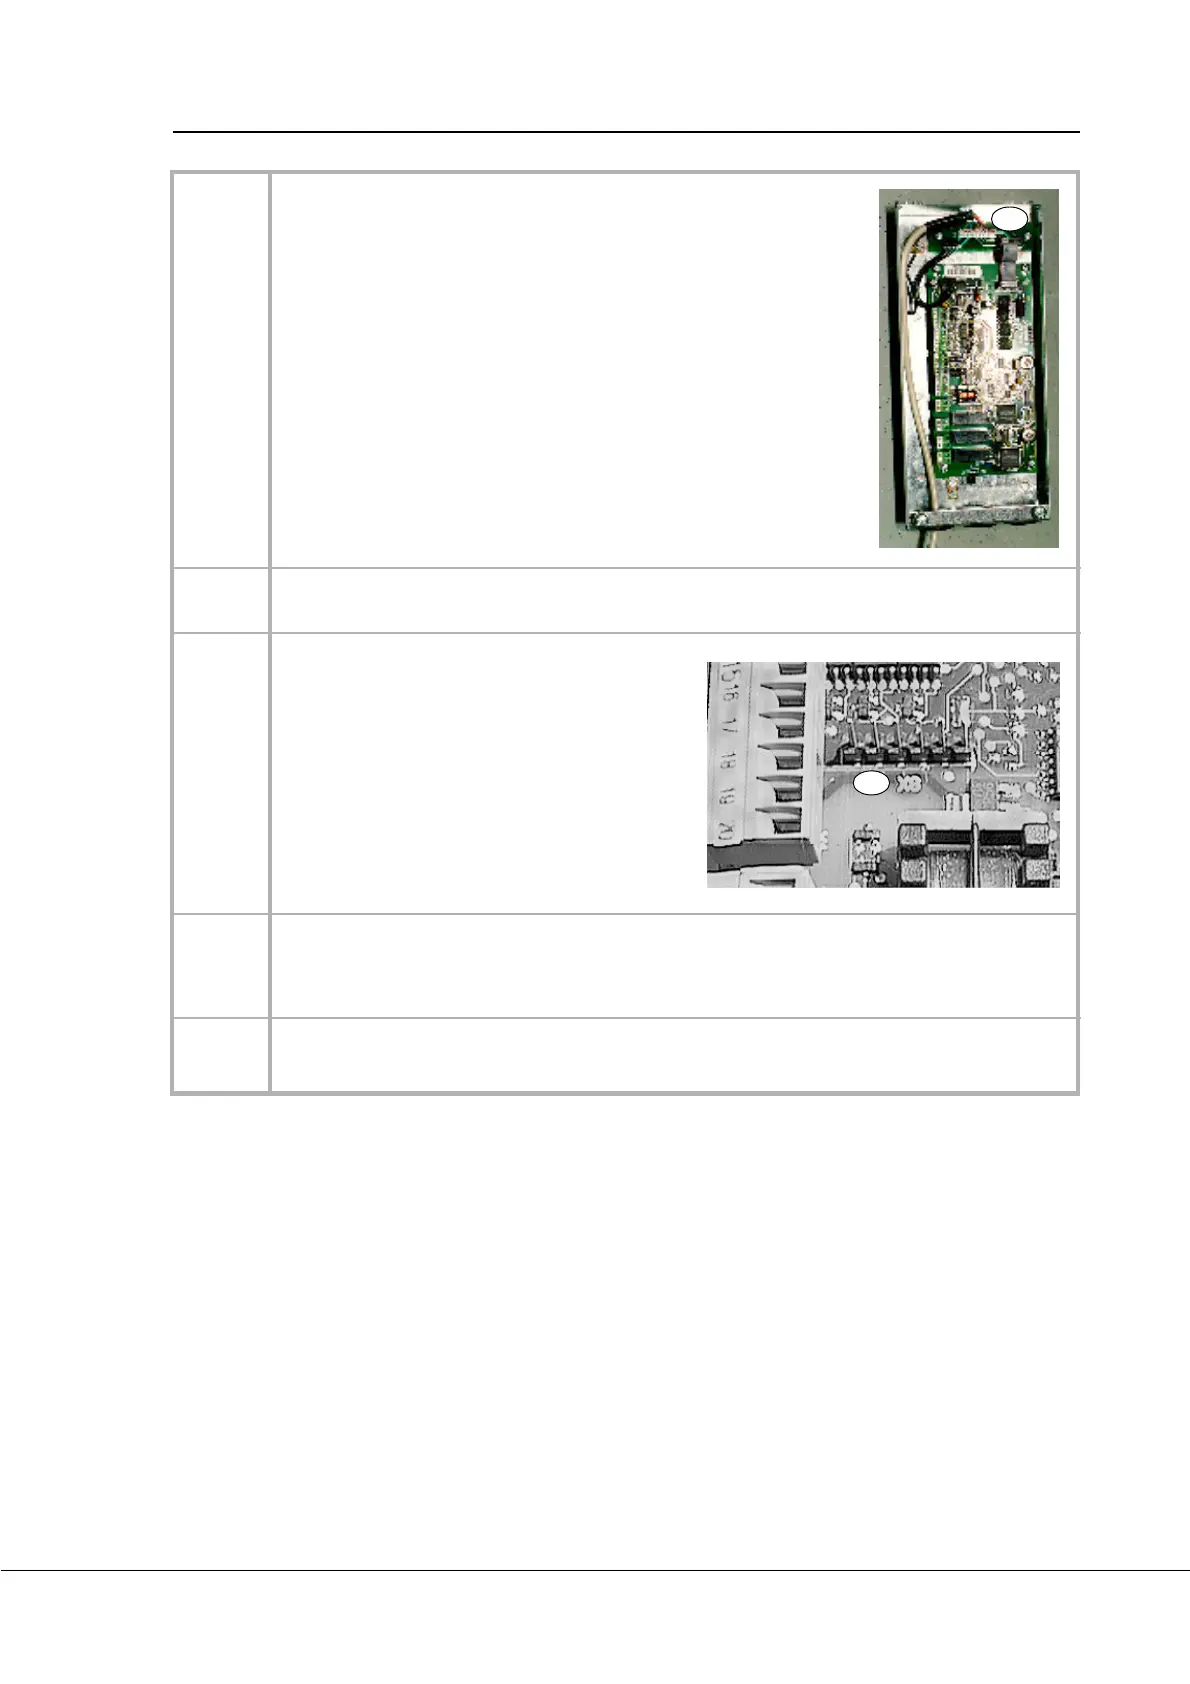
Connect the communication cable (9) to the I/ O -expander board
X1 5 terminal (12). Earth the communication cable to the option box
ground.
X15
1 4
1 5
Connect the necessary control signals. If a fieldbus board is in use, see separate manual for
more specific information.
X8
1 6
If an encoder input (closed loop control) is to
be used and the encoder w orks at a 5V level,
move three jumpers from terminal X5 to terminal
X8 . If the encoder w orks at 2 4 V, then terminal
X8 should be left free.
Check the connections and make sure that there are no foreign objects inside the option box.
Before connecting the mains make sure that the cover of the option box and frequency con-
verter are closed.
Set the parameters of I/ O -expander board according to the Vacon "Five in O ne+" -applica-
tion manual (parameter group 3 ).
1 7
1 8
Table 3 -2 . I/ O -expander board installation.
 Loading...