Page 8 (1 5 ) Vacon
I/ O-expander board installation (Vacon CXS-range)
Vacon Plc Tel: +3 58 -2 01 2 1 2 1 Fax: +3 5 8-20 1 2 1 2 2 05
Service: +3 5 8 -4 0 -8 37 1 1 50 E-mail: vacon@vacon.com
http:/ / w ww.vacon.com
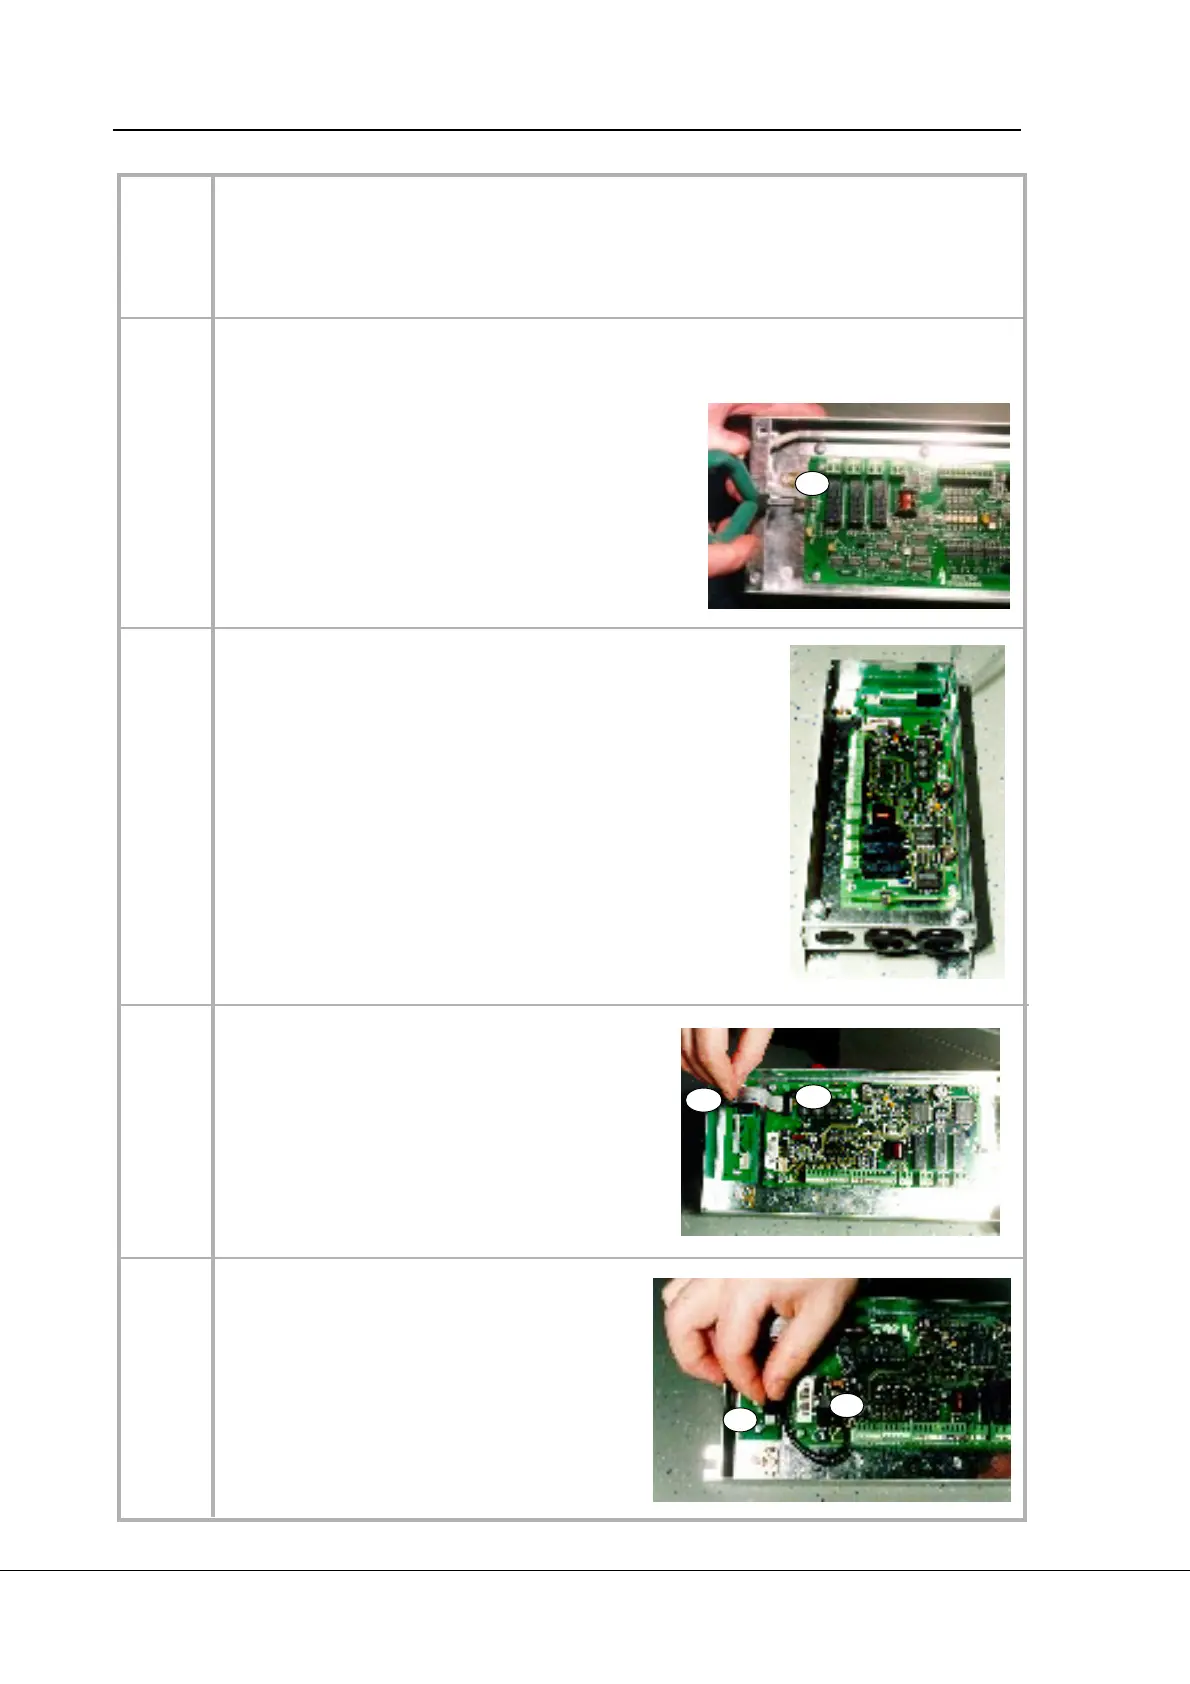
Check the connections and make sure that there are no foreign objects inside the frequency
converter.
Close the cover of the frequency converter.
9
1 0
Install the jumper removed from the control board X4 terminal into the I/ O -expander board
terminal X9 . N ote: the jumper can be connected in O N or O FF position,see Vacon CX/ CXL/
CXS User's manual, Chapter 6 .2 .2 .
1 3
If you have the option box with the I/ O -expander (1 1 ) and I/
O -interface boards (1 2 ) pre-installed, jump to section 1 7 .
M ount the I/ O -expanderboard (11) and I/ O -interface board
(12) in the option box (10) w ith the screws.
1 1
Connect data cable (13) between terminal X1 4 in
the I/ O -interface board (12) and terminal X1 4 in
the I/ O -expander board (11)).
X14
X14
1 2
Connect power cable (14) between terminal X6
in the I/ O -interface board (12) and terminal
X6 in the I/ O -expander board (11).
X6
X6
Table 3-2 . I/ O -expander board installation (continues ...).
X9
 Loading...