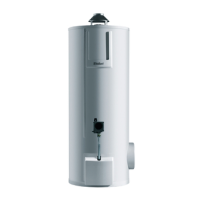
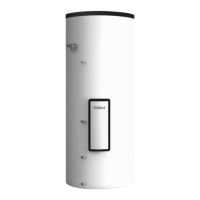
11Operating and Installation Manual for uniSTOR, auroSTOR, geoSTOR Cylinders 0020080043_00
• On the rear of the cylinder, first unfasten the 3 plastic
screws (1) on one side only of the aluminium strip
(using, e.g., a coin).
• Grip the jacket by the aluminium rail and walk round
the cylinder with it so that you are holding the jacket
inside out in a droplet shape.
• Now unfasten the 3 plastic screws on the other alu-
minium rail, pull out the aluminium rail and clamp the
two ends together with the enclosed clip.
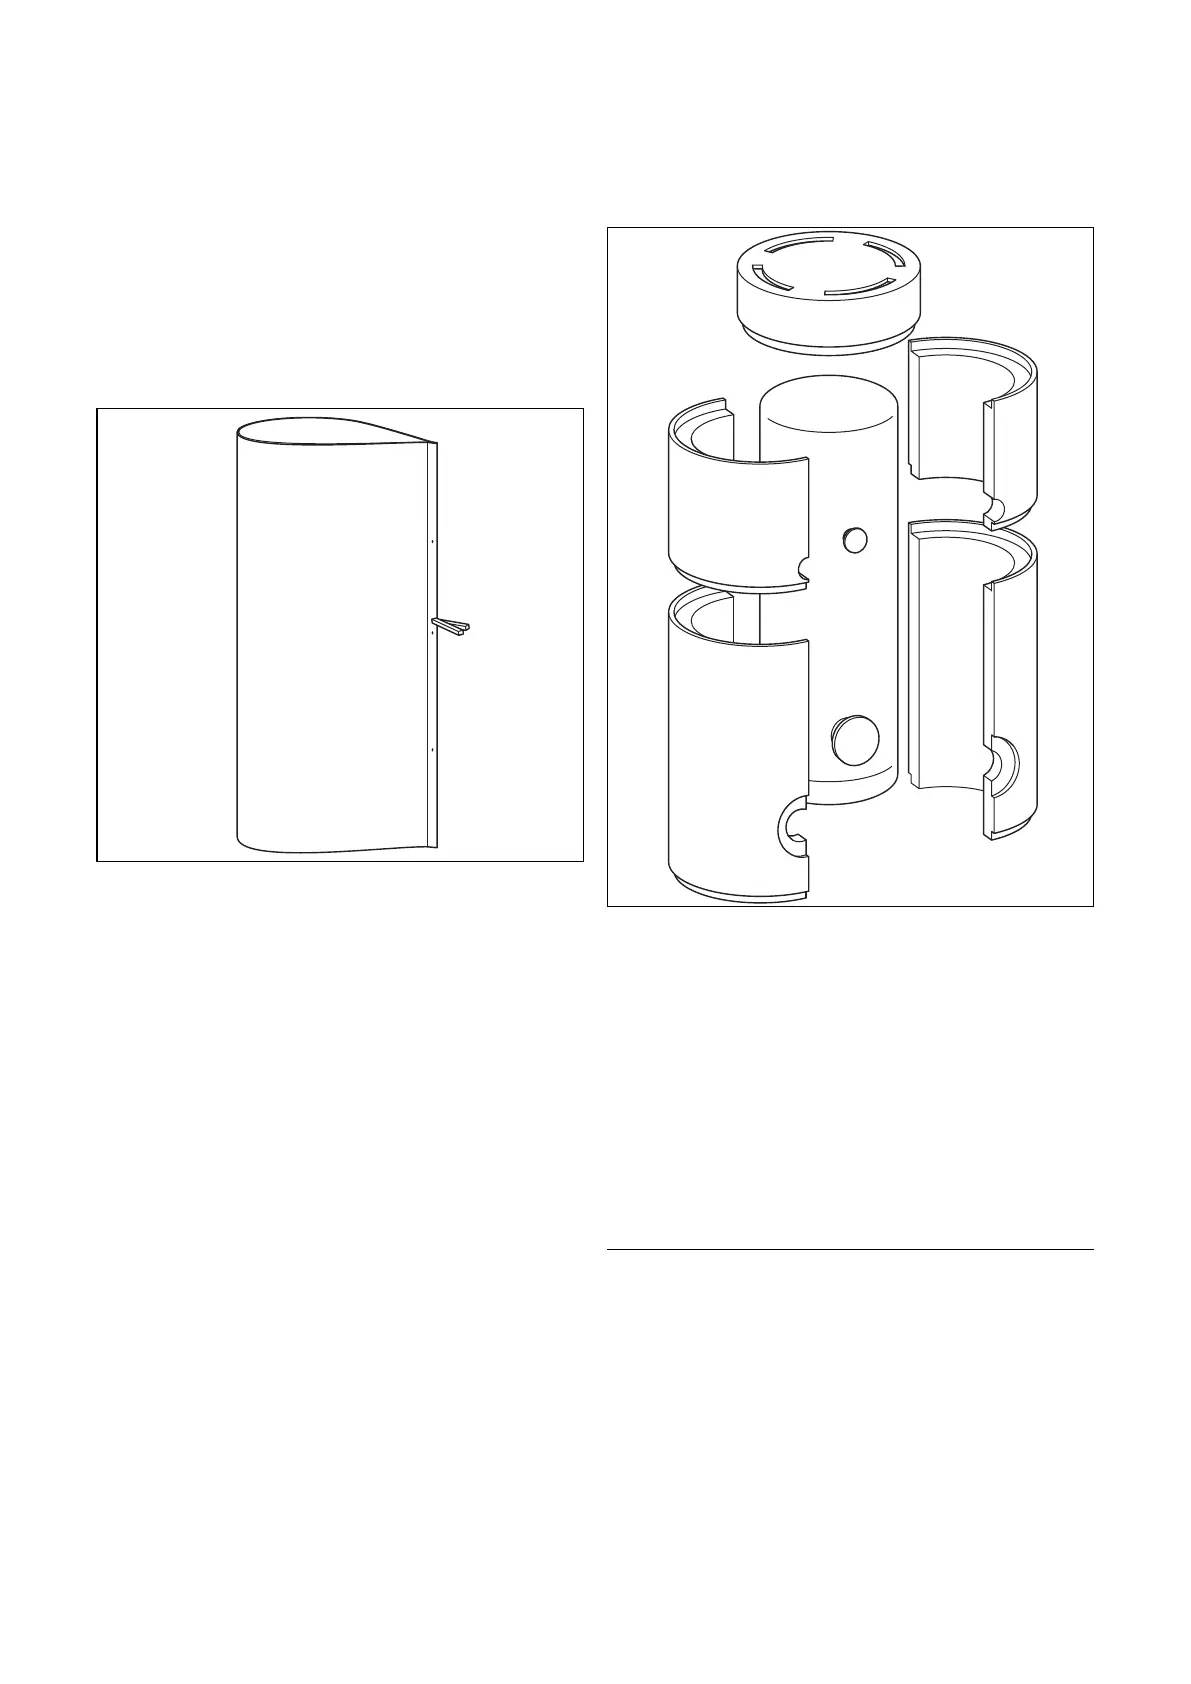
Fig. 5.10 Fastening the casing jacket with the clip
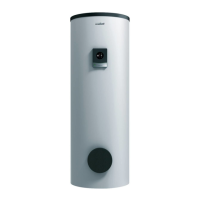
5.3.4 Transport without insulation
Fig. 5.11 Removing the insulation
• Using a knife, separate the adhesive film at the front
and rear joints.
• First remove one of the lower half shells by pulling it
to the side, then the other lower half shell.
• Depending on the size of the unit, now remove either
the upper half shells or the cover cap.
5.3.5 Fitting the insulation and the casing
To fit the insulation and the casing, proceed in the re-
verse order:
• Fit the casing from top to bottom and fix the insula-
tion sections with adhesive strips over the joint.
h
Note!
The adhesive strips are on a paper backing at
the rear right hand side next to the joint.
Installation 5
 Loading...