20
Icon for the system setting interface.
Used to adjust the brightness and audio volume
Used to enable or disable the microphone
Used to set the date and time
Used to erase data, restore the factory settings, and set
the user accounts
Used to erase internal files and user data
Used to restore the factory settings
Used to set the user accounts
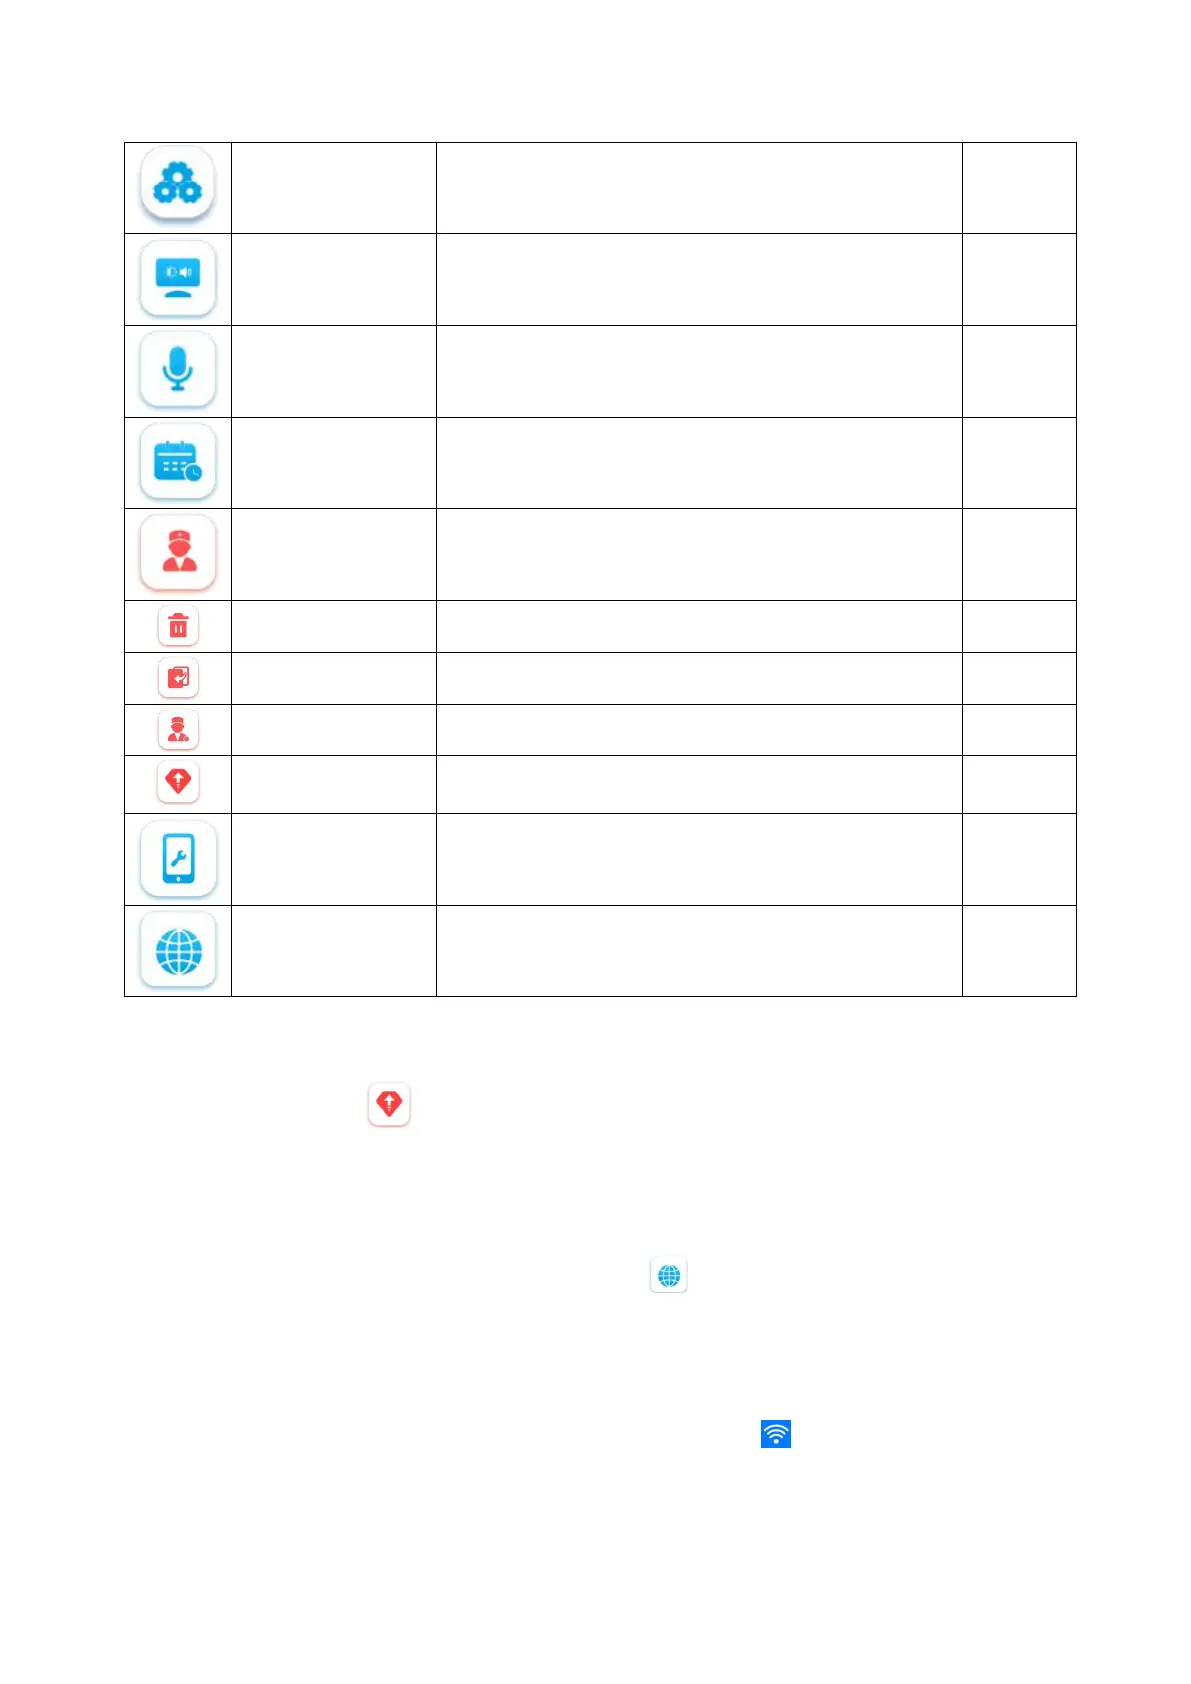
Firmware update for system and APP
Used to view the equipment information
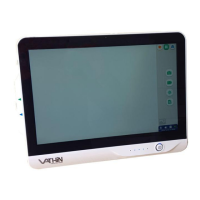
Used to set languages, Wifi and mobile data
3.3.5 Firmware update
Insert the U disk with the new system firmware or app into the USB port.in the system setting mode,click
the network setting button ,The system will automatically jump out of the dialog box, select the OK
button, and enter the correct password in the new operation password dialog box. The system or app will
automatically update the new system of the U disk. Until it's done.
Turn on the device again after shutdown, and the device will work according to the new firmware.
3.3.6 Network setup
In the system setting mode, click the network setting button ,you can setup connection with WIFI and
local area network (LAN)
3.3.6.1 WiFi setting:
On the area of wifi setting,enabling the ON/OFF slider to the “on” position , the WiFi function is turned on,
and Enter a valid IP address to connect to the network.
After the network is connected normally, the network connection symbol appears in the status bar of
the screen