Collector installation – Part 3: Solar water heater system installation – 17
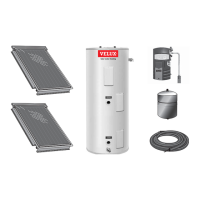
6. Open the packaging for the ZFR fl exible pipes (to be used for interconnection between two collectors). The ZFR pipes are
a fi xed length and are not to be cut -- the cone shaped end connections on these pipes are designed specifi cally for use
with VELUX collectors. Route the ZFR pipes between the collectors and attach to collectors. Secure nuts securely using
wrench. Fully insulate fl exible piping connections with insulation and tape provided.
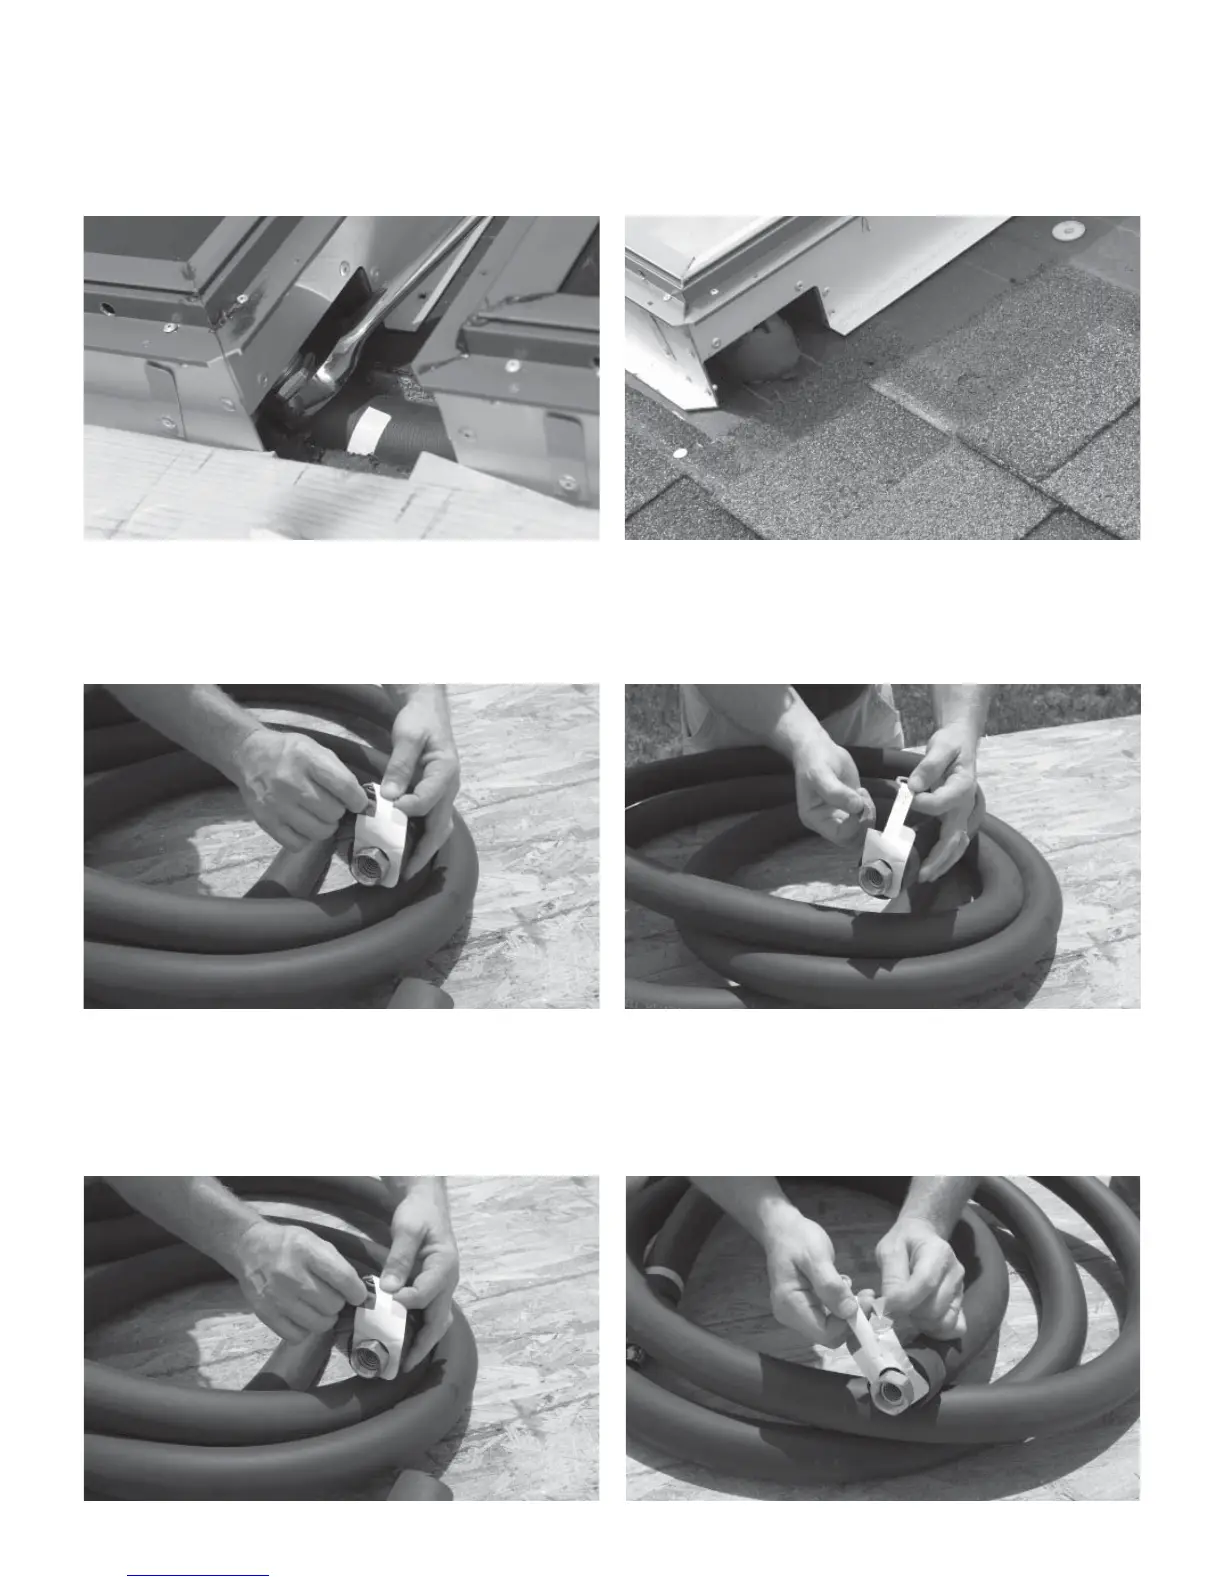
7. Locate the end of the fl exible pipe connected to the bottom left corner of the collector bank (this is the heat transfer fl uid
“hot” pipe). Locate the indicator tab near the end connection. Tear o “blue” tab from the indicator tab, leaving the “red”
tab in place -- this will help to identify this pipe as the “hot” pipe later in the installation.
8. Locate the end of the fl exible pipe connected to the bottom right corner of the collector bank (this is the heat transfer fl uid
“cold” pipe). Locate the indicator tab near the end connection. Tear o “red” tab from the indicator tab, leaving the “blue”
tab in place -- this will help to identify this pipe as the “cold” pipe later in the installation.
 Loading...