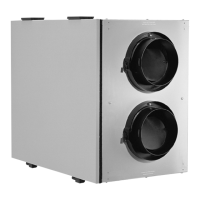
1. INSTALL DUCTWORK
Plan where and how the ductwork will be installed.
Install proper-sized ductwork, elbow(s) and roof or wall cap for the type of blower you are installing. If using 6’’ (150 mm) round
ducts, use a transition. Use 2’’ (50 mm) duct tape to seal duct joints.
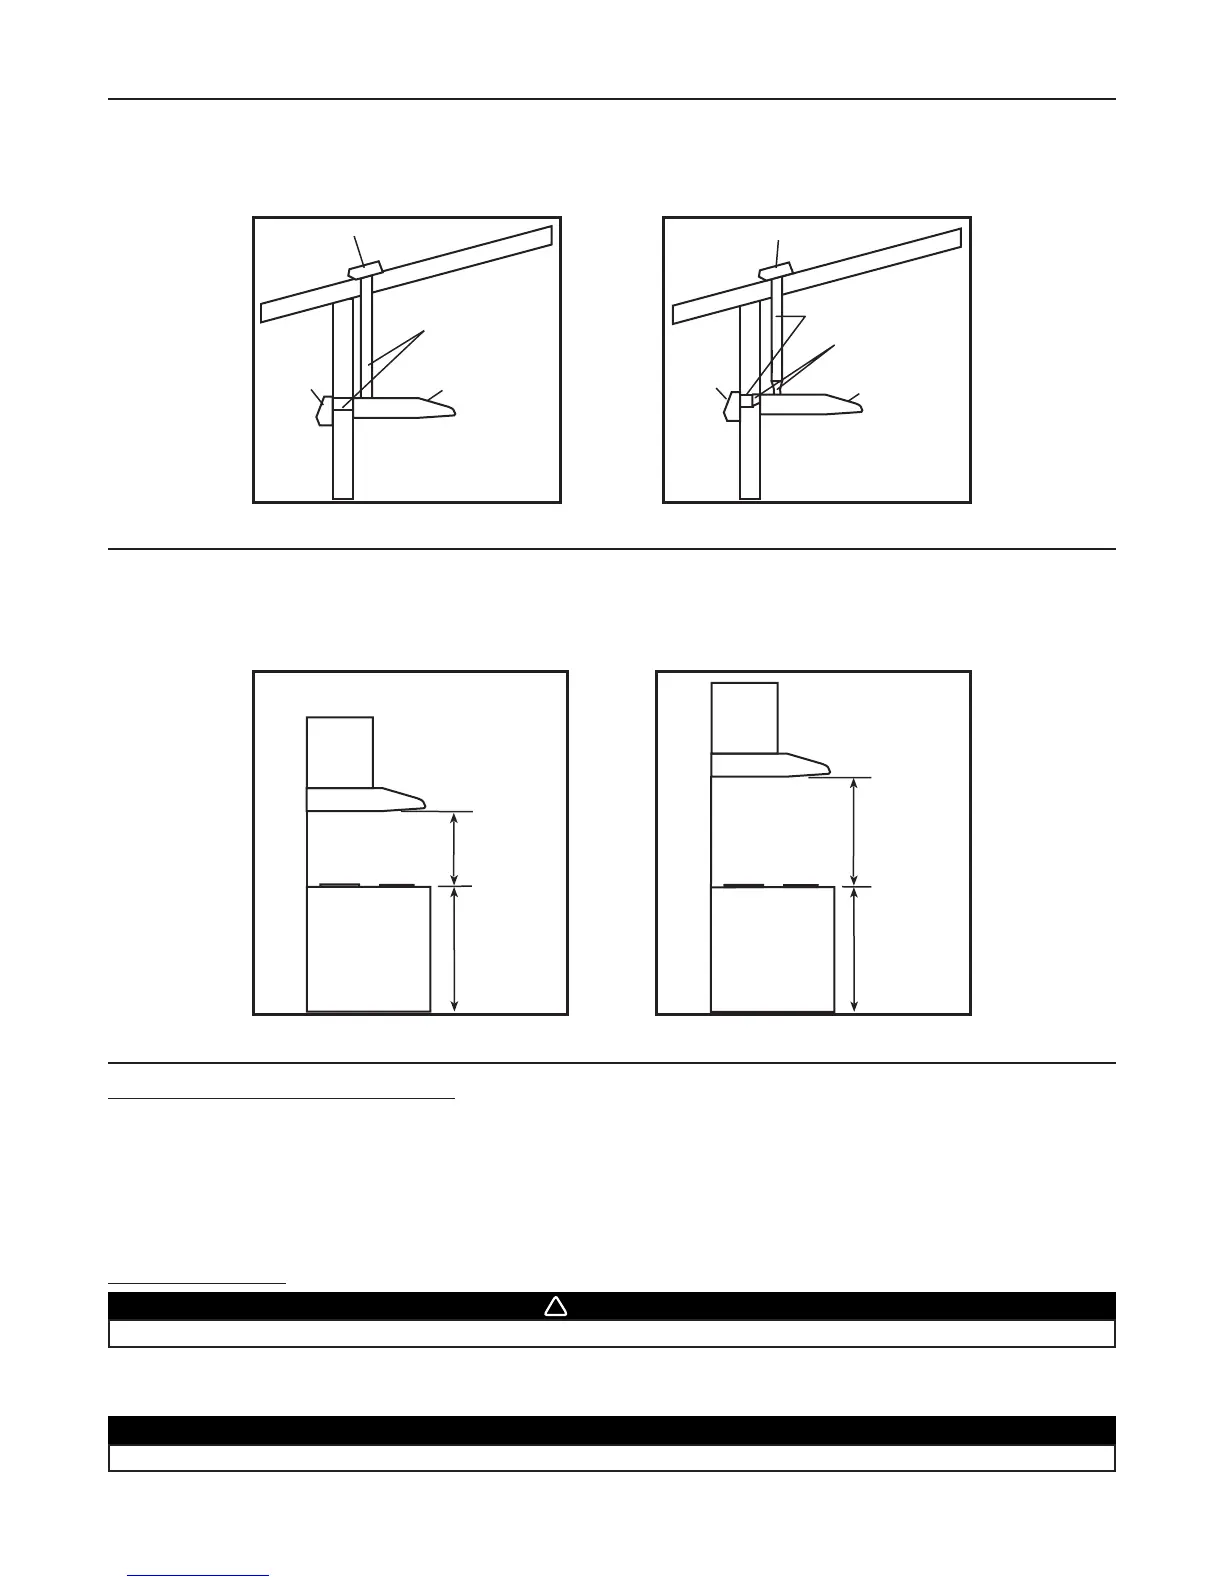
2. MEASURE THE INSTALLATION
Dimensions for the most common installations are shown below.
We recommend to install the hood at a minimum of 20” (508 mm) from an electric range and at 24” (610 mm) from a
gas range.
For optimal performance, the hood should not be installed more than 30” (762 mm) from cooktop.
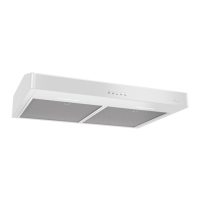
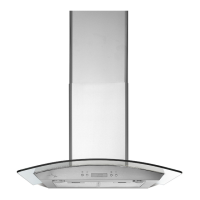
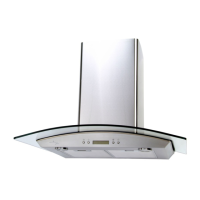
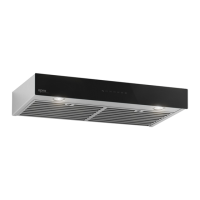
3. PREPARE THE INSTALLATION
Make sure the following items are included:
-Hood
-Filters (2)
-Adapter/damper assembly 3¼’’ x 10’’ (for single blower hood models, located inside the hood, under the bottom panel, and for
double blower hood models, temporary assembled on top of the hood)
-Bag of parts including:
(1) wire clamp, (5) 1/2’’ double thread screws, (2) wire connectors and (6 1/2’’ screws
Parts sold separately:
- Shielded halogen lamps (120 V, 50 W, MR16 with GU10 base or PAR16 with GU10 base)
- Transition 3¼4”x 10” to 6” round (optional, for 6” round ducts installation only)
- 4 -
WARNING
In order to prevent the risk of personal injury, do not install a lamp identified for use only in enclosed fixtures.
CAUTION
When performing installation, servicing or cleaning the unit, it is recommended to wear safety glasses and gloves.
 Loading...