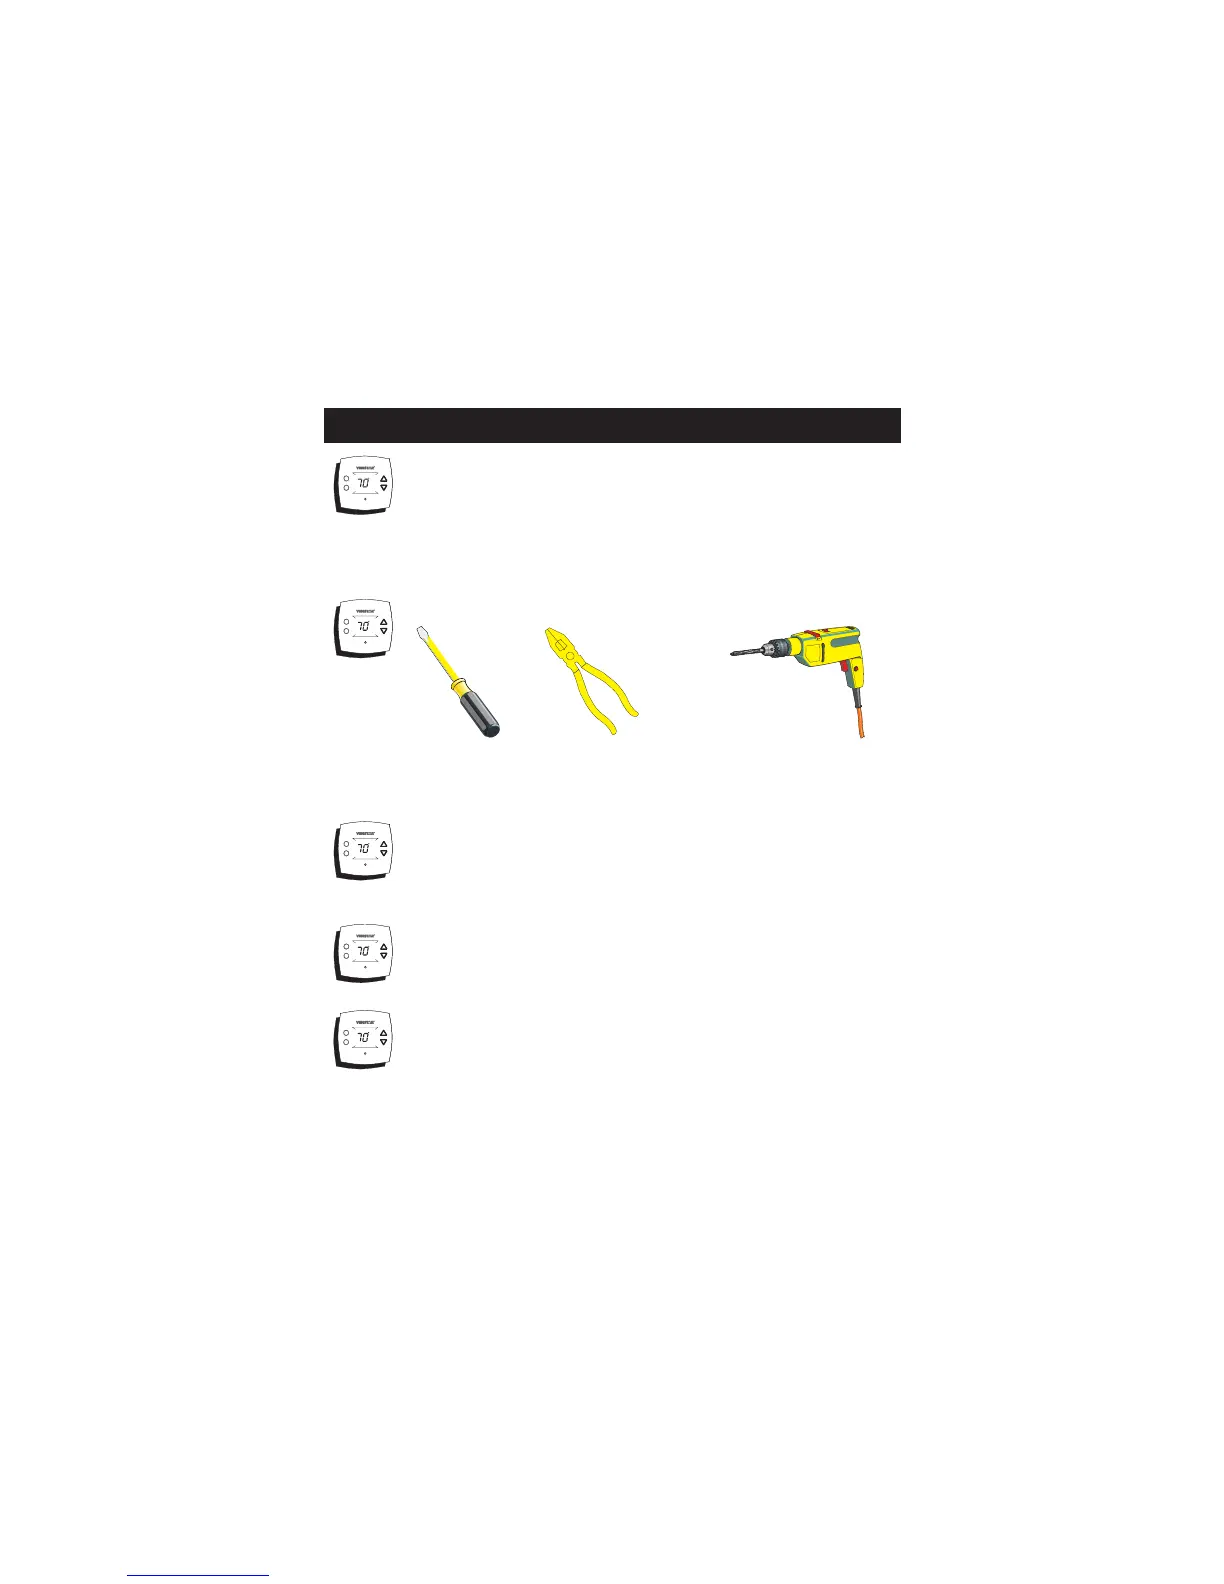
Drill with 3/16
inch Drill Bit
(when not using
j-box)
Proper installation of the thermostat will be
accomplished by following these step by step
instructions. If you are unsure about any of
these steps, call a qualified technician for
assistance.
Assemble tools.
Flat Blade
Screwdriver
Wire cutter
& Stripper
Make sure your Heater/Air Conditioner is
working properly before beginning installation
of the thermostat.
Carefully unpack the thermostat. Save the
screws, wall anchors, and instructions.
STEP #1
PREPARATION
Turn off the power to the Heating/Air
Conditioning system at the main fuse panel.
Most residential systems have a separate
breaker for disconnecting power to the furnace.
AUTO
COOL
76
HEAT
68
AUTO
COOL
76
HEAT
68
AUTO
COOL
76
HEAT
68
AUTO
COOL
76
HEAT
68
AUTO
COOL
76
HEAT
68
Page 2
 Loading...