Su
PM
I2:00
:
Page 6
INSTALLATION INSTRUCTIONS
T1035
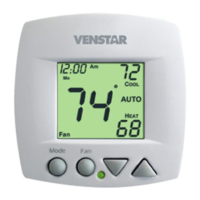
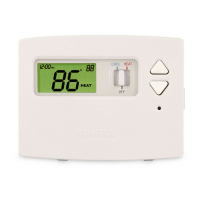
The batteries must be replaced
immediately when the thermostat
displays the low battery icon (fig.
1). If the thermostat is connected
to 24v power, the batteries should
still be installed. Installing the batteries when
system powered (24VAC) will keep the clock
running in the event of line power interruption.
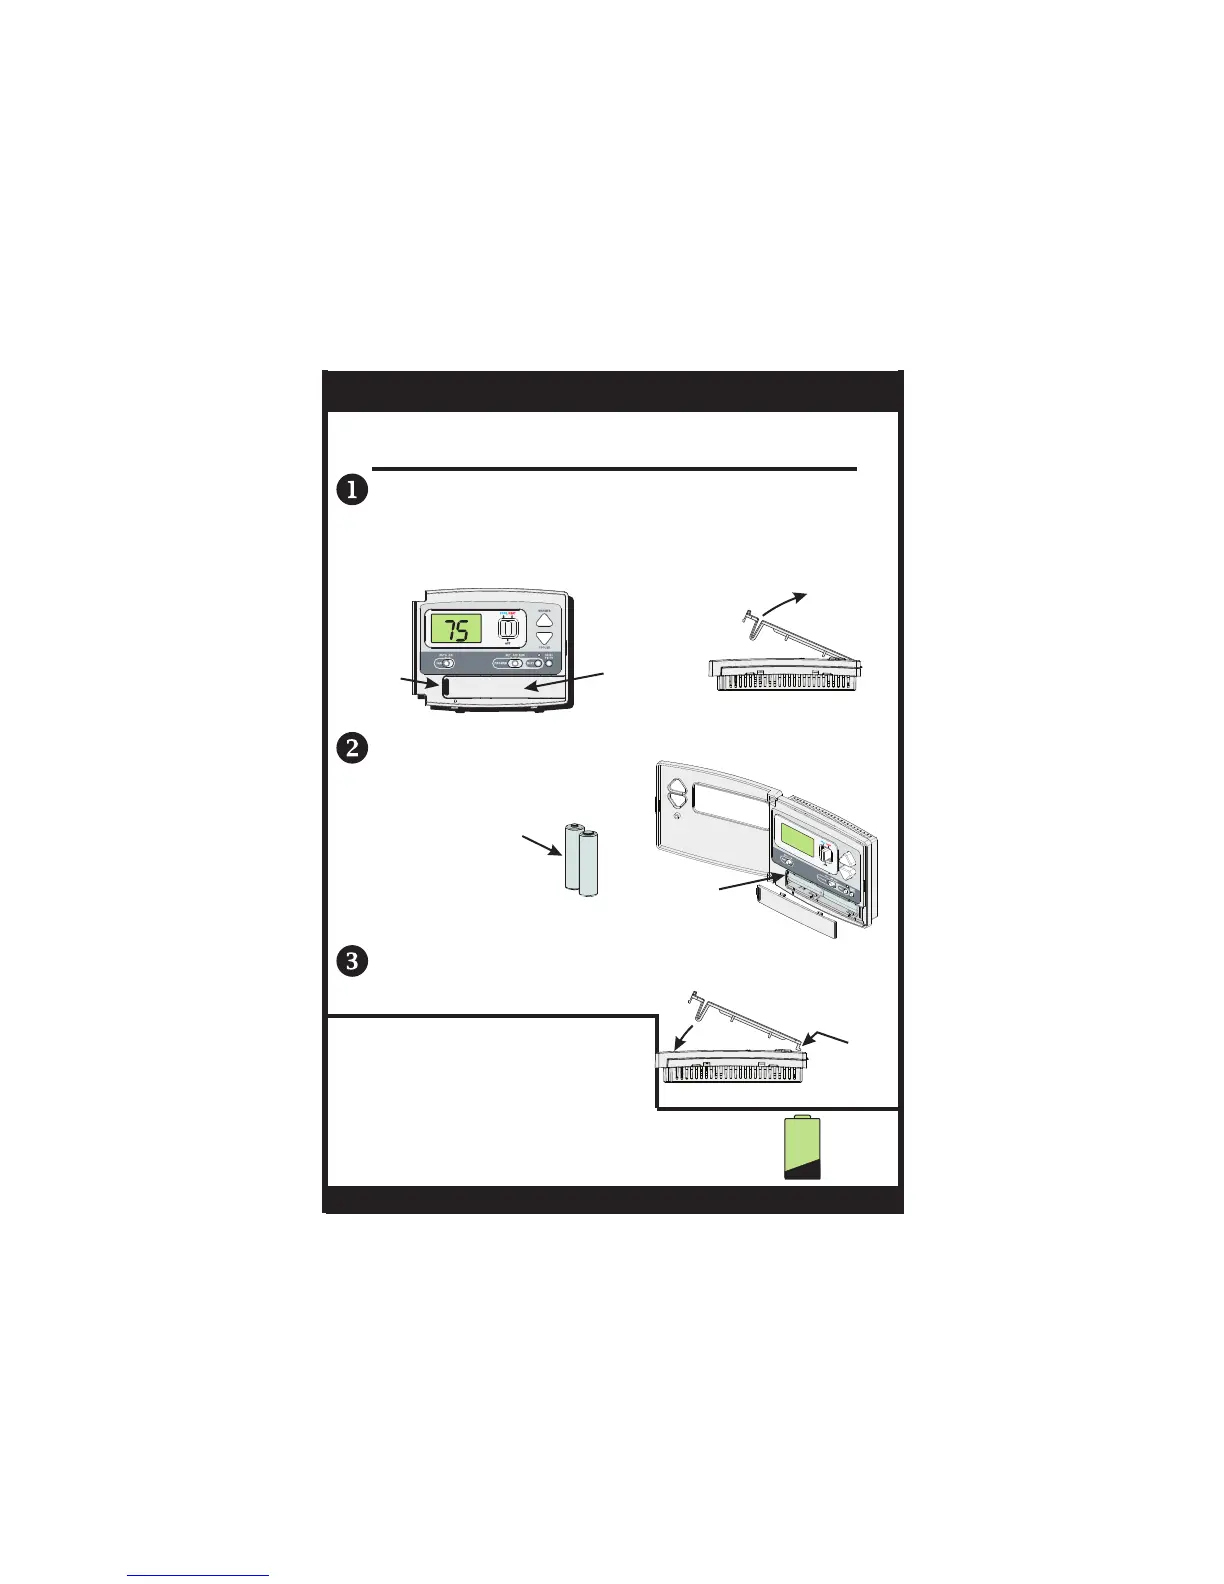
Battery Replacement
FIG. 1
The batteries are easily accessible from the battery
slot located on the front of the thermostat (fig. 1). To
open the battery slot, press down on the battery
cover (fig. 1) and pull out (fig. 2).
Remove the old batteries and replace with the new
AA alkaline batteries (fig. 3).
FIG. 1 FIG. 2
Press
down
Pull out
Battery
slot
FIG. 3
Old
batteries
out
New
batteries
in
(Bottom View)
Place the bottom hook of the battery cover into the
slot and snap closed (fig. 4).
FIG. 4
Snap closed
Bottom
Hook
(Bottom View)
 Loading...