www.venuelightingeffects.com
7
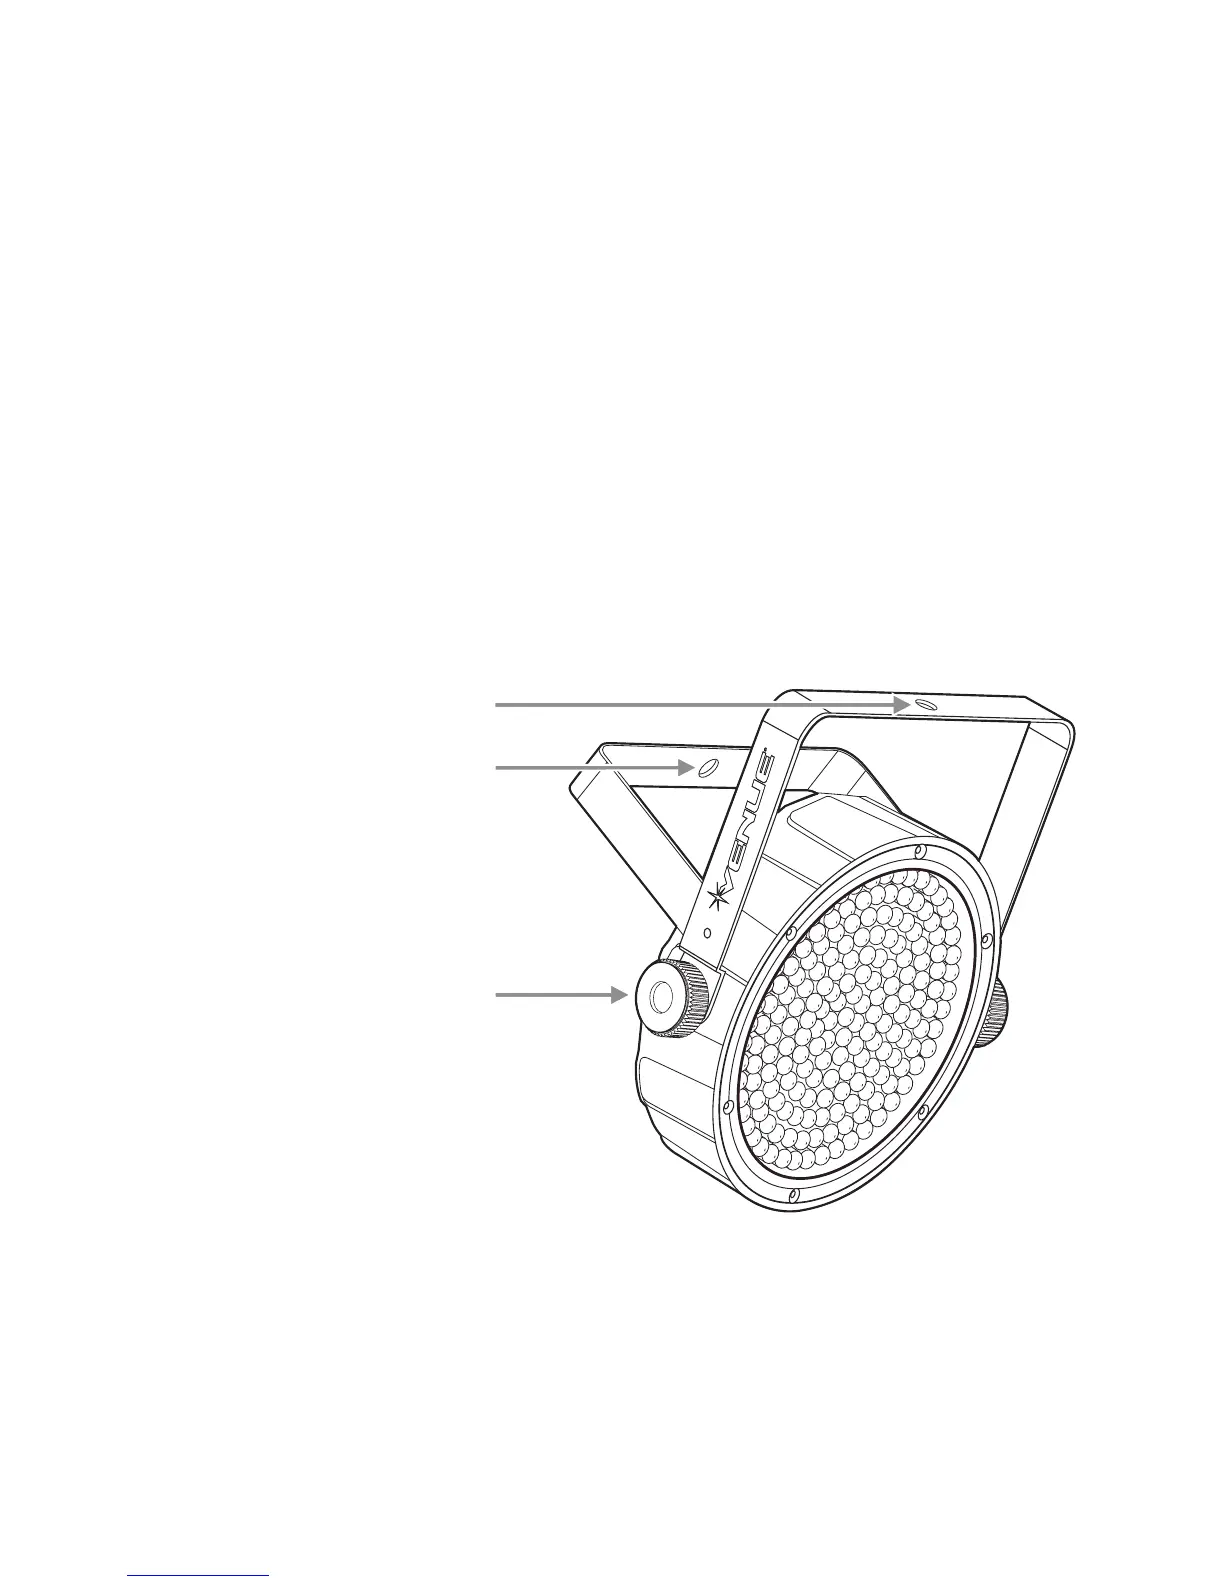
MOUNTING ORIENTATION
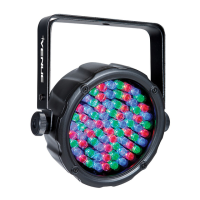
ThelightweightThinPar64maybemountedinanyposition.
RIGGING
Besurethatthestructurecansupporttheweightofthexture.Pleaseseethe“TechnicalSpecications”sectionofthis
manualforadetailedweightlisting.Mountthexturesecurely.Thismaybedonewithascrew,nutandbolt,orahanging
clamp (not included). The hole in each bracket can fit a 13mm screw or bolt. When rigging, consider routine maintenance
and back panel access. Please see the following steps for installation.
• Ifthepowerlinkoutisintendedtobeusedwithmultiplextures,takeintoaccountthelengthofeachpower
cable, and mount the fixtures close enough to one another to account for this.
• Whenaimingthextures,youmayusethebracketangleknob.Loosentheknob,adjusttothedesiredangle,
andthentightentheknobbyturningclockwise.Donotusetoolsforthisstep,asitmaycausedamage.
• Thereisasecondarybracket,whichmaybeusedprimarilyforoorstandingpositions.
• Safetycablesmustalwaysbeused.
BRACKET ANGLE KNOB
Note: Do not use a tool on
the bracket angle knob.
Tighten or loosen by hand.
MOUNTING BRACKET
SECONDARY BRACKET
(use primarily for floor standing position)