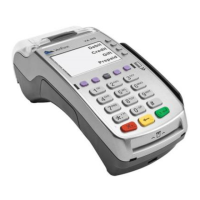
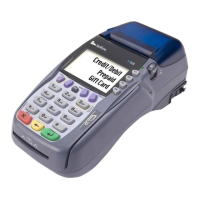
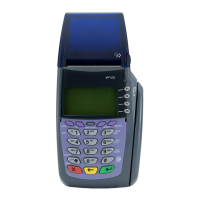
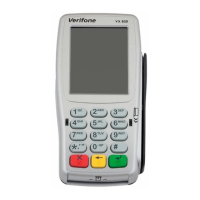
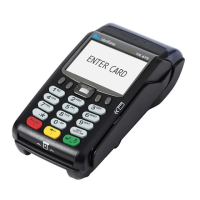
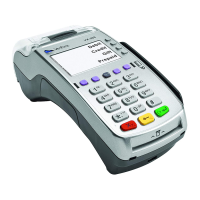
NAVIGATING
YOUR
TERMINAL:
Refer to this section
to nd and begin
the transaction or
function you wish
to use.
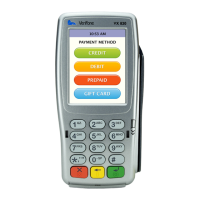
BEGIN A SALE
Press Sale and enter the amount of the transaction. For standalone
terminal, pass the device to the customer.
• For magnetic stripe payments, the customer should swipe their
card, and then specify credit or debit. (Note: Debit cards must be
swiped)
• For smart chip card payments, the customer should insert their
card and leave it inserted for the entire transaction. If the chip
card is swiped, then the terminal may prompt the customer to
insert the card in the chip reader slot.
• For contactless payments, the customer should tap/wave their
card or mobile device on or in close proximity to the terminal/PIN
pad screen.
BEGIN OTHER TRANSACTIONS
Press the down [Arrow] key at the main menu or idle prompt to navigate
to the transaction type you wish to perform. Scroll through the menu and
press the corresponding [F] key when your desired transaction appears
on the terminal display.
REPRINT A RECEIPT
Press [Reprint] to access the Reprint menu. You will be
Prompted to select last receipt, or enter criteria to search for another
receipt to print.
ACCESS TIP FUNCTION
Press [Tip Adjust] to access the Tip menu. Scroll to the desired report
or report category, then press the corresponding [F] key and follow the
prompts
** Tips will upload when the Settlement is initiated **
NOTE: In order to process tip adjustment transactions, smart chip cards
must be disabled.
Tip at the time of sale is supported with smart chip cards. Press Sale,
Enter Amount, Enter Tip, Conrm Amount, Insert or Swipe card.
ACCESS REPORTS
Press [Reports] to access the Report menu. Scroll to the desired report
or report category, then press the corresponding [F] key and follow the
prompts to view or print your report.
ACCESS CLERK/SERVER SETUP
Navigate to the Clerk Setup/Server Setup option from the main menu by
pressing [Enter] or green button.
 Loading...