Do you have a question about the VeriFone VX 805 and is the answer not in the manual?
Download the VX 805 driver zip file and extract its contents.
Right-click the VX805_Driver.exe and select 'Run as administrator', then accept the license.
Download the dsiEMVUS control software from the Datacap Systems website.
Right-click the dsiEMVUS .exe file and select 'Run as administrator'.
Download the latest dsiPDCX control software from the Datacap Systems website.
Right-click the dsiPDCX .exe file and select 'Run as administrator'.
Download the NETePay software for Elavon from the provided link.
Click 'Agree' to the download agreement to proceed with NETePay installation.
Locate and run the DSIClient installer as administrator.
Accept the license agreement for the NETePay installation.
Provide installation details like User Name and Organization for NETePay.
Click 'Install' to begin the NETePay software installation.
Click 'Finish' and restart the system for NETePay configuration.
Find DSIElavonIP_Host.exe and run it as administrator.
Click 'Obtain Serial Number' to register the NETePay installation.
Attempt activation if parameters are not found, and click OK.
Click 'Load New Parameters' to retrieve merchant settings for NETePay.
Enter the Deployment ID received and click OK.
Verify merchant details and click 'Yes, This is the Correct Merchant'.
Access the Setup Screen via Options/Manager > Setup > Setup Screen.
Set Payment Processor to DataCap and Processing Company to Elavon.
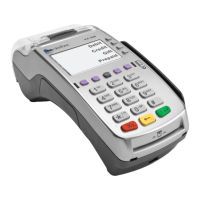
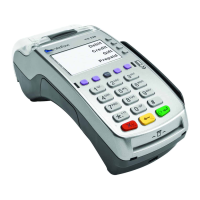
Input the NETePay server IP address and select Verifone VX805 as the pinpad.
Input the Merchant Number and Terminal Number provided by the processor.
Click 'Update' to save the entered settings in CRE/RPE.
| Display | 128x64 pixel LCD |
|---|---|
| Card Reader | Magstripe, EMV, NFC |
| Connectivity | Ethernet, USB |
| Security | PCI PTS compliant |
| Battery | Not applicable (powered via connection) |
| Operating Temperature | 0°C to 50°C |
| Power Supply | 5V DC |