Channel ON/OFF: Set to ON
Wait until the temperature is settled. Wait 20 minutes, until the system is heated up.
Caution: System is hot. Do not touch the parts.
5. Proceed the Adjust (Adjust value: 0.0 – 1.0 %, detailed information please refer to chapter 4).
4. Adjust
IMPORTANT NOTE!
Adjustment-Screw has to be open.
Make sure the system is always cleaned before you start an adjust.
CAUTION! (High temperatures)
The heaters can reach temperatures of up to 180 °C. For such high temperatures, there is a danger of severe
burns and injuries. Use heat resistant gloves.
INFORMATION!
You can always leave the adjust by pressing [esc].
After the successful adjust, the green LED will go off after approx. 3 s.
IMPORTANT NOTE!
Confirming the successful adjust by pressing [enter] is only possible, if the green LED is on.
Make sure that the nozzle fixation nut is absolutely tight.
4.1 The Normal Adjust
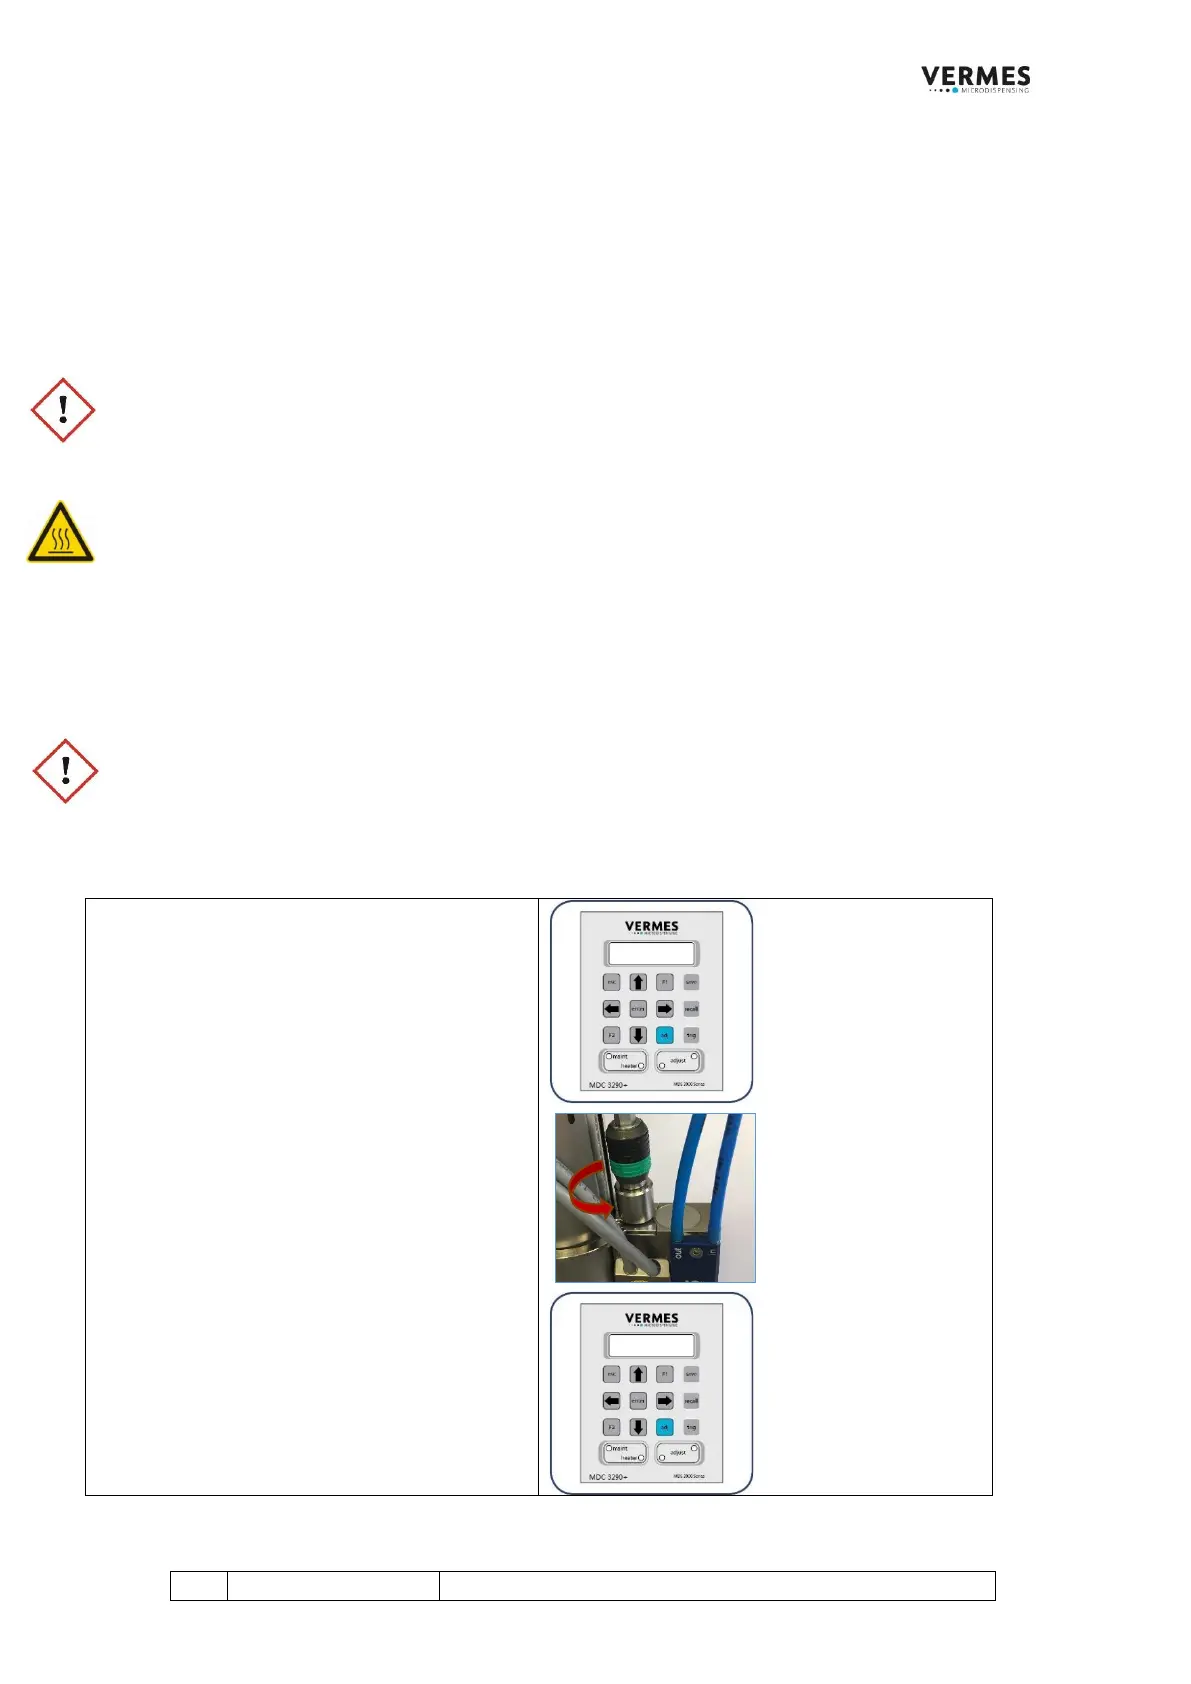
Step 1 (Starting the adjust)
Start the adjust by pressing the [adj]-key on the
keypad of the control unit. You get the message
“Adjust Screw OUT – Press Enter” on the
display.
Make sure that the adjust screw is completely
open (screw counter-clockwise to open).
Press the [enter]-key.
The display shows the message “500 Shots –
Please Wait”. These shots help to prepare the
valve for the adjust.
Wait until a new message on the display
announces the next step.