2 https://docs.vicon.com/display/Connect/Configuring+network+card+settings
Vicon Valkyrie Quick Start Guide
15 Dec 2022, Revision
Connect and configure the PC
With the supplied network cable (Cat6 or 6a
RJ45), connect the Ethernet switch to the PC.
On the PC open Windows Network
Connections
, right-click the NIC to connect to the
system and then click
Properties. (To connect more
than one card, right-click the first NIC.)
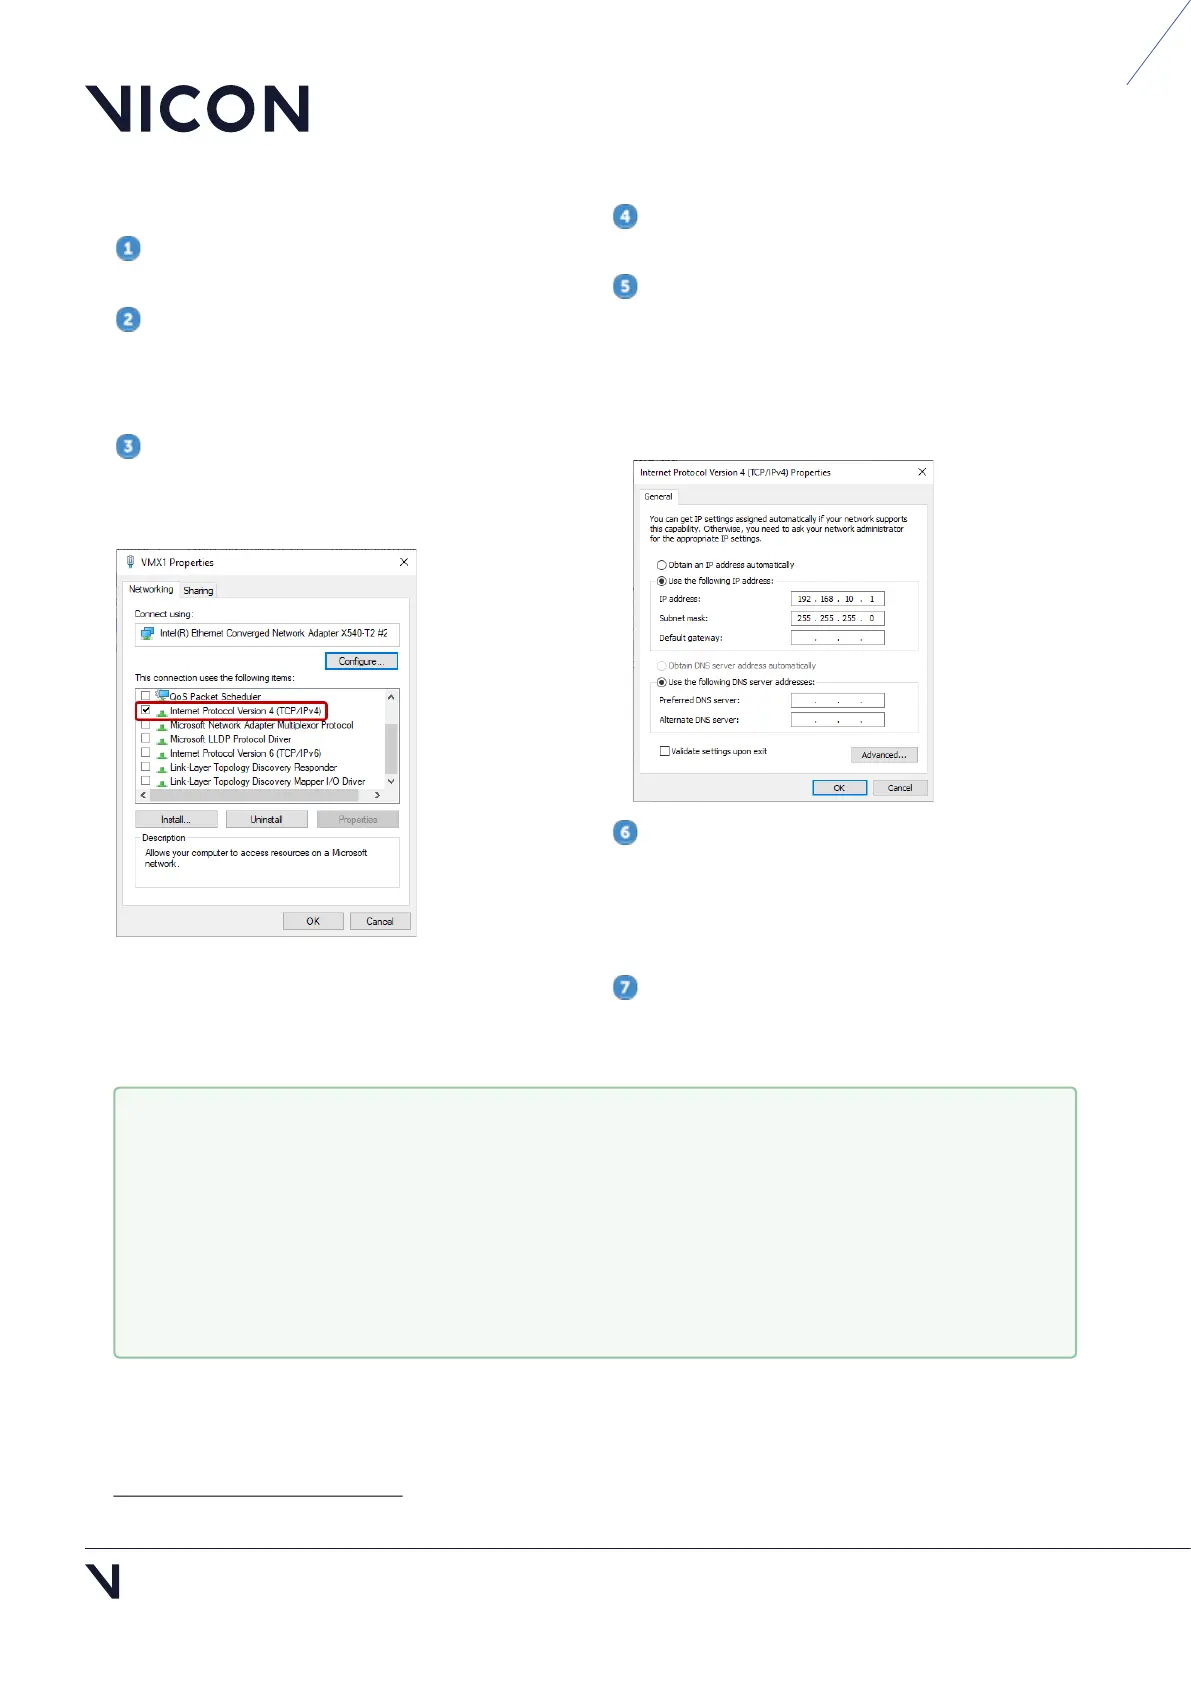
In the Properties dialog box, on the Networking
tab, clear all the unwanted items, leaving only
Internet Protocol Version 4 (TCP/IPv4) selected.
For detailed instructions on configuring your PC
network card, see
Configuring network card
settings
2
.
Click on this option to highlight it and then click
Properties.
In the Internet Protocol Properties dialog box,
on the
General tab enter the following information:
IP address box, enter 192.168. 10.1.
Subnet mask box, enter 255.255.255.0.
Default gateway box, leave the box blank.
If you are using more than one NIC, enter the IP
address
192.168.10.1 for the first NIC to which the
system is connected, as described above, see the
following
Link aggregation for multiple NICs box for
the remaining addresses.
Click OK to close the dialog box, and OK to
close the Properties dialog box and save the
settings.
1.
2.
Link aggregation for multiple NICs
In very large systems, to use more cameras or data, you can use additional NICs in your PC to split
camera data. To do this:
Set the additional IP addresses of your NICs to different addresses in the available range
192.168.10.2–9.
In your Vicon application software, in the Properties pane for each camera, set the
Destination IP Address to the IP address of the NIC to which to send data.