66250980-EN - V1.0 - 06/02/14
4
HARDWARE SETUP WITH CROSSOVER CABLE
Power up the Art.4503 and connect a crossover cable between the PC/Laptops network connection and the Art.4503 network
connection (TCP/IP) as shown in Fig. 1.
HARDWARE SET UP WITH SWITCH AND PATCH CABLE
Power up the Art.4503 and connect a patch cable between the Art.4503 network connection (TCP/IP) and the Switch and then
connect a patch cable between the PC/Laptops network connection and the Switch as shown in Fig. 2.
2
AMR2-12
12Vdc Power supply
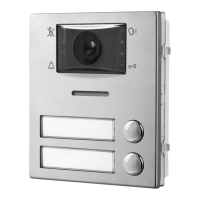
Art.4503
IP door panel
Crossover cable
PC/Laptop
Fig. 1
2
Standard or
Wi-Fi Router
AMR2-12
12Vdc Power supply
Patch
Ethernet cable
Patch
Ethernet cable
Art.4503
IP door panel
PC/LaptopPC/Laptop
Fig. 2
HARDWARE SET UP NOTES
These rst steps simply put your PC/laptop into the same IP range as the default Art.4503. There are many ways to reach the “Local
area connections” window depending on your windows set up. These steps present one of them (also see appendix for Windows
Vista/Windows 2000/XP).
First click on the start menus Windows icon in the bottom left of the screen and select
“Control Panel” from the list on the right hand-side as shown on Fig. 3.
Fig. 3
Art.4503 IP Video Speaker Unit Module
Hardware setup

 Loading...