30
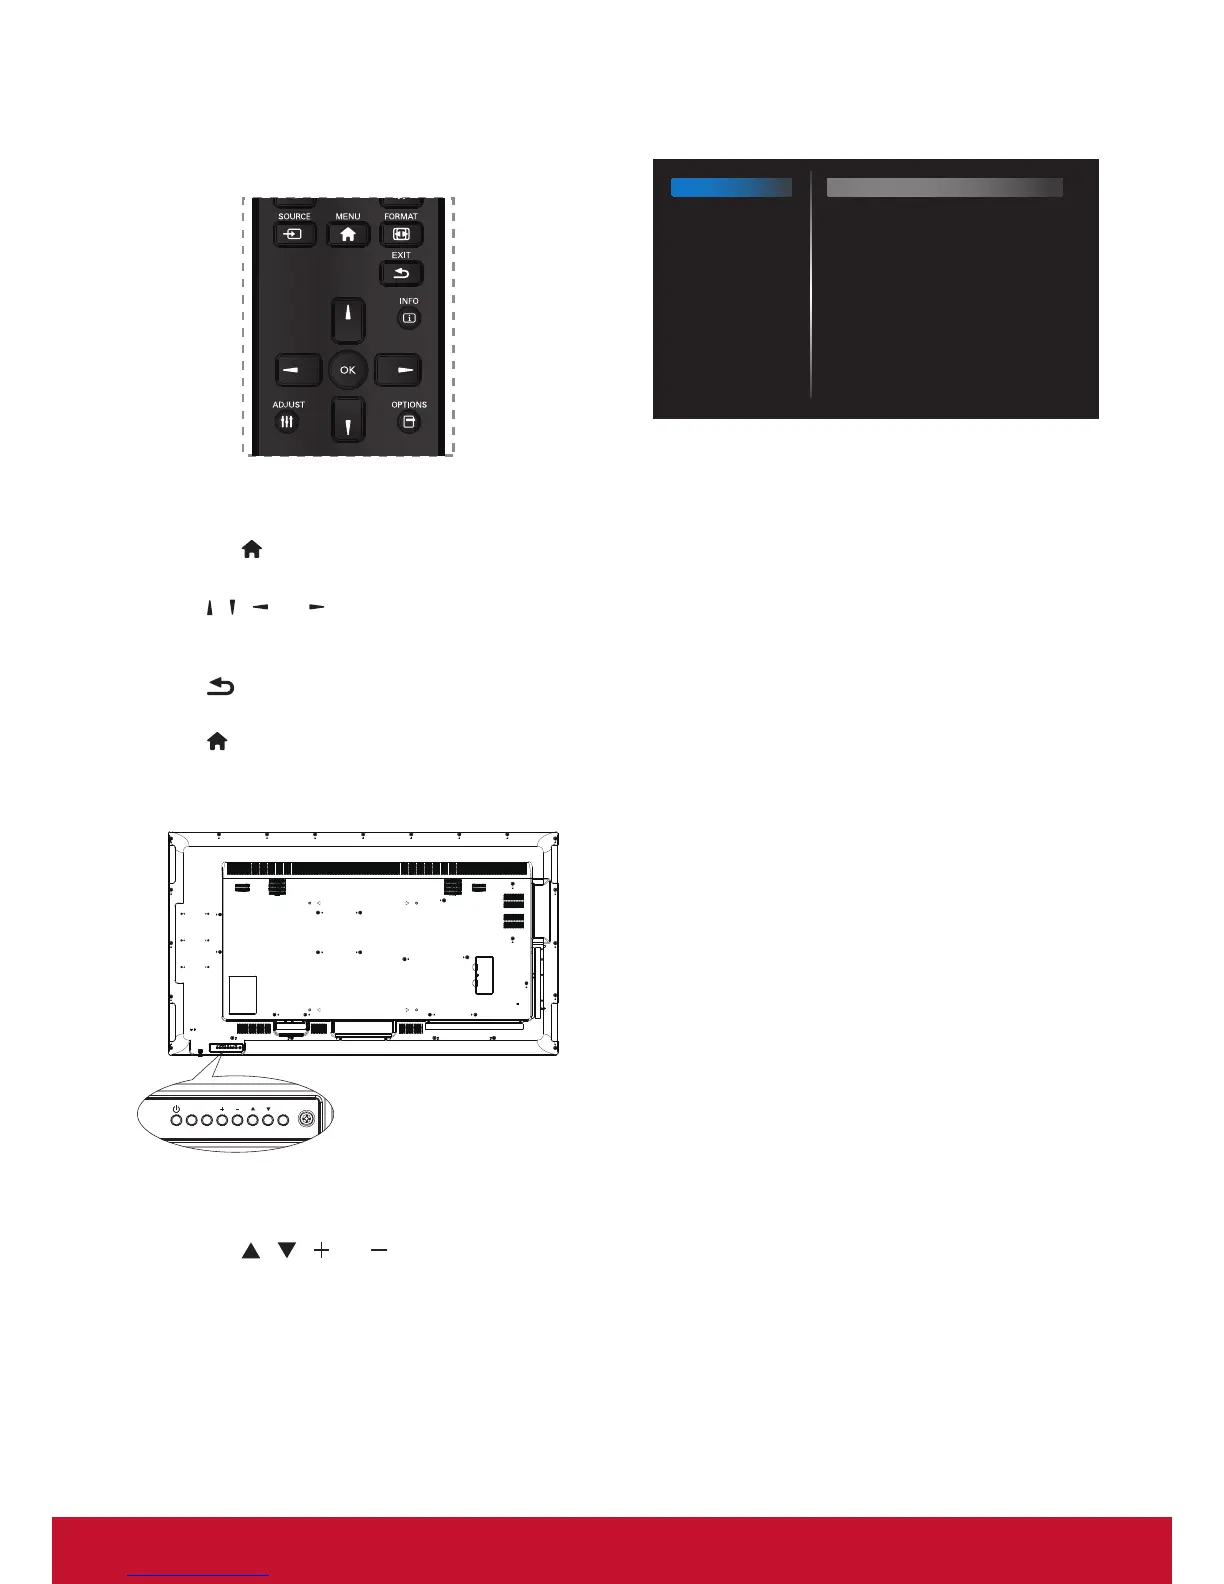
6. OSD Menu
An overall view of the On-Screen Display (OSD)
structure is shown below. You can use it as a
reference for further adjusting your display.
Navigating the OSD menu using the remote
control:
1. Press the [
] MENU button to display the OSD
menu.
2. Press [
] [ ] [ ] or [ ] button to select its menu
item or to adjust its value. Press OK button to
conrm.
3. Press [
] EXIT button to go back to the
previous menu layer.
4. Press [
] MENU button to exit the OSD menu.
Navigating the OSD menu using the display’s
control buttons:
1. Press the MENU button to display the OSD
menu.
2. Press the [
] [ ] [ ] or [ ] to select menu item
or adjust its value.
3. Press [INPUT] button to conrm menu selection
and enter its submenu.
4. Press MENU to conrm menu selection and
enter its submenu.
6.1. Settings
6.1.1. Picture menu
Picture
Screen
Audio
Configuration 1
Configuration 2
Advanced option
Brightness
Contrast
Sharpness
Black level
Tint
Color
Noise reduction
Gamma selection
Color temperature
Color control
Smart power
Overscan
90
50
20
50
50
55
Medium
Native
Native
Action
Off
Off
Brightness (Picture)
Adjust the overall image and background screen
brightness(backlight).
Contrast
Adjust the image contrast ratio for the input signal.
Sharpness
This function is digitally capable to keep crisp
image at any timings.
It is adjustable to get a distinct image or a soft
one as you prefer and set independently for each
picture mode.
Black level
Adjust the image brightness for the background.
NOTE: sRGB picture mode is standard and cannot
be changed.
Tint (Hue)
Adjust the tint of the screen.
Press + button the esh tone color becomes
greenish. Press - button the esh tone color
becomes purplish.
NOTE:VIDEO mode only.
Color (Saturation)
Adjust the color of the screen.
Press + button to increase color depth. Press -
button to decrease color depth.
NOTE: VIDEO mode only
Noise Reduction
Adjust the noise reduction level.