Open freezer door. Remove door trim screws and door
trim with a phillips screwdriver.
Install “Z” brackets onto back side of custom panel.
Note: If 1/4” back panel is used, the brackets will be flush to the
edge (back panel is 1/4” smaller than 3/4” panel dimension).
2
1/4”
off edges of
3/4 “ panel
Align panel in door trim and push down evenly.
Ensure side and bottom “Z” bracket engagement with door trim.
Reinstall top door trim and door trim screws with a
phillips screwdriver.
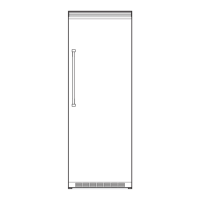
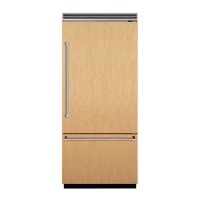
Custom Freezer Door Panel Installation (Bottom Mount Only)
Insert handle-side door trim making sure to engage
handle-side “Z” bracket in door trim. Install door trim screws.
Reinstall cabinet trim and screws.
50
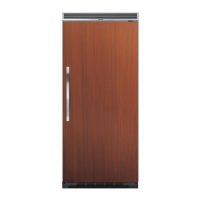
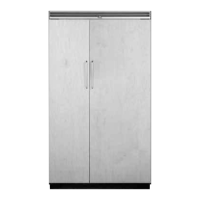
Install custom wood panels per product’s installation
instructions.
Locate opening in door and position bezel.
Note: Graphics on bezel will be on top end, tilt slightly
forward to allow water tube clearance.
Push firmly into cavity until lower screw holes align with
mounting holes on cavity.
Install two screws in lower part of bezel
but do not tighten all the way.
Position upper mounting support over holes
underneath top section of bezel.
Install two screws but do not tighten all the way.
Ice and Water Dispenser Bezel Installation (if required)