65
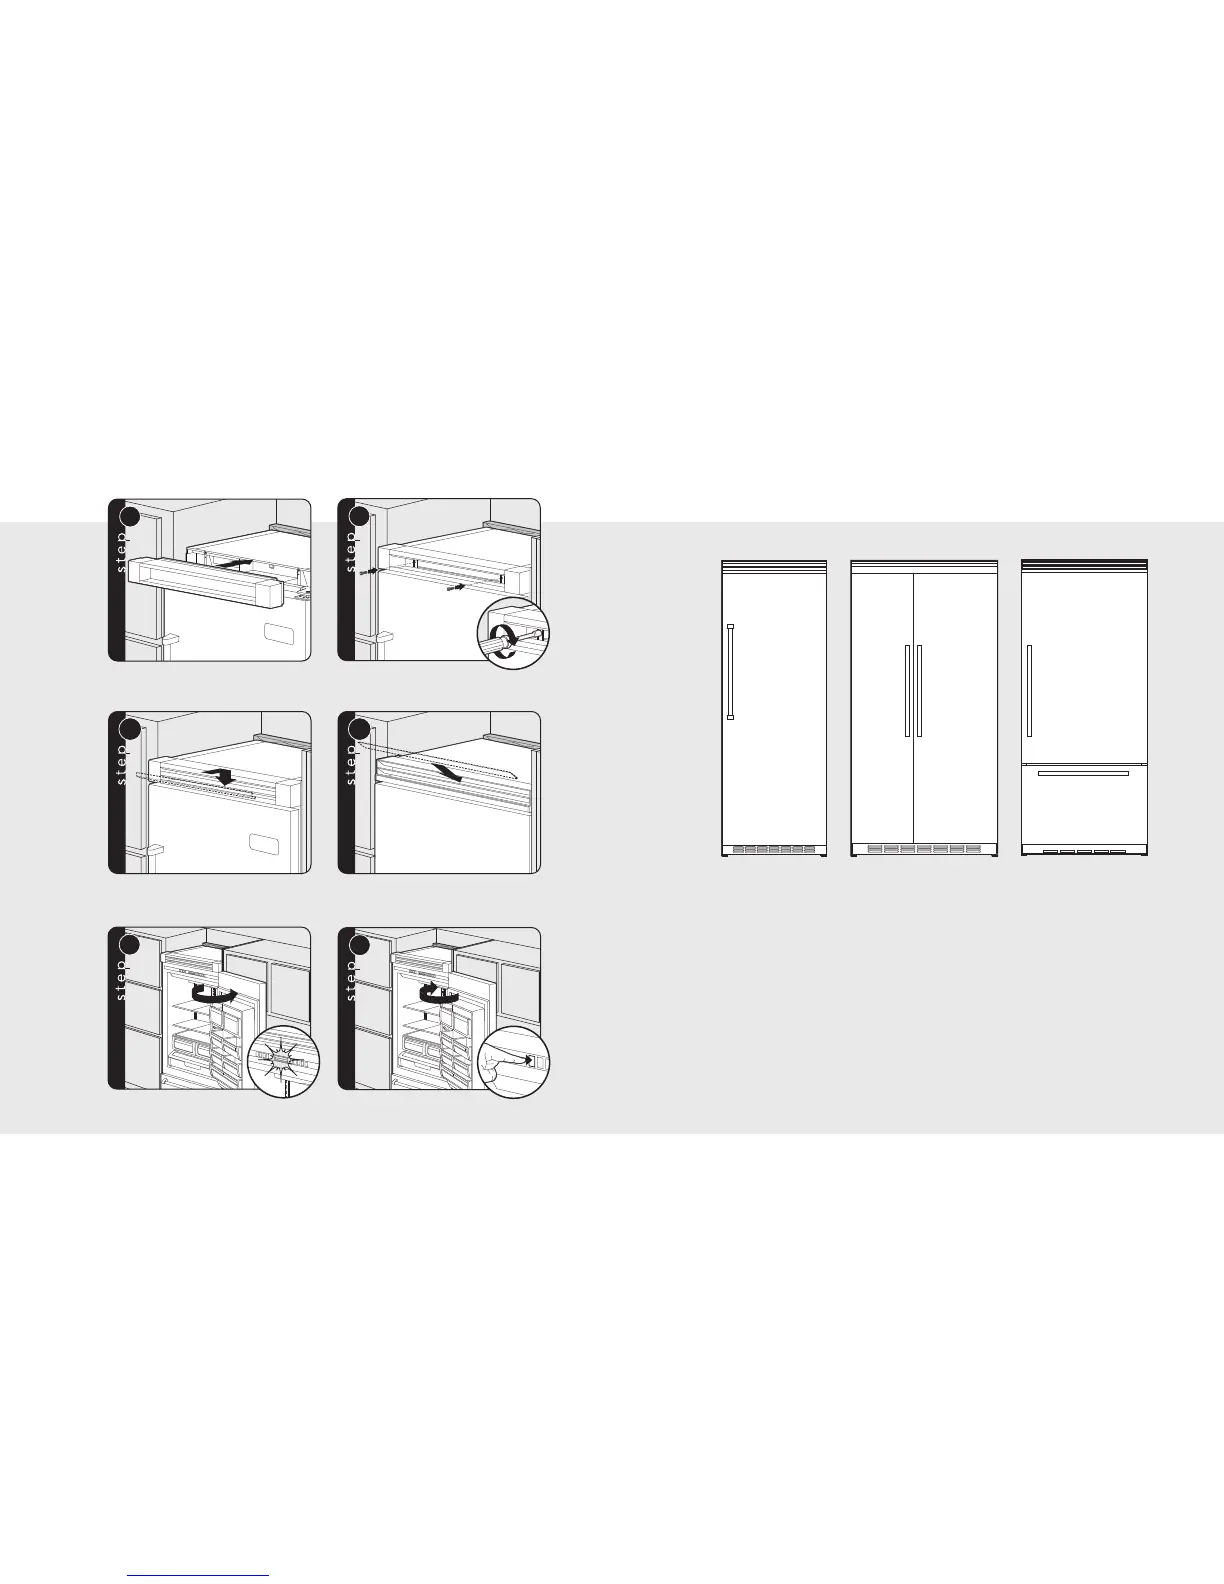
Replace top air grille.
Using an 8” magnetic nut driver, replace
the two 1/4” screws.
(Professional) Replace the center grille louver.
(Designer) Replace the center grille louver.
Open door. The display should flash.
Press “DISPLAY ON” or “ACTIVATE CONTROLS”
pad and close door.
Note: There is a 6 minute delay before the unit starts.
Final Installation
66
Performance Checklist
h Verify cabinet size.
h Verify electrical supply and water supply
(if applicable).
h Install anti-tip device(s) and verify unit is
secure.
h Position unit in cutout, level at desired
height and secure unit.
h Plug-in unit and verify operation.
h Connect water supply (if applicable).
• Verify icemaker fill tube is properly
inserted.
• Verify icemaker bail arm is down.
• Verify dispenser operation
(if applicable).
h Align/square door(s).
h Verify drain pan is properly installed and
there are no leaks on water connection.
h Install kickplate.
h Remove internal packaging and labels
and wipe unit down.
Installer’s information:
Installer’s Name:_____________________________
Installer’s Company:_________________________
Date: _________________________________________