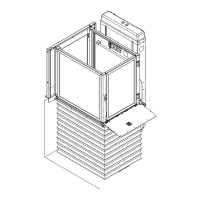
20
b
a
a
b
a
ı ˇ ı � �
�
ˇ
�
�
ˇ
�
7511020
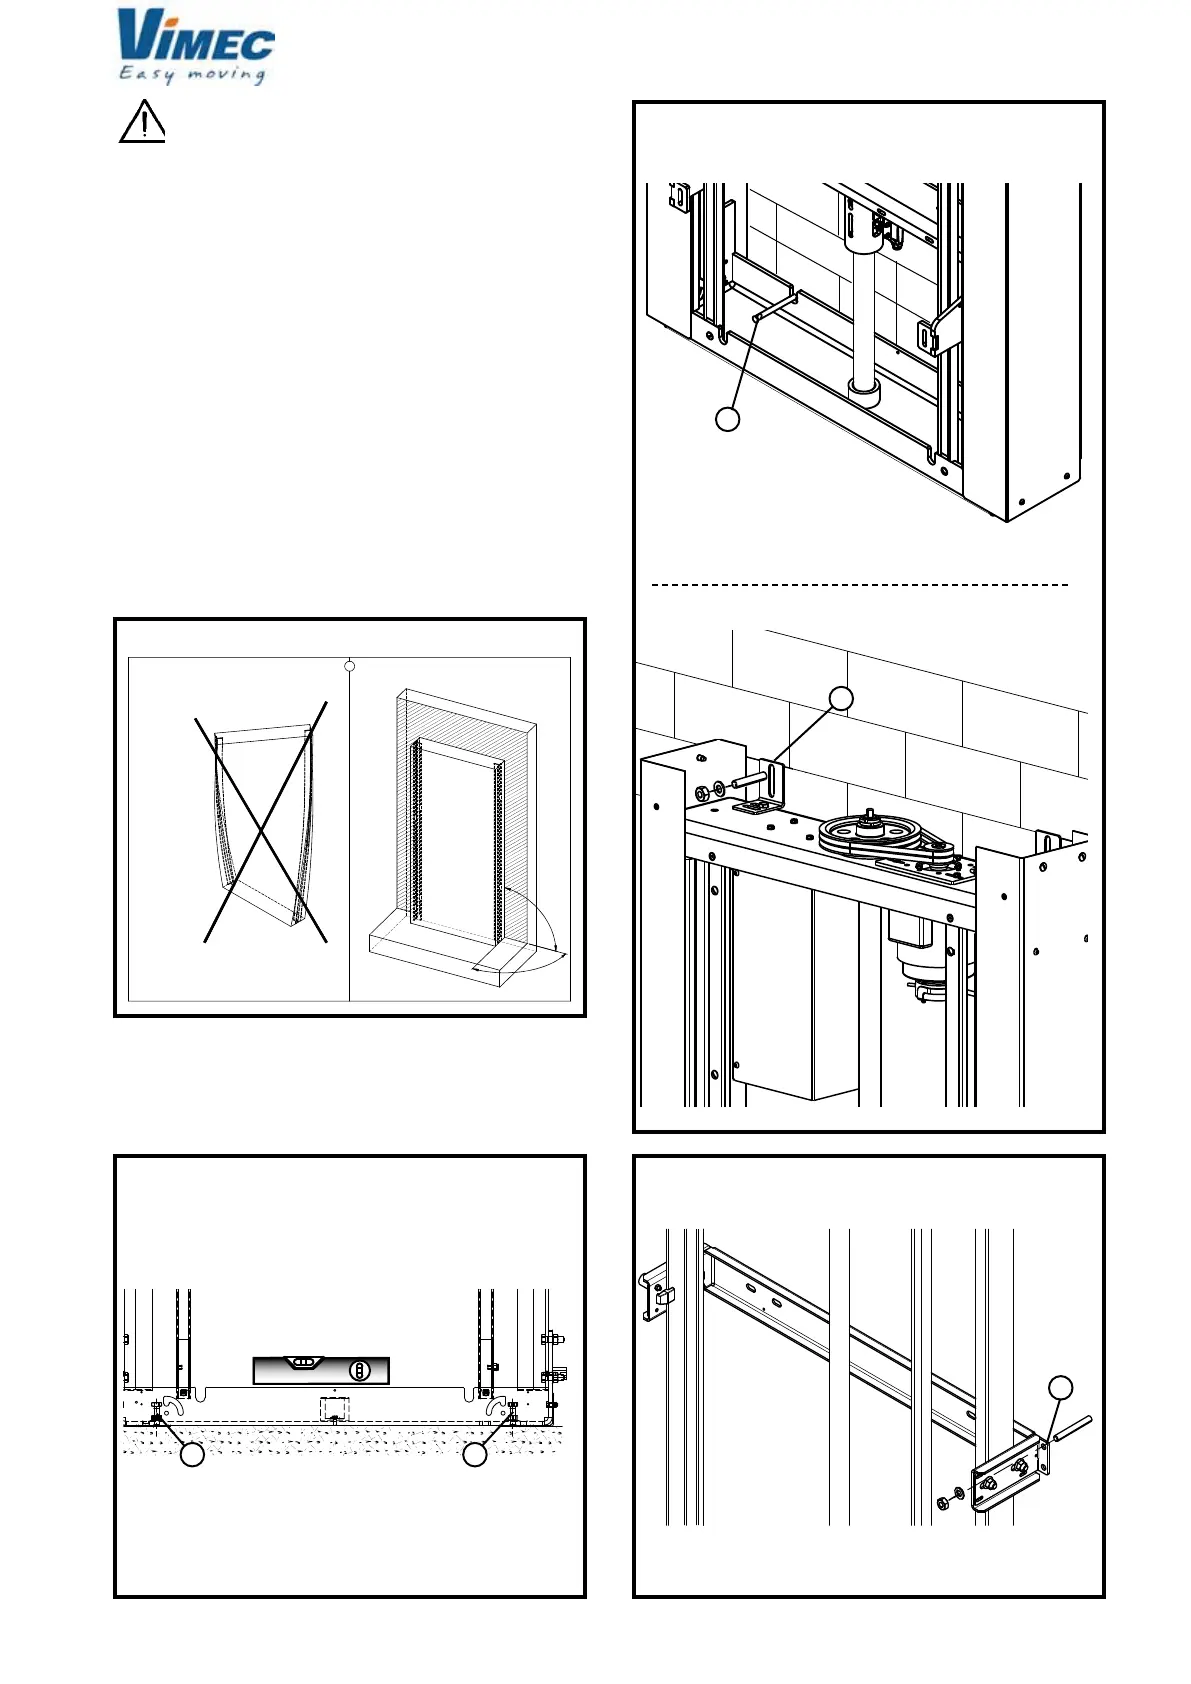
FIG.5
FIG.6
WARNING:
Use a spirit level to check that it is vertical (Fig. 2/a),
and also check that the oors are perpendicular
compared to the wall and to the base plinth (Fig. 3).
- Use plugs to x the column to the wall by the base
connection (Fig. 5/a) and then to the head connection
or vice versa (Fig. 5/b).
NOTE: Mark on the wall the positions of the holes
to be made before setting the column next to the
wall, thus avoiding dust contamination of the
mechanical organs.
- Using the L brackets supplied (Fig. 6/b) with adjustment
slots, x the remaining connections (Fig. 6/a).
- Level the base by acting on the screws (Fig. 4/a).
FIG.3
FIG.4
7512020
 Loading...