34
© 2008 Directed Electronics. All rights reserved.
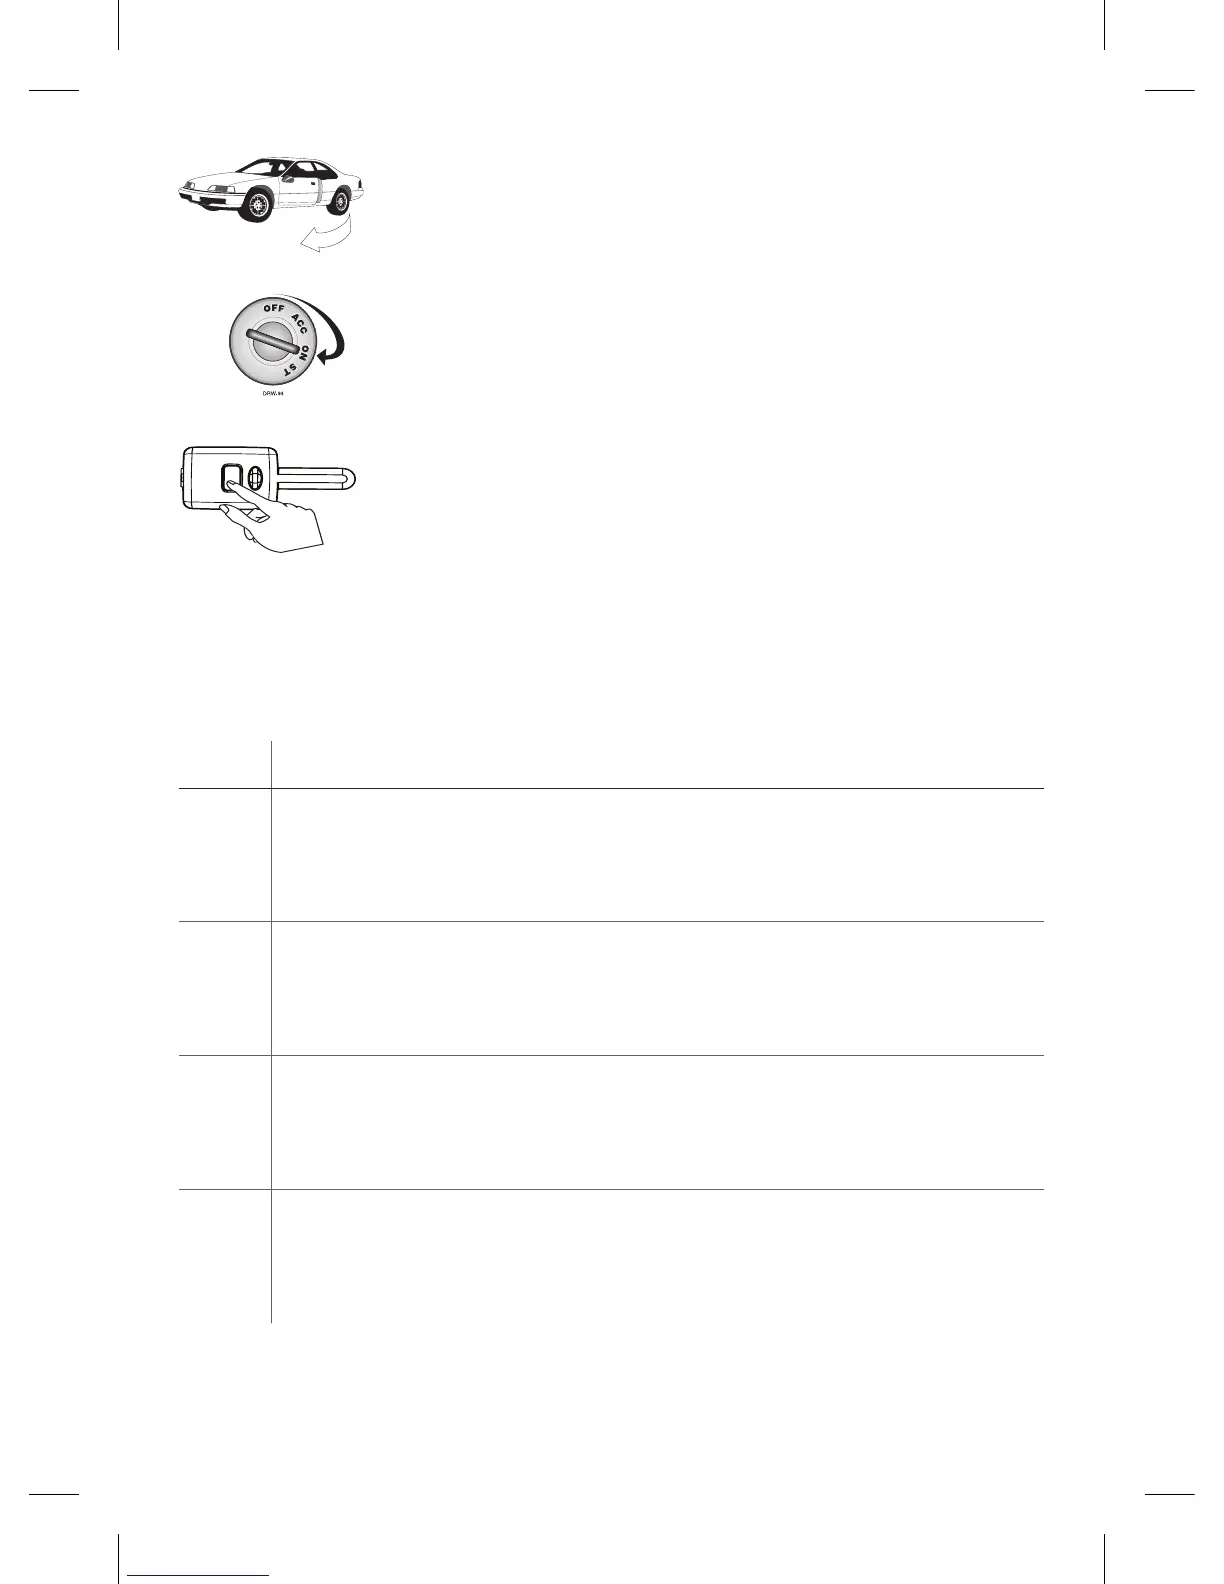
4. Open a door. (The GREEN wire, H1/8, or the VIOLET,
H1/6 must be connected.
5. Insert the key. Turn the ignition to the ON position. The
heavy gauge pink wire must be connected.
6. Choose. Within 10 seconds, press and release the
Program switch corresponding to the number of the
desired function step listed in the following table.
Once you have selected the function step, press the switch once more and hold
it. The LED flashes and the siren chirps to confirm the selected functional step. Do
not release the Program switch.
Step Function
1
Auto Learn Standard Configuration* (default)
The auto learn configuration automatically sets up the remote's button con-
figuration.
Note: Due to the Supercode protocol, you cannot change the configuration.
2
Delete remotes: This feature erases all remotes from the memory of the security
system. This is useful in cases when a customer’s remote is lost or stolen.
Note: This does not reset the programmed features of the security system or
reset the Virtual Tach setting.
3
Reset Features: This resets features all of the security system to the factory
default settings.
Note: This feature does not delete the remotes from the security system or reset
the Virtual Tach setting.
4
Virtual Tach Reset: Deletes all previously learned values for Virtual Tach, and on
the next remote start sequence the unit begins virtual tach initialization.
Note: The “Zap” feature on the Bitwriter does not reset the Virtual tach
setting.