™
Page 55 of 59
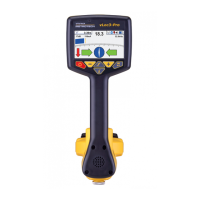
6 Using the Accessories
Enter the Multi-frequency Setup menu:
1. Press the “i” pushbutton seven times to get to the “Multi-Frequency” screen
and press the “f” pushbutton to activate the multi-frequency mode. An “x”
symbol will appear, indicating that the multi-frequency mode is activated.
Press the “f” pushbutton again to go to the “Multi-Frequency. Setup” screen
to choose the frequencies.
Volume
Voltage
Resistance
Multi Frequency
LCD Contrast
Receiver Link Disabled
Frequency Menu
About
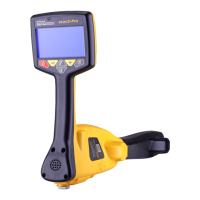
2. Use the “+” and “-” pushbuttons to scroll through the available frequencies and
add the desired frequency in the first box.
Multi Freq Setup
32.8kHz
83.1kHz
200kHz
3. Press the “f” pushbutton to move the box down and the “+” and “-” pushbuttons
to select the second frequency.
Multi Freq Setup
32.8kHz
83.1kHz
200kHz
4. Repeat step three to select the third frequency if needed.
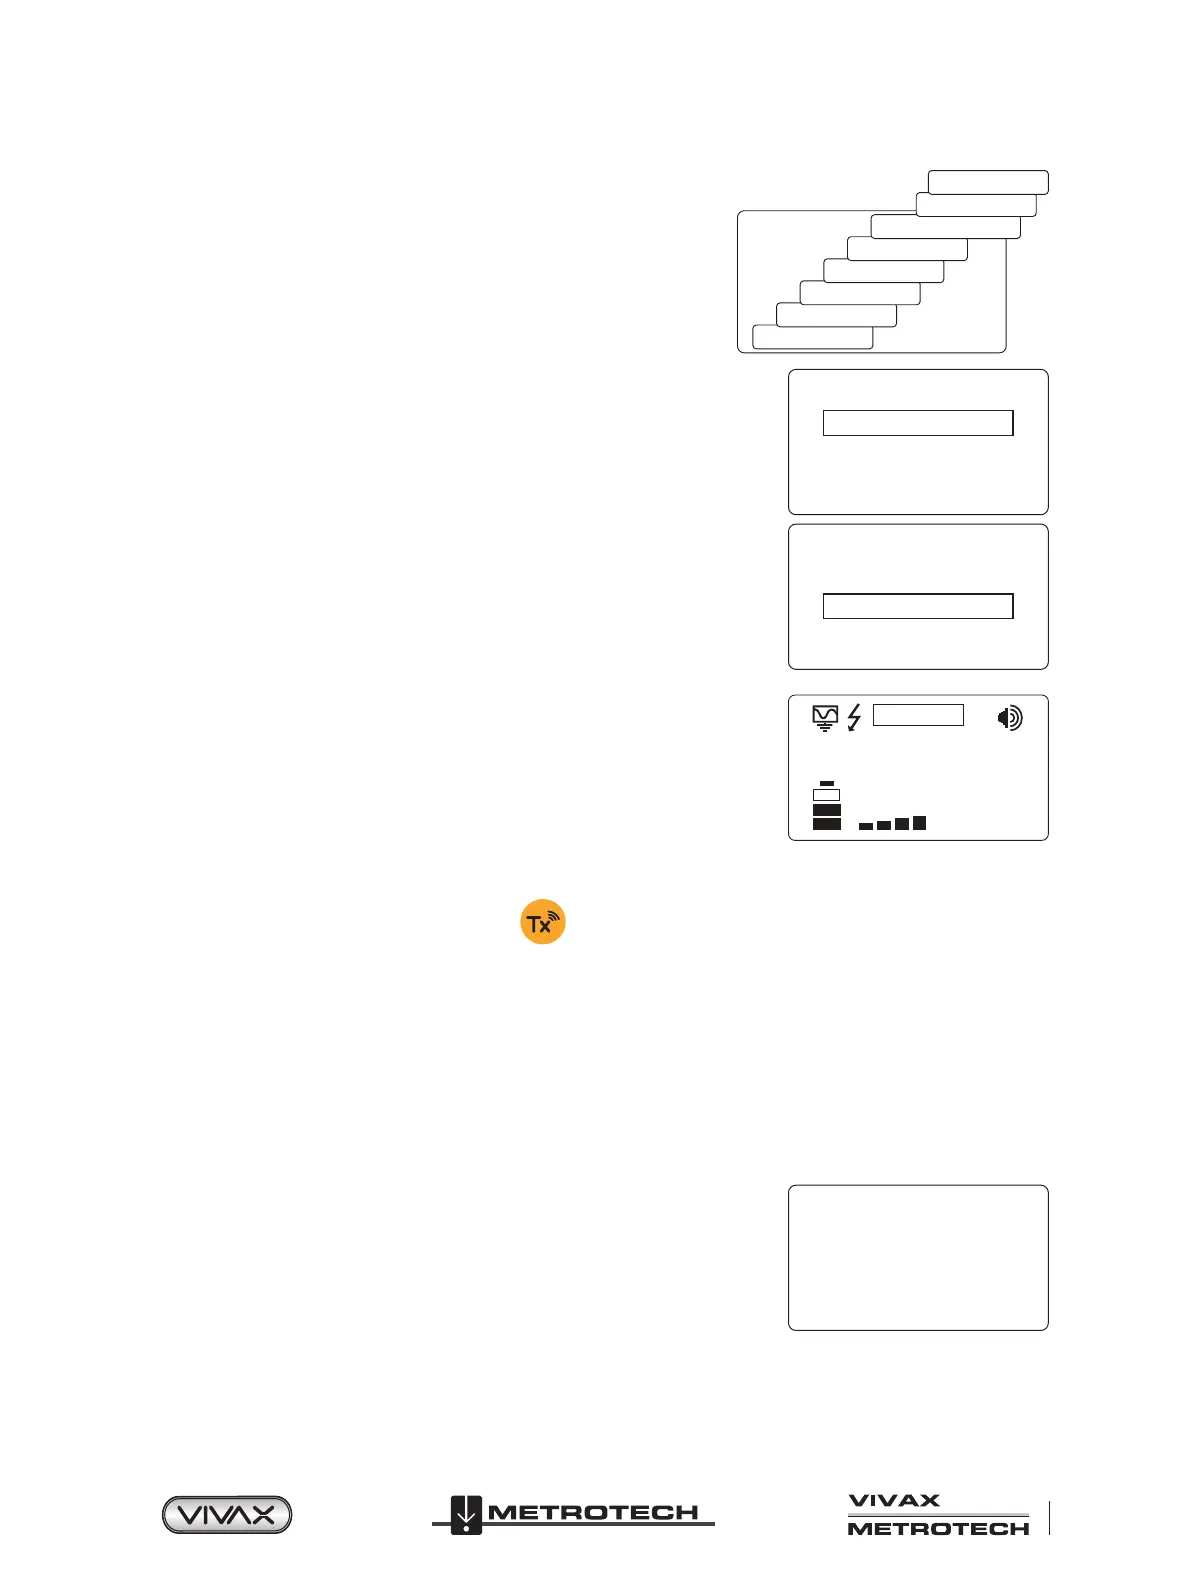
5. Press the “i” pushbutton to return to the main display. On the main display,
“Multi” will appear, indicating the multi-frequency mode is active.
MULTI
3 3 2 mA
6. The frequencies selected for multi-frequency mode will be saved until changes are made, even when the multi-frequency
mode is deactivated.
6.9 Transmitter Link (TX-Link)
Currently the Tx-Link feature is only available in the 5-watt and 10-watt transmitters.
The Loc3 series transmitters can be remotely operated from the receiver. This option requires the Transmitter (radio) Link to be
installed in both the vLoc3 series receiver and the Loc3 series transmitter.
Tx-Link is a factory t option that must be purchased at the time of ordering. The radio link range depends on having a clear “line
of sight” between Rx and Tx but is typically around 300m (984ft).
The Tx-Link feature is shown as RECEIVER LINK in the menu.
Linking a transmitter to a receiver:
1. Press the “i ” button repeatedly to scroll through the options until the
“RECEIVER LINK DISABLED” option is displayed.
RECEIVER LINK
DISABLE
 Loading...