13
H (x2)
Sync Rod
T-B (x1)
2mm Allen Wrench
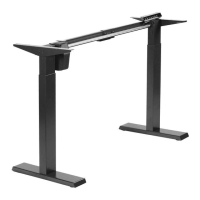
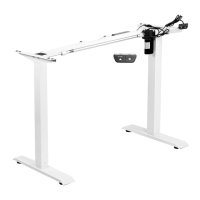
A-STEP 9: Install Sync Rod
Loosen the coupling nut on Sync Rods (H) and insert hex sha into Le and Right Leg (L, J),
making sure the metal retaining ring makes contact with the leg. Ensure that all three legs
are the same height. If not, turn the Sync Rod (H) clockwise to raise corresponding leg, and
counter-clockwise to lower.
Loosen coupling nuts on Sync Rods (H) and extend onto Motorized Leg (K). Tighten coupling
nuts, then tighten both set screws on the end of Sync Rods (H) using 2mm Allen Wrench (T-B).
Coupling Nut
H
T-B
J
K
L